UDisc Logo
Play
Learn
Grow disc golf
Log in
Open main menu
Canada
/
Watson Lake
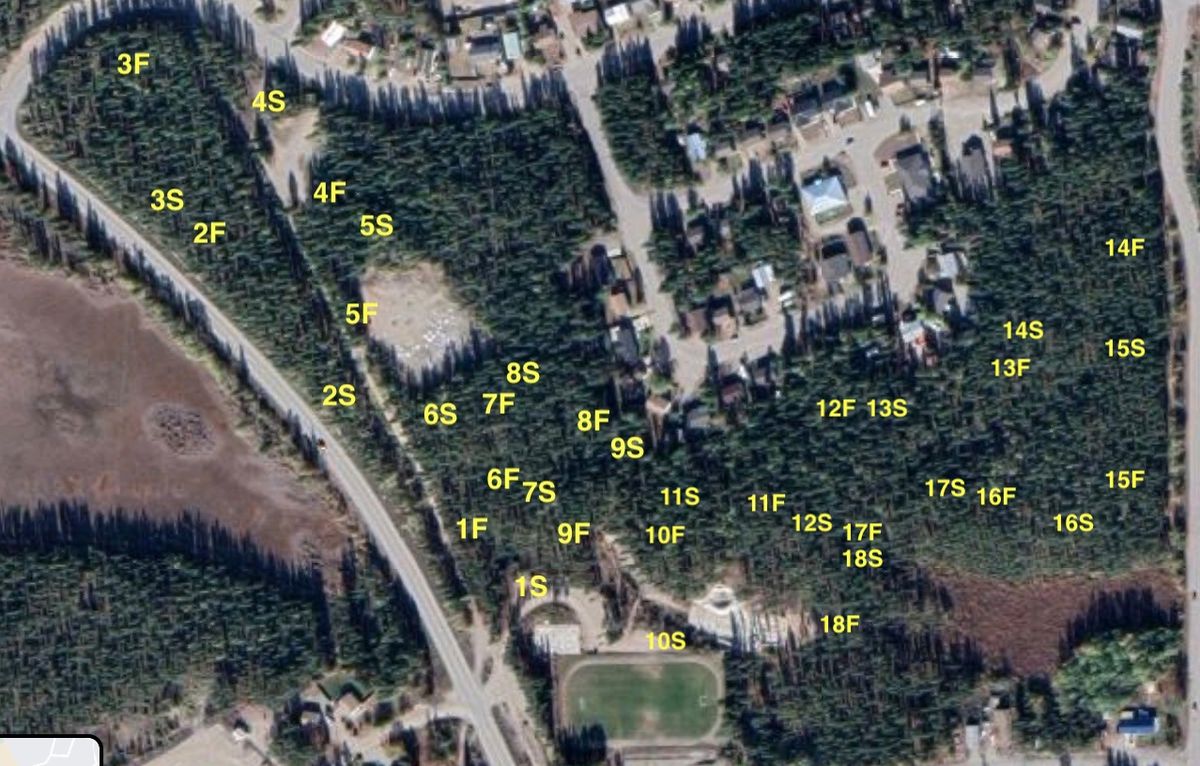
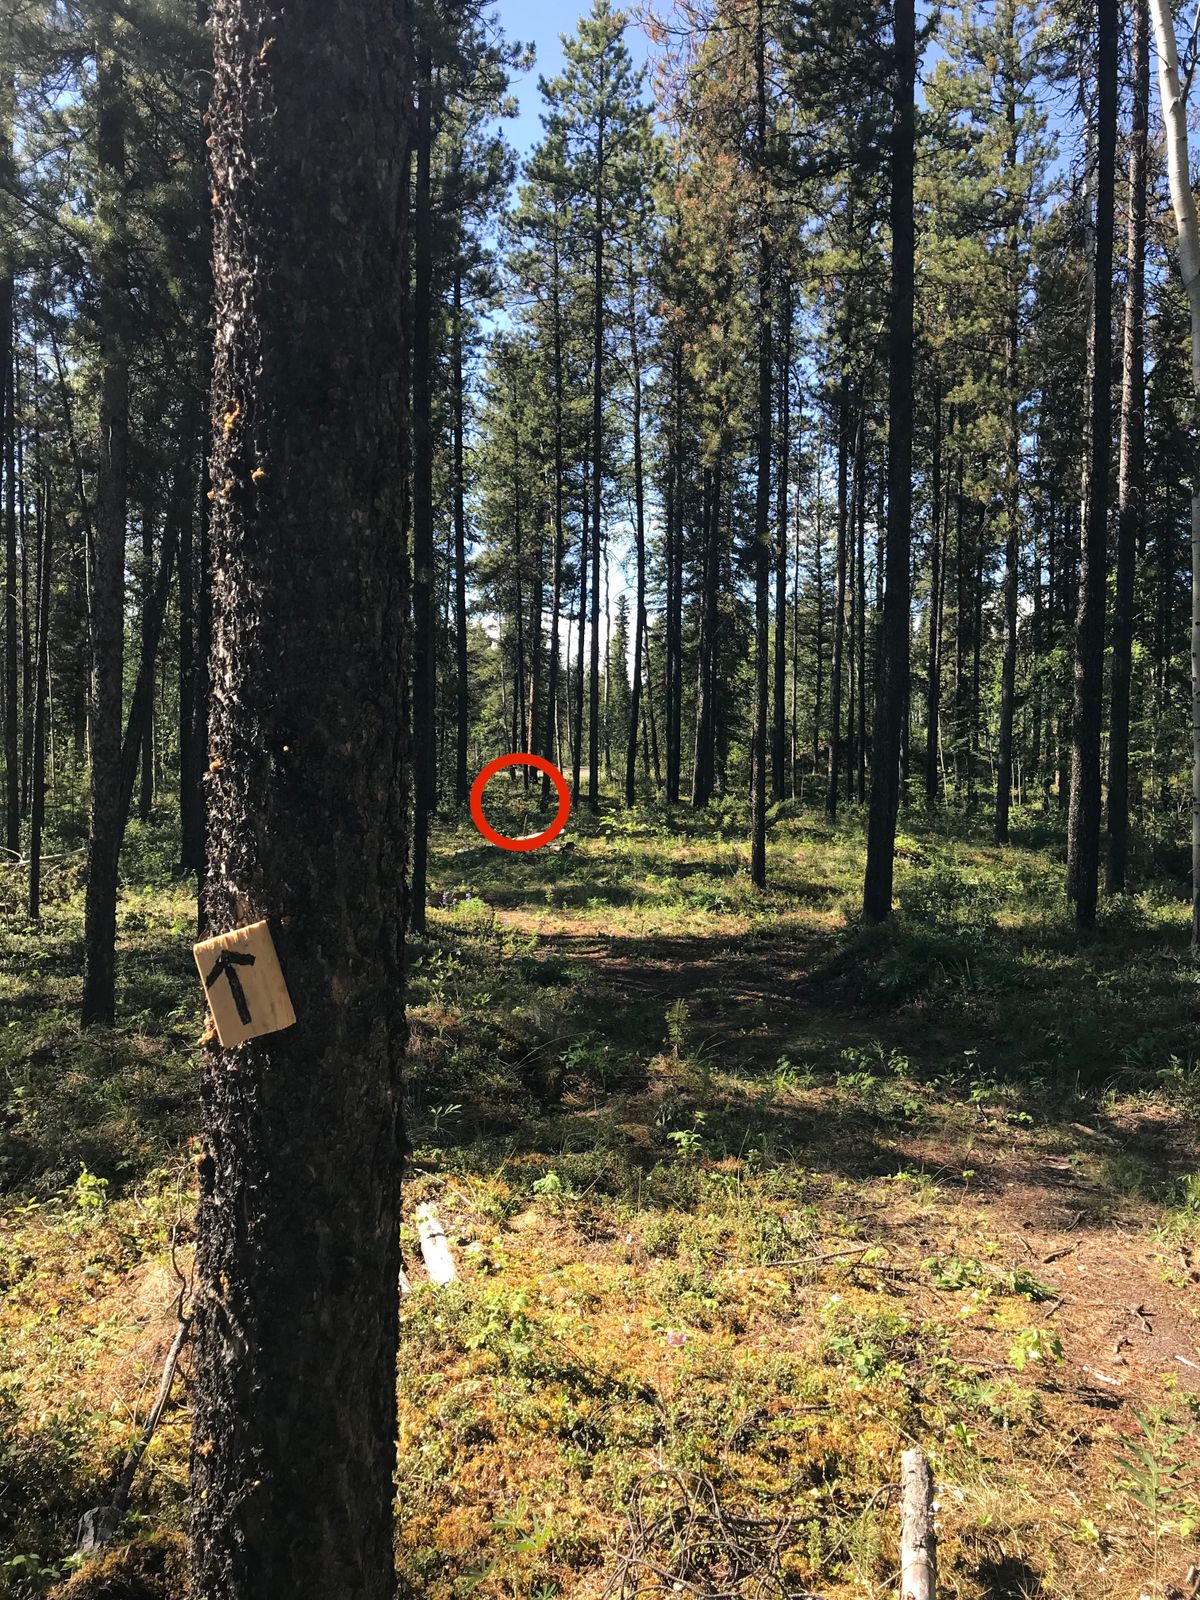
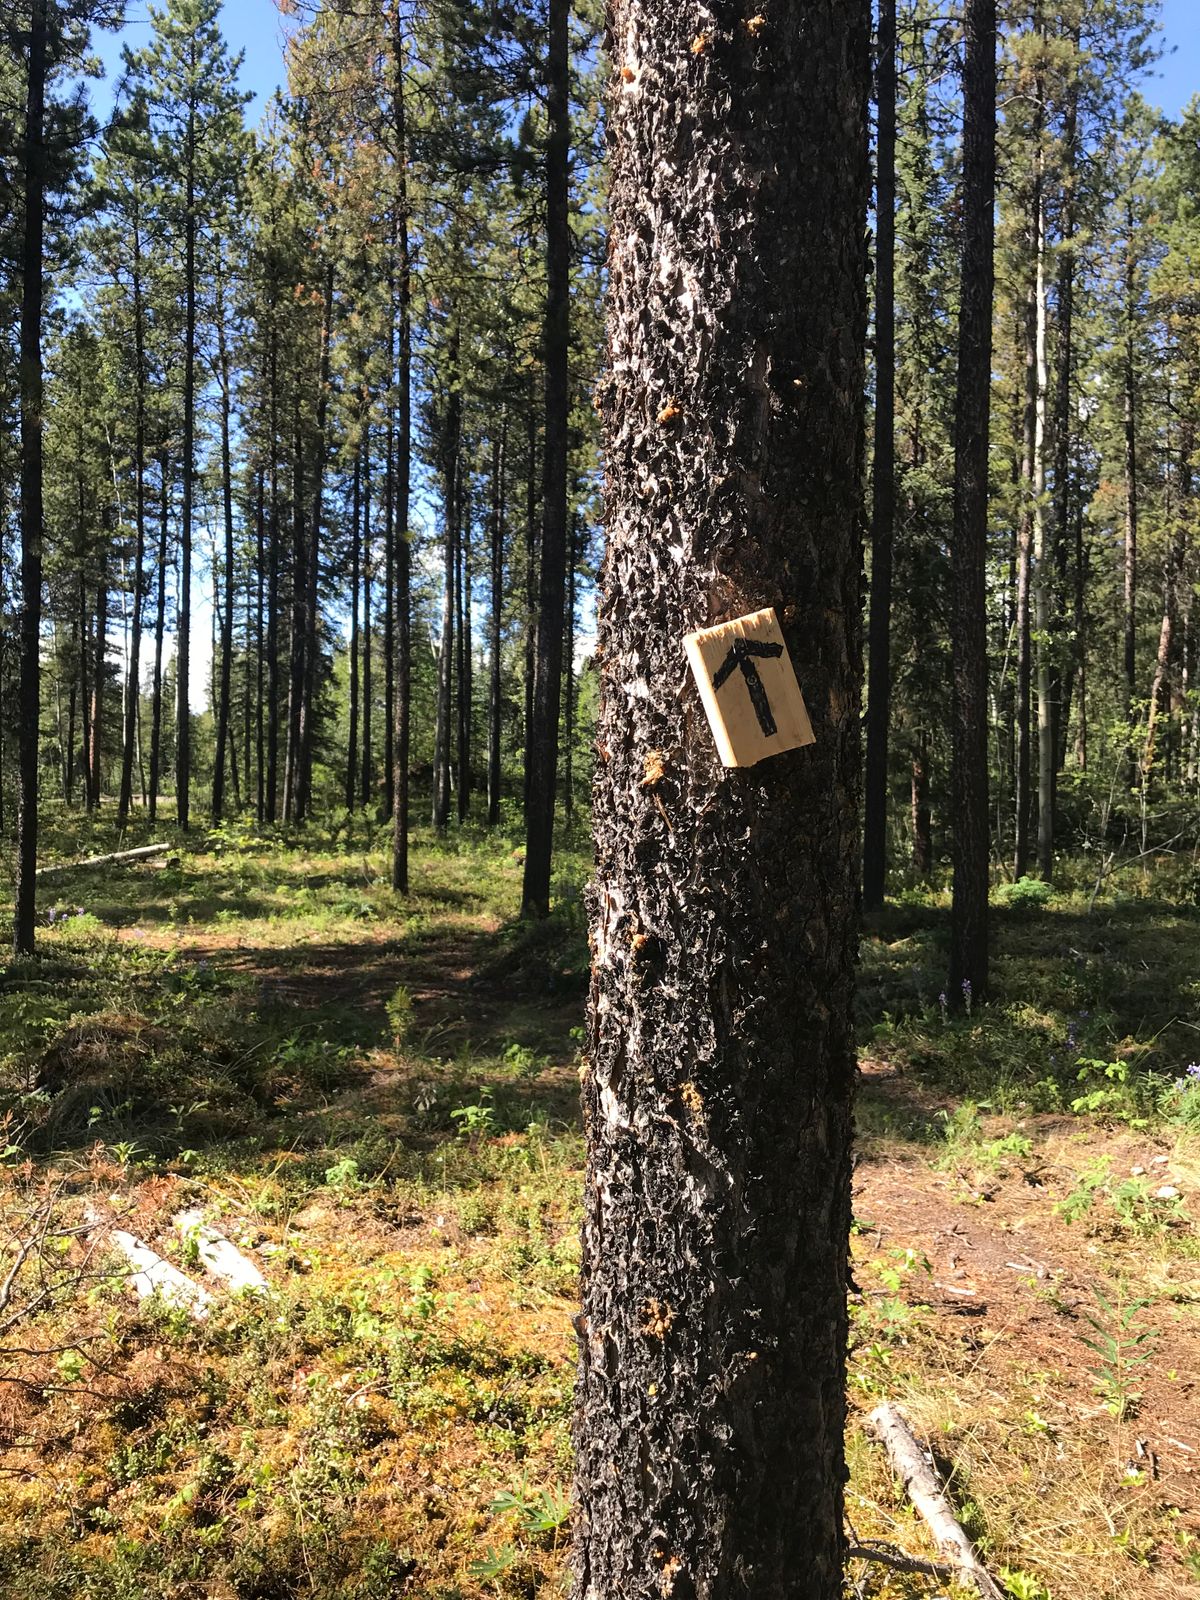
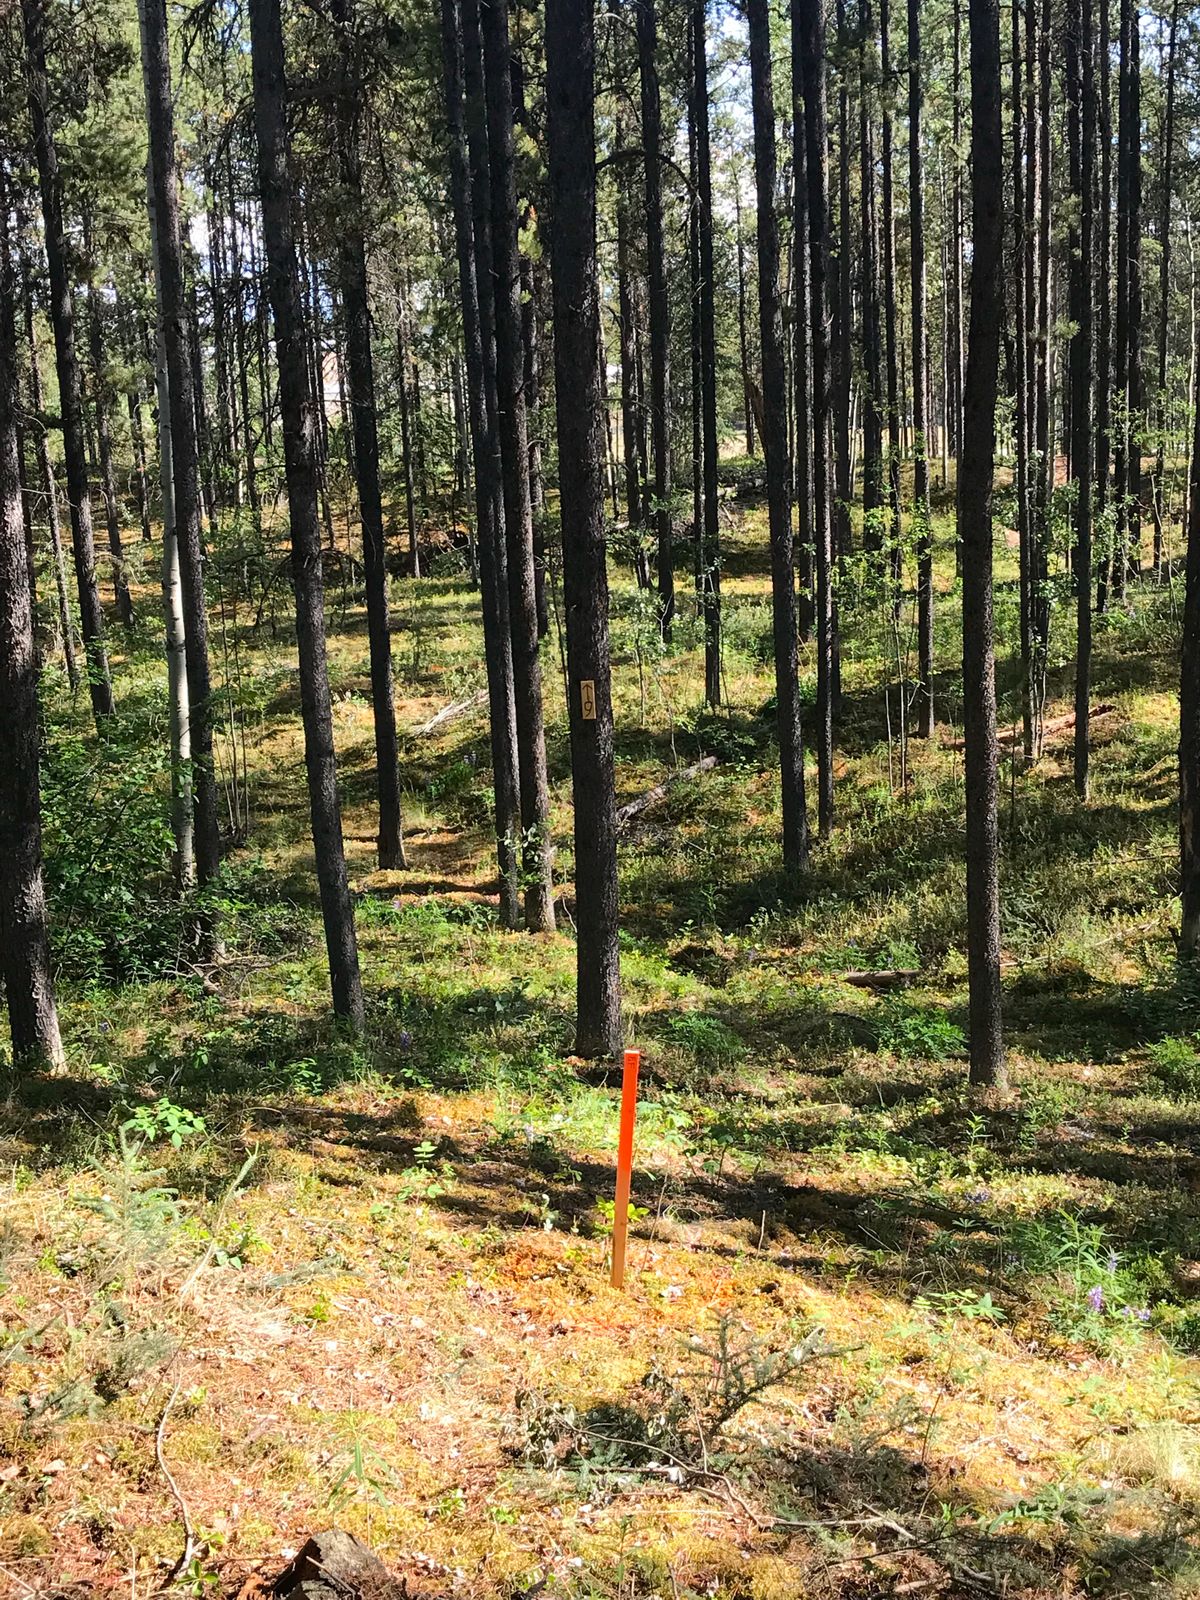
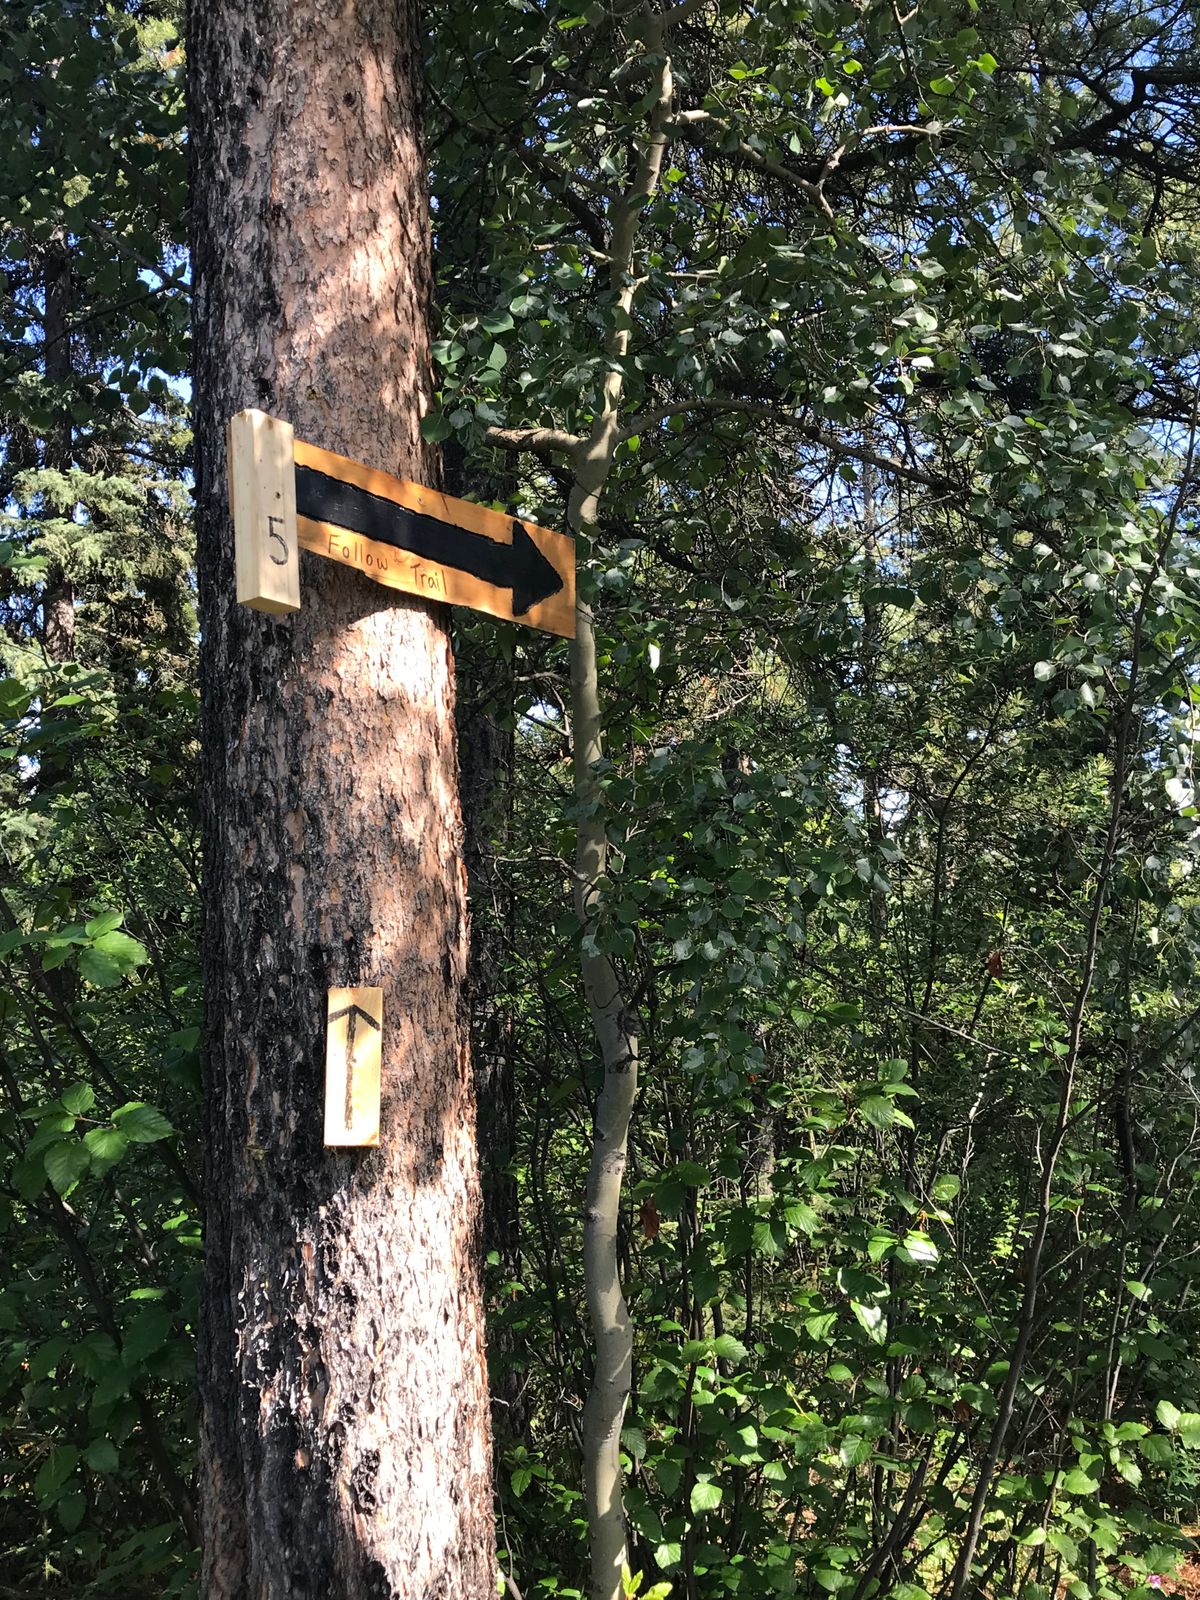
Raven Pines Disc Golf Course
Watson Lake, YT, Canada
4.3
(27 ratings)
Watson Lake, YT, Canada
4.3
(27 ratings)
Return to course
50 Photos
Add photos
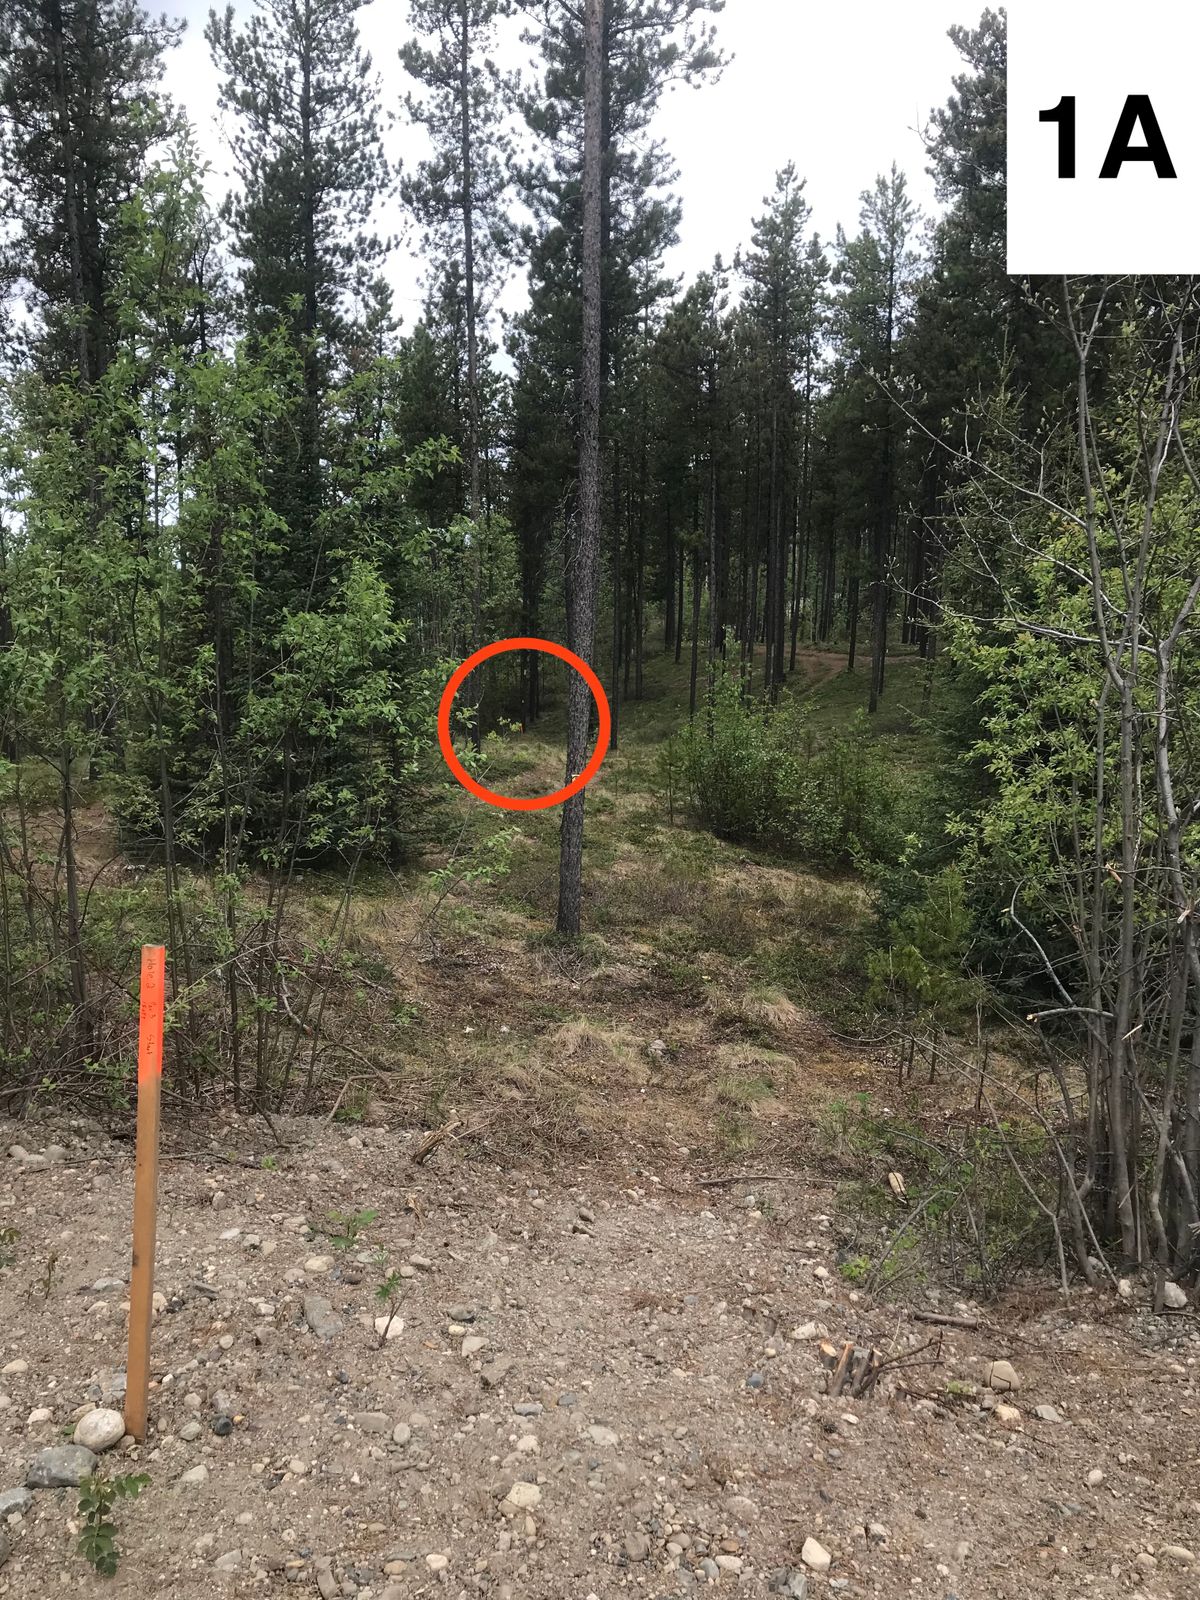
Hole 1
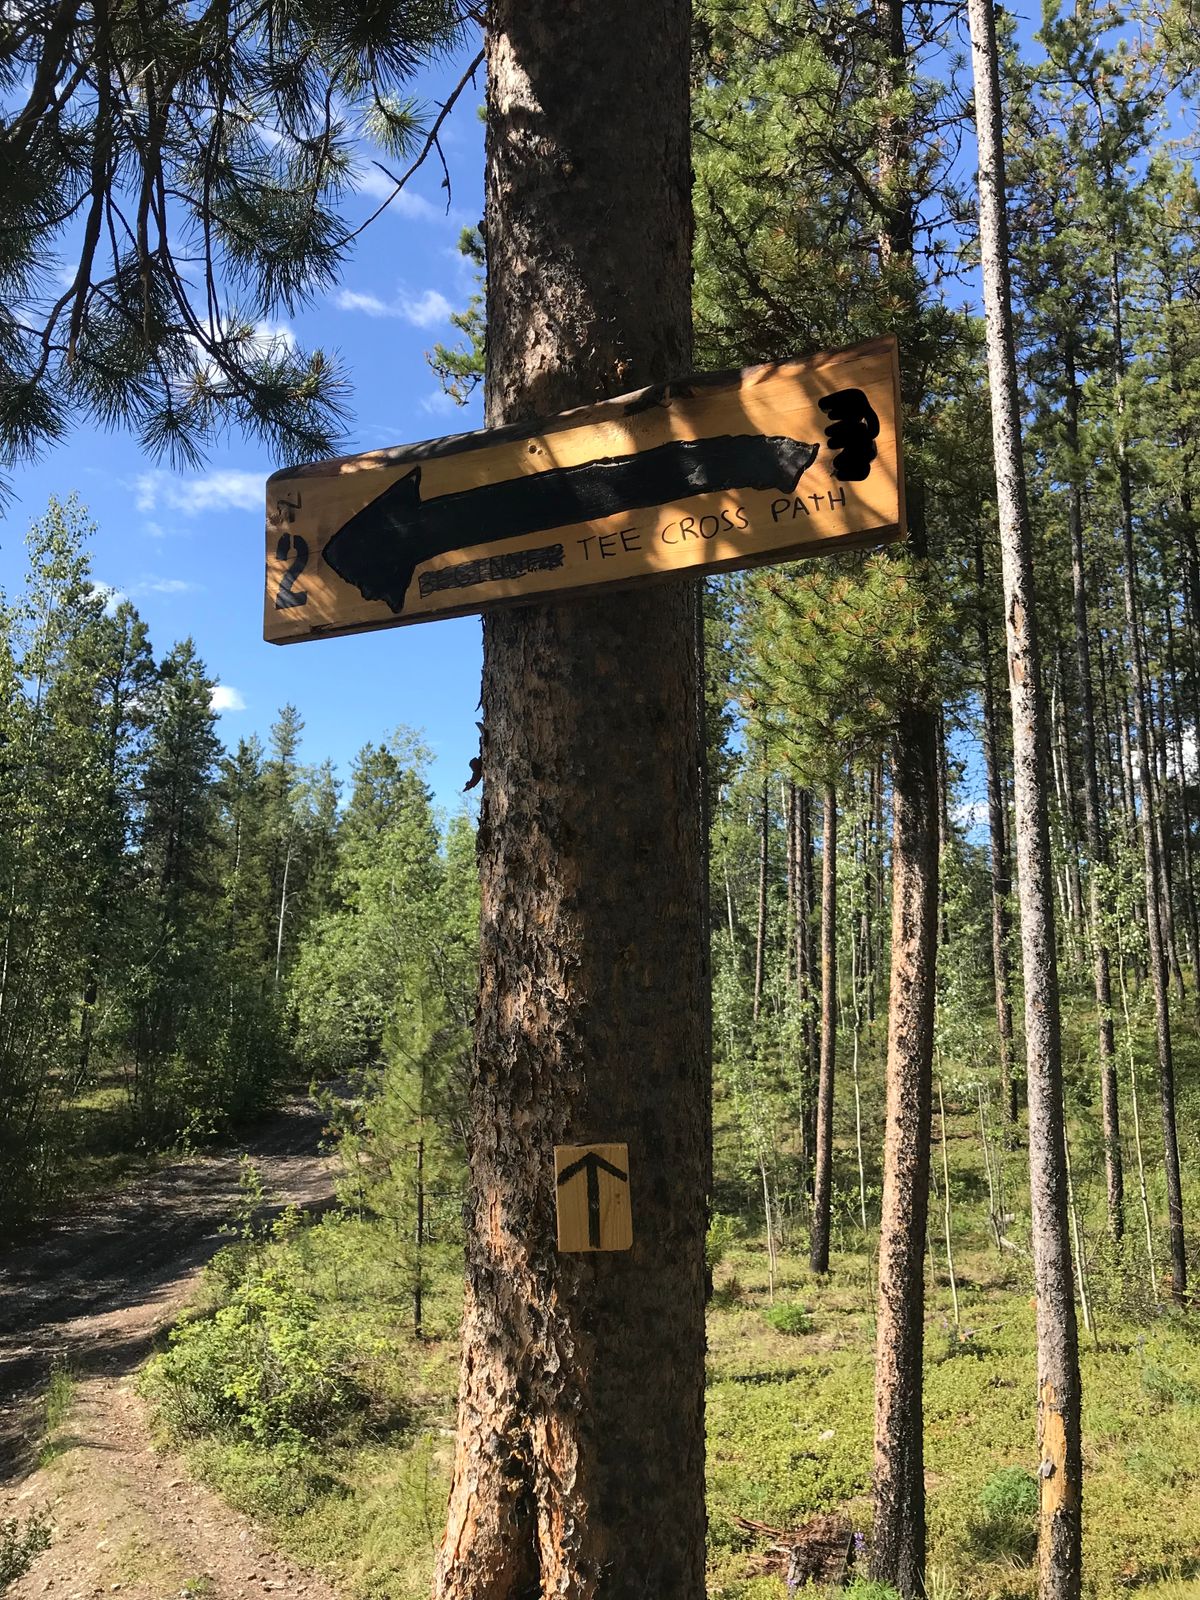
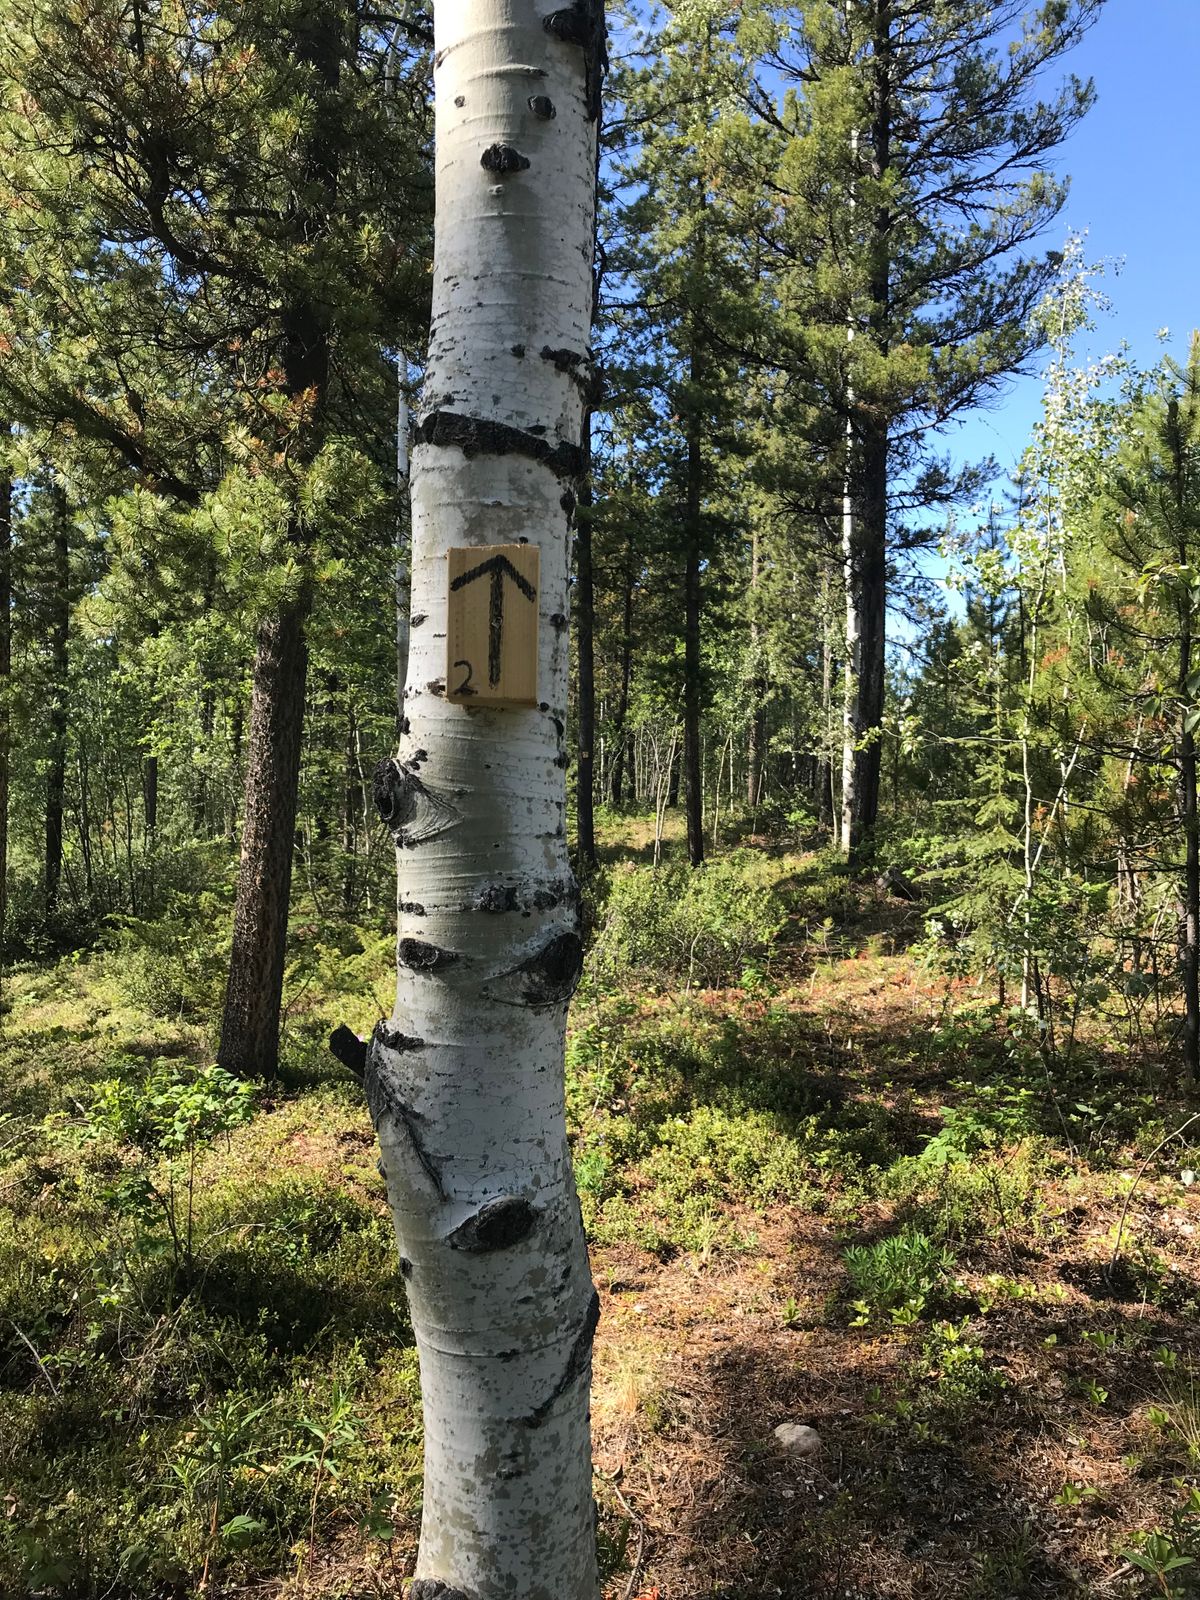
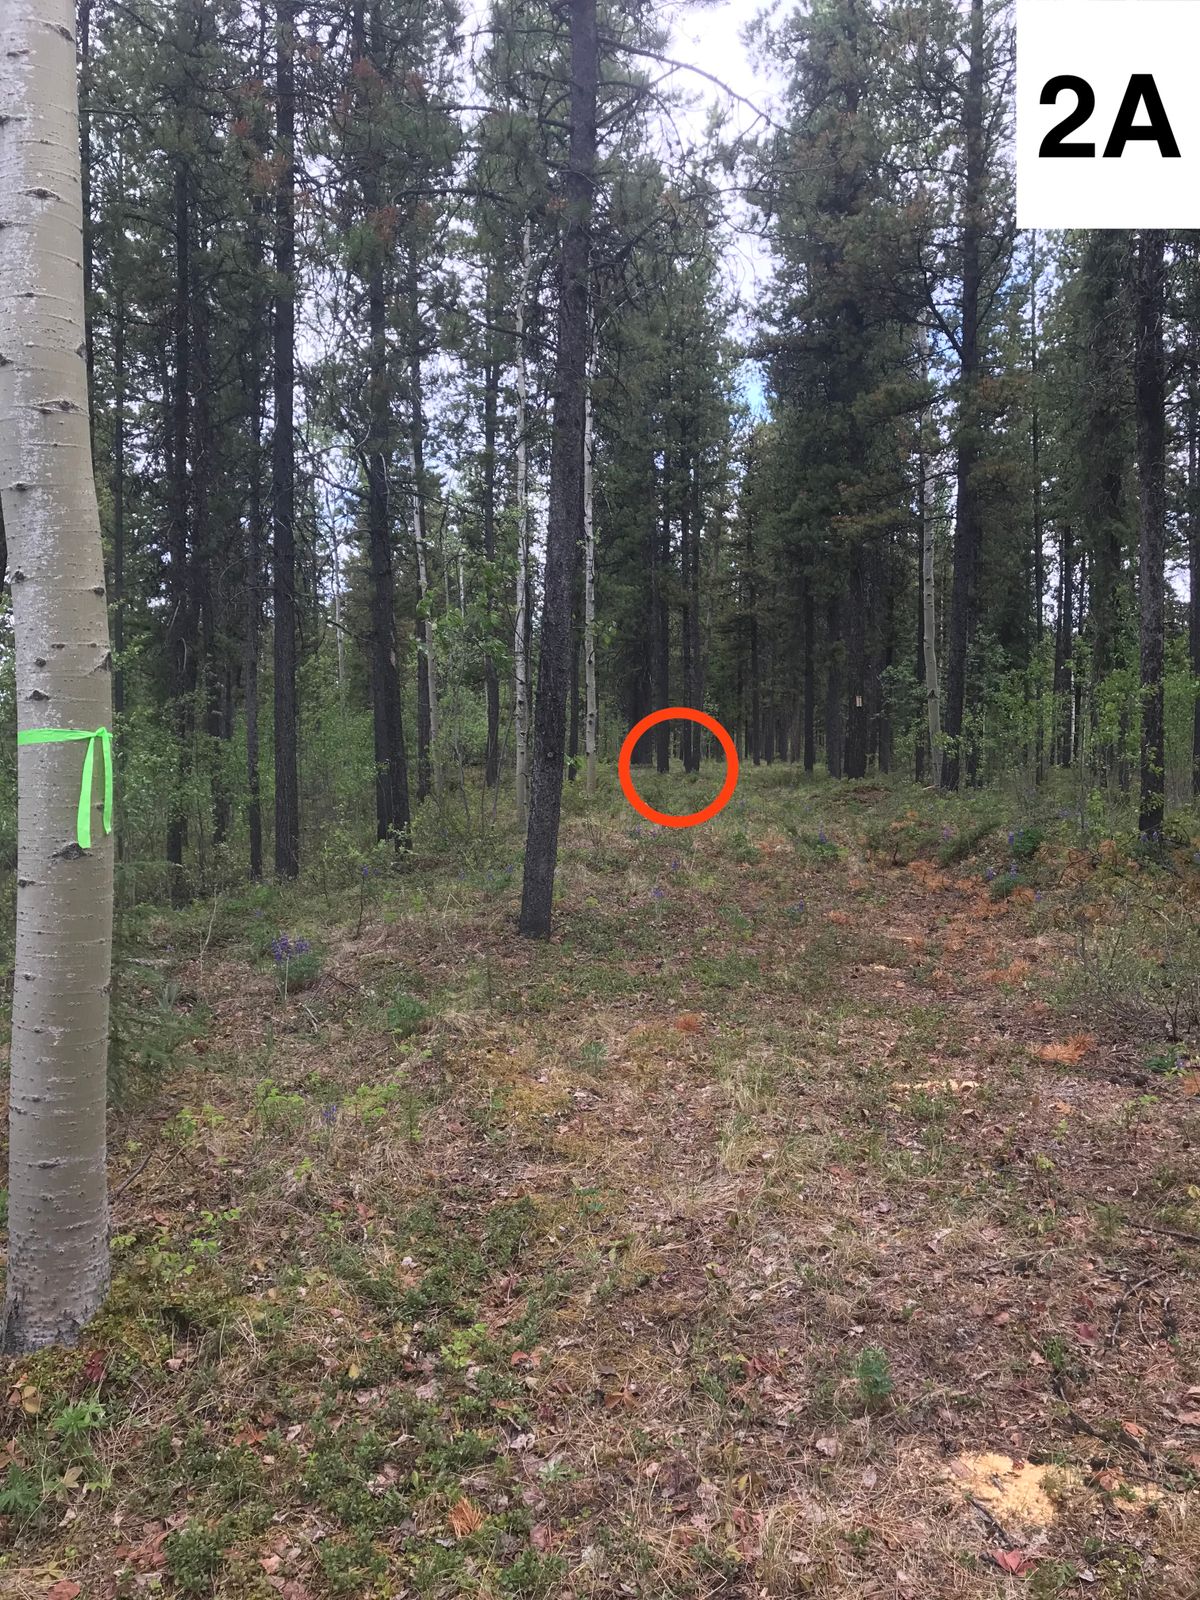
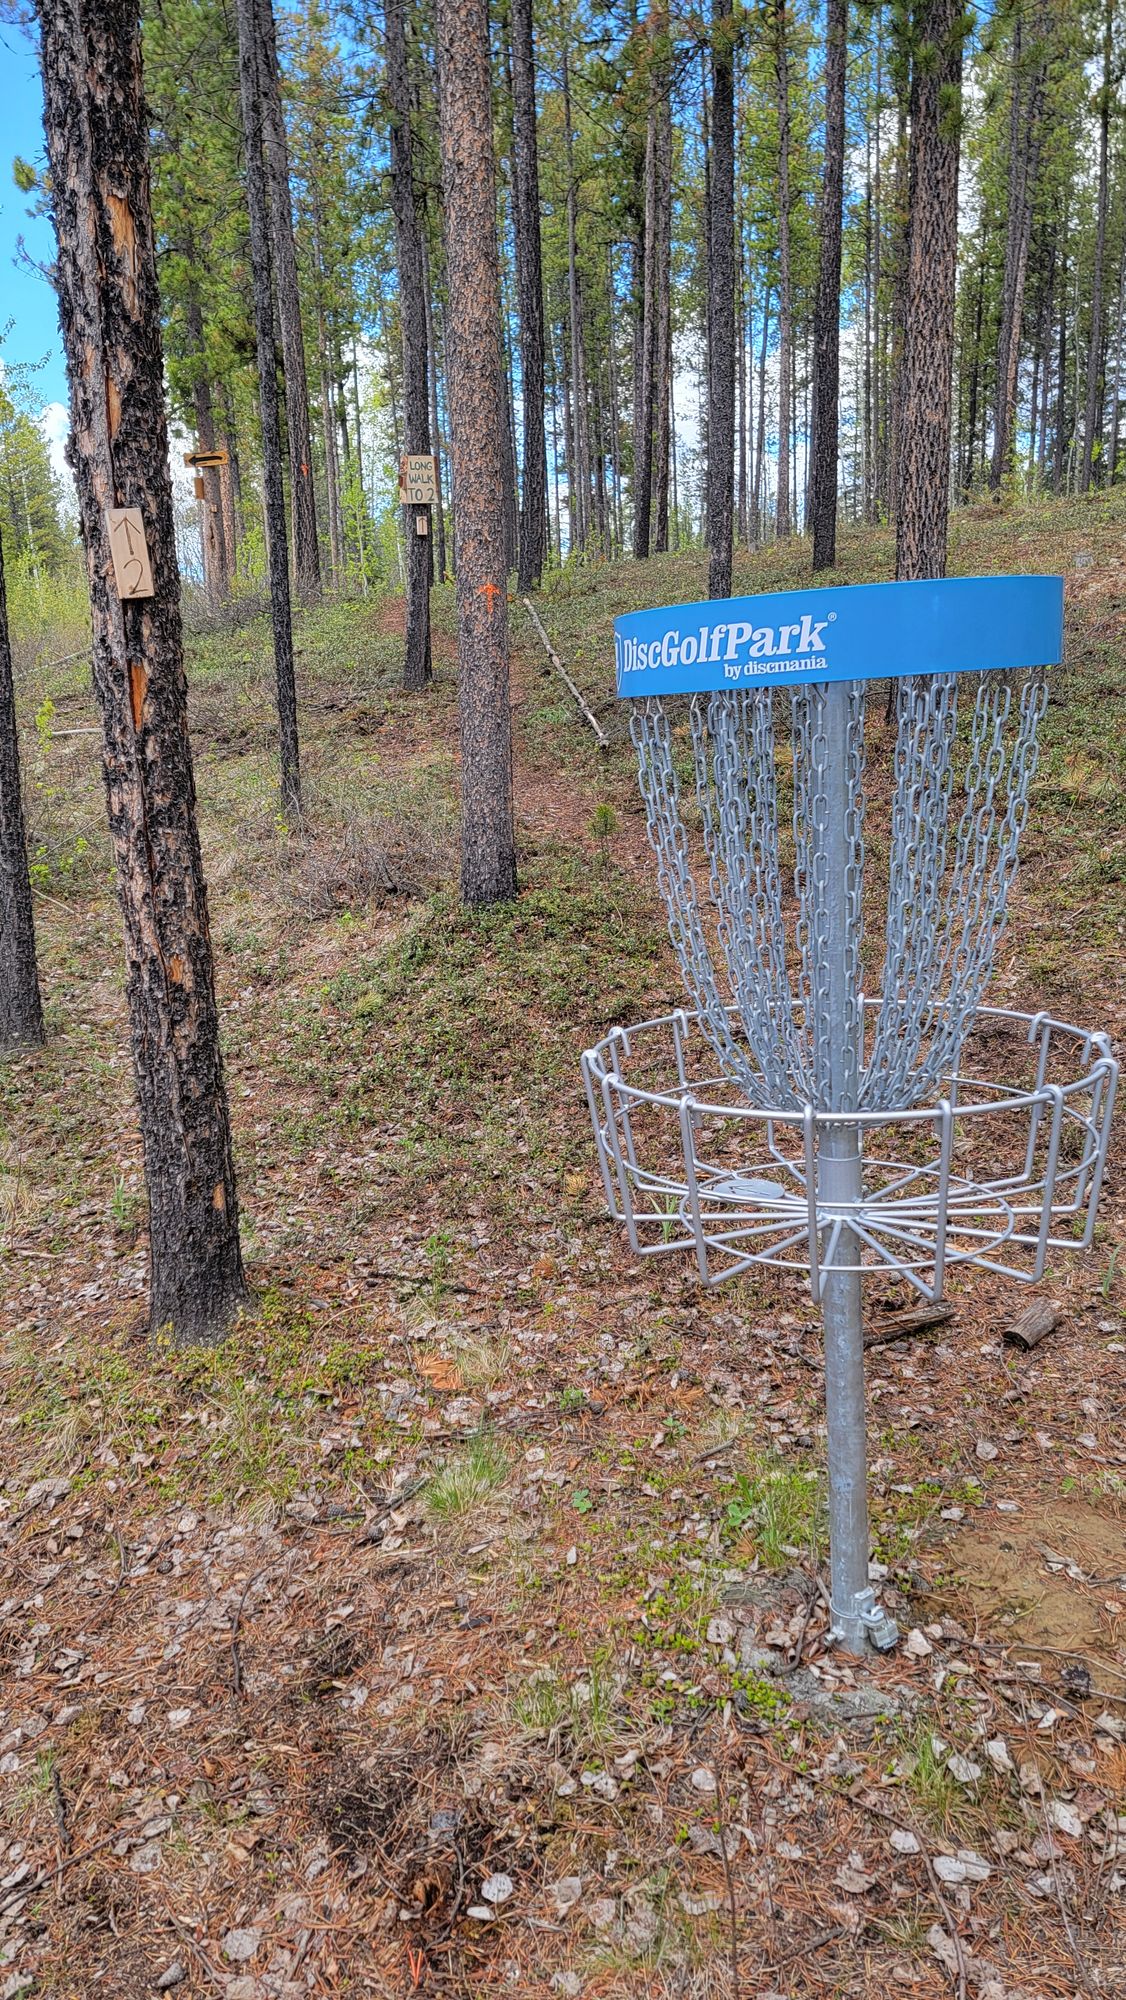
Hole 2
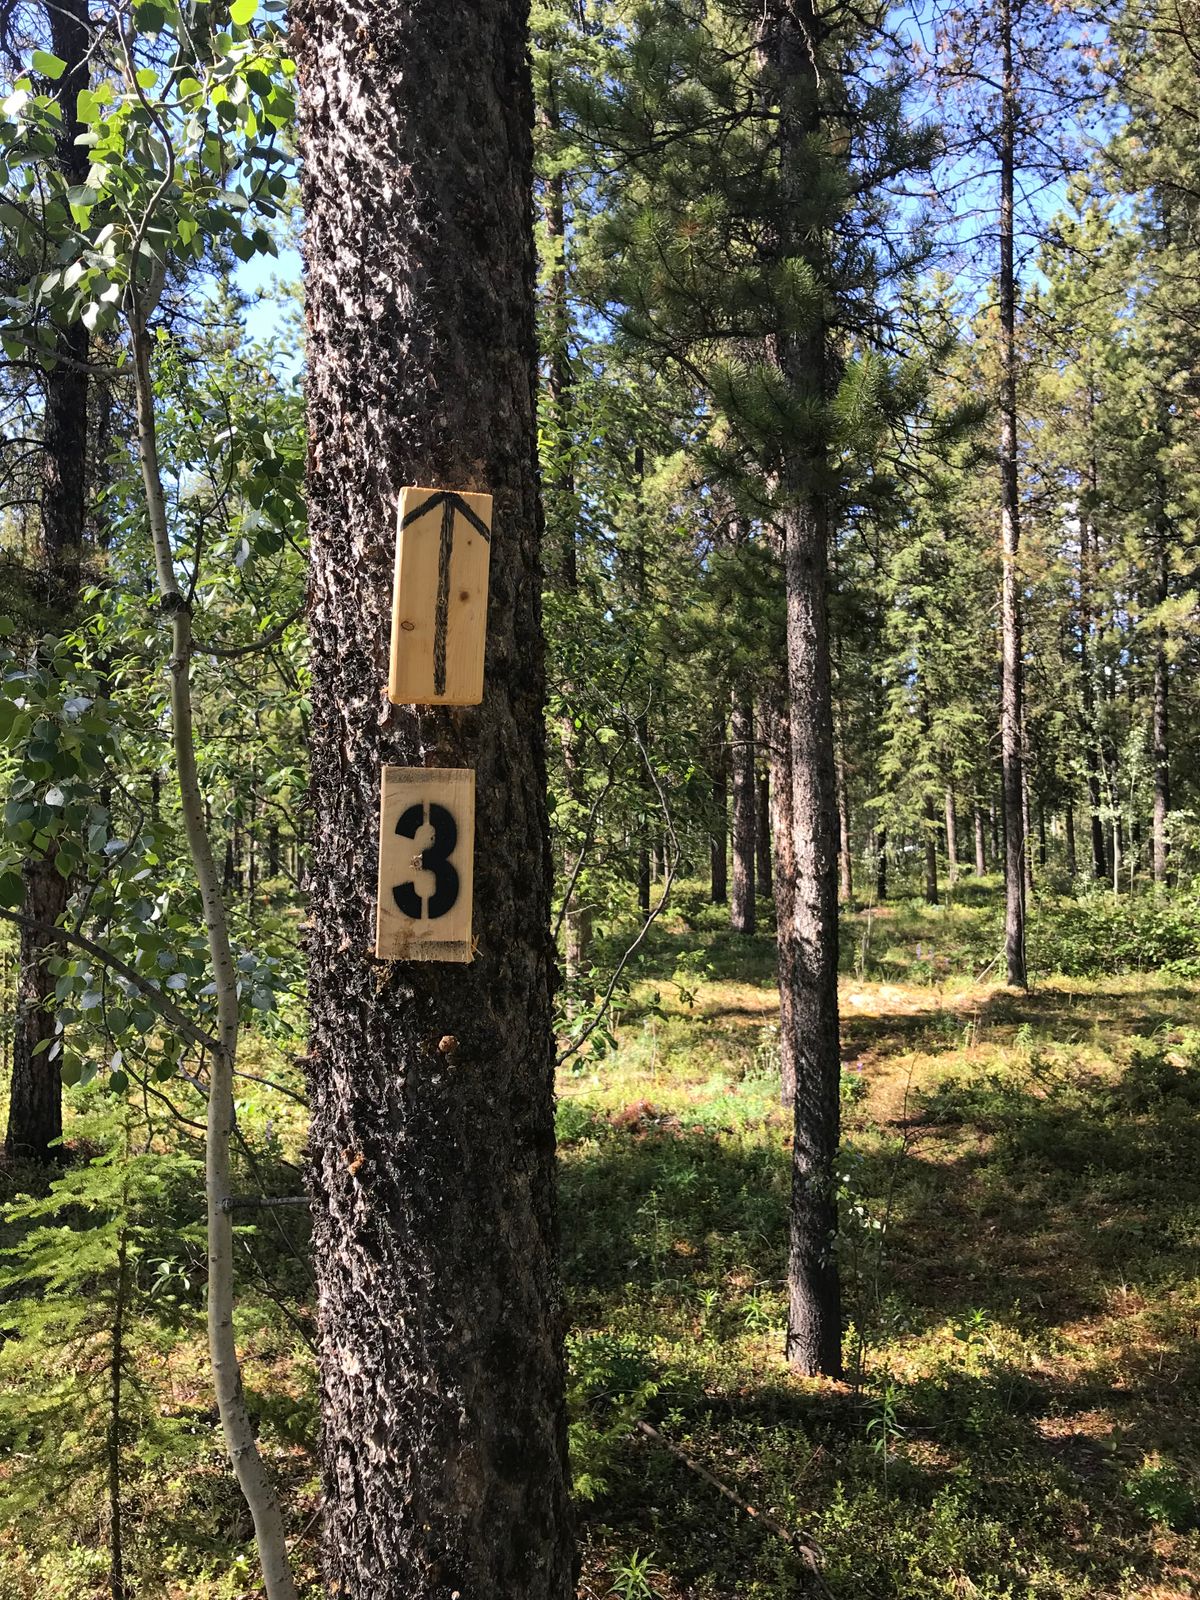
Hole 3
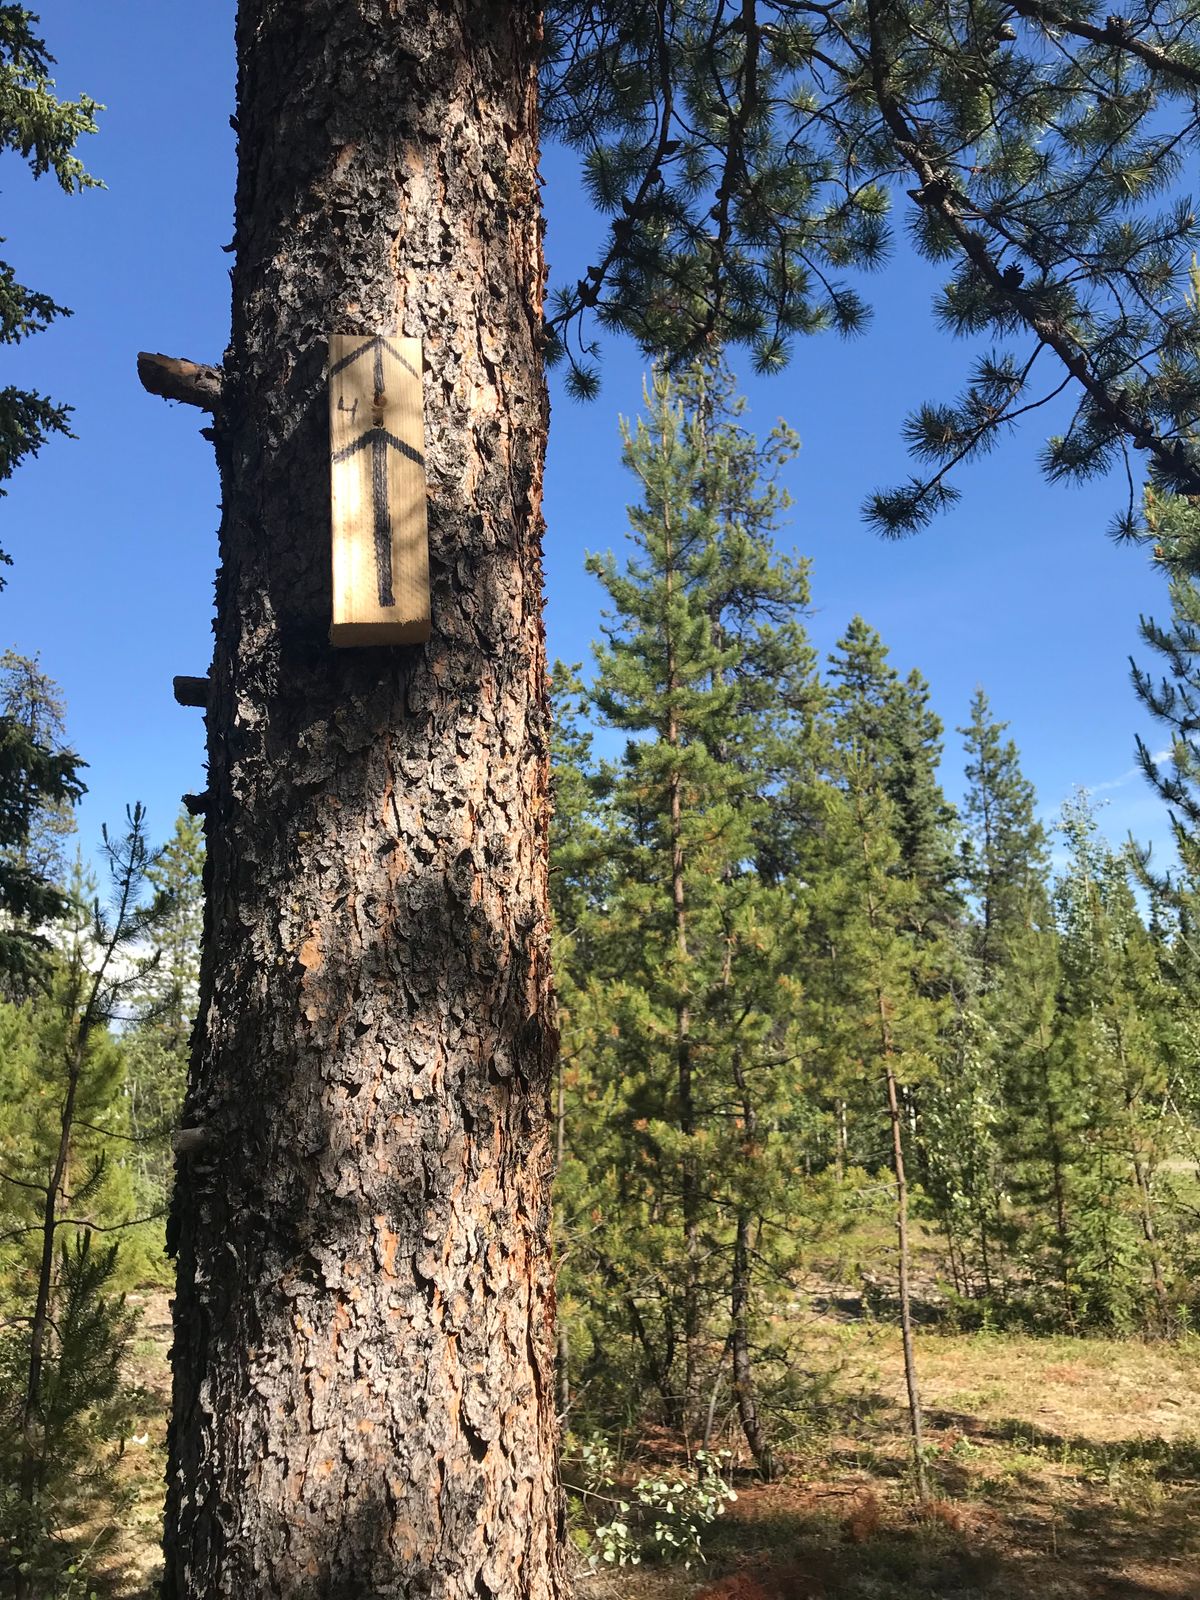
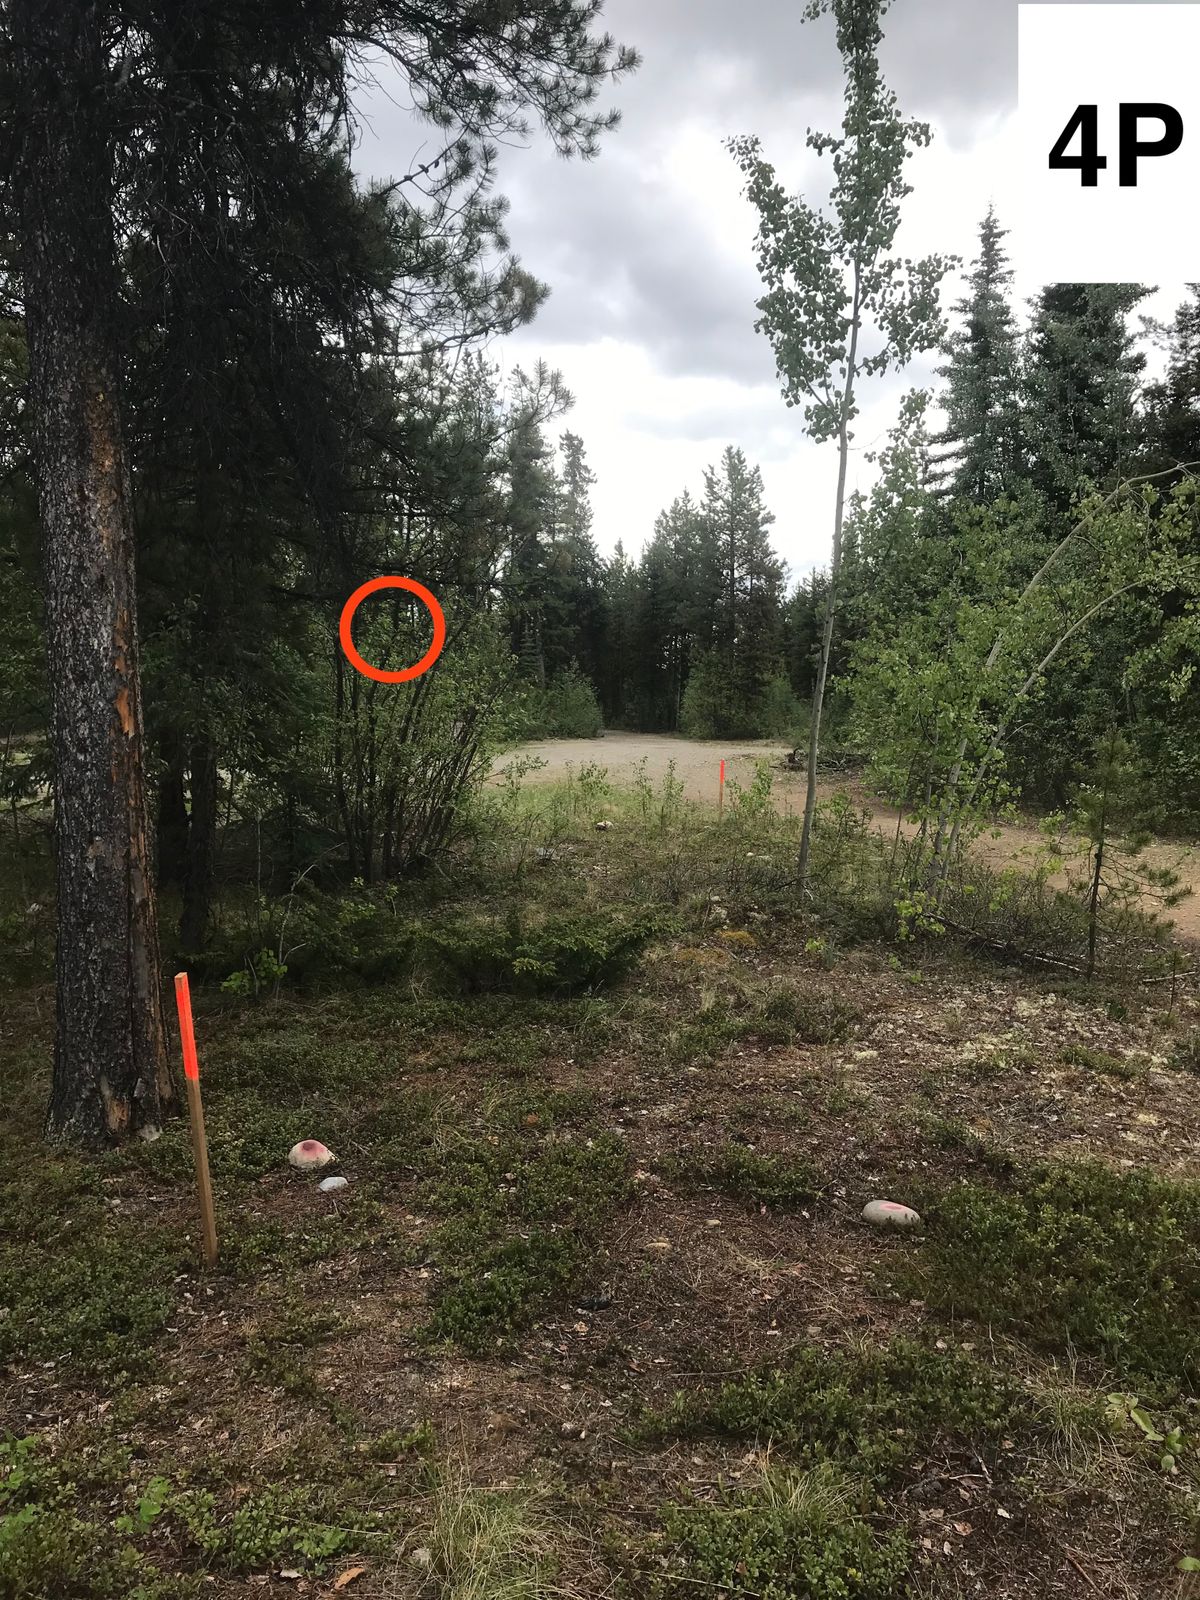
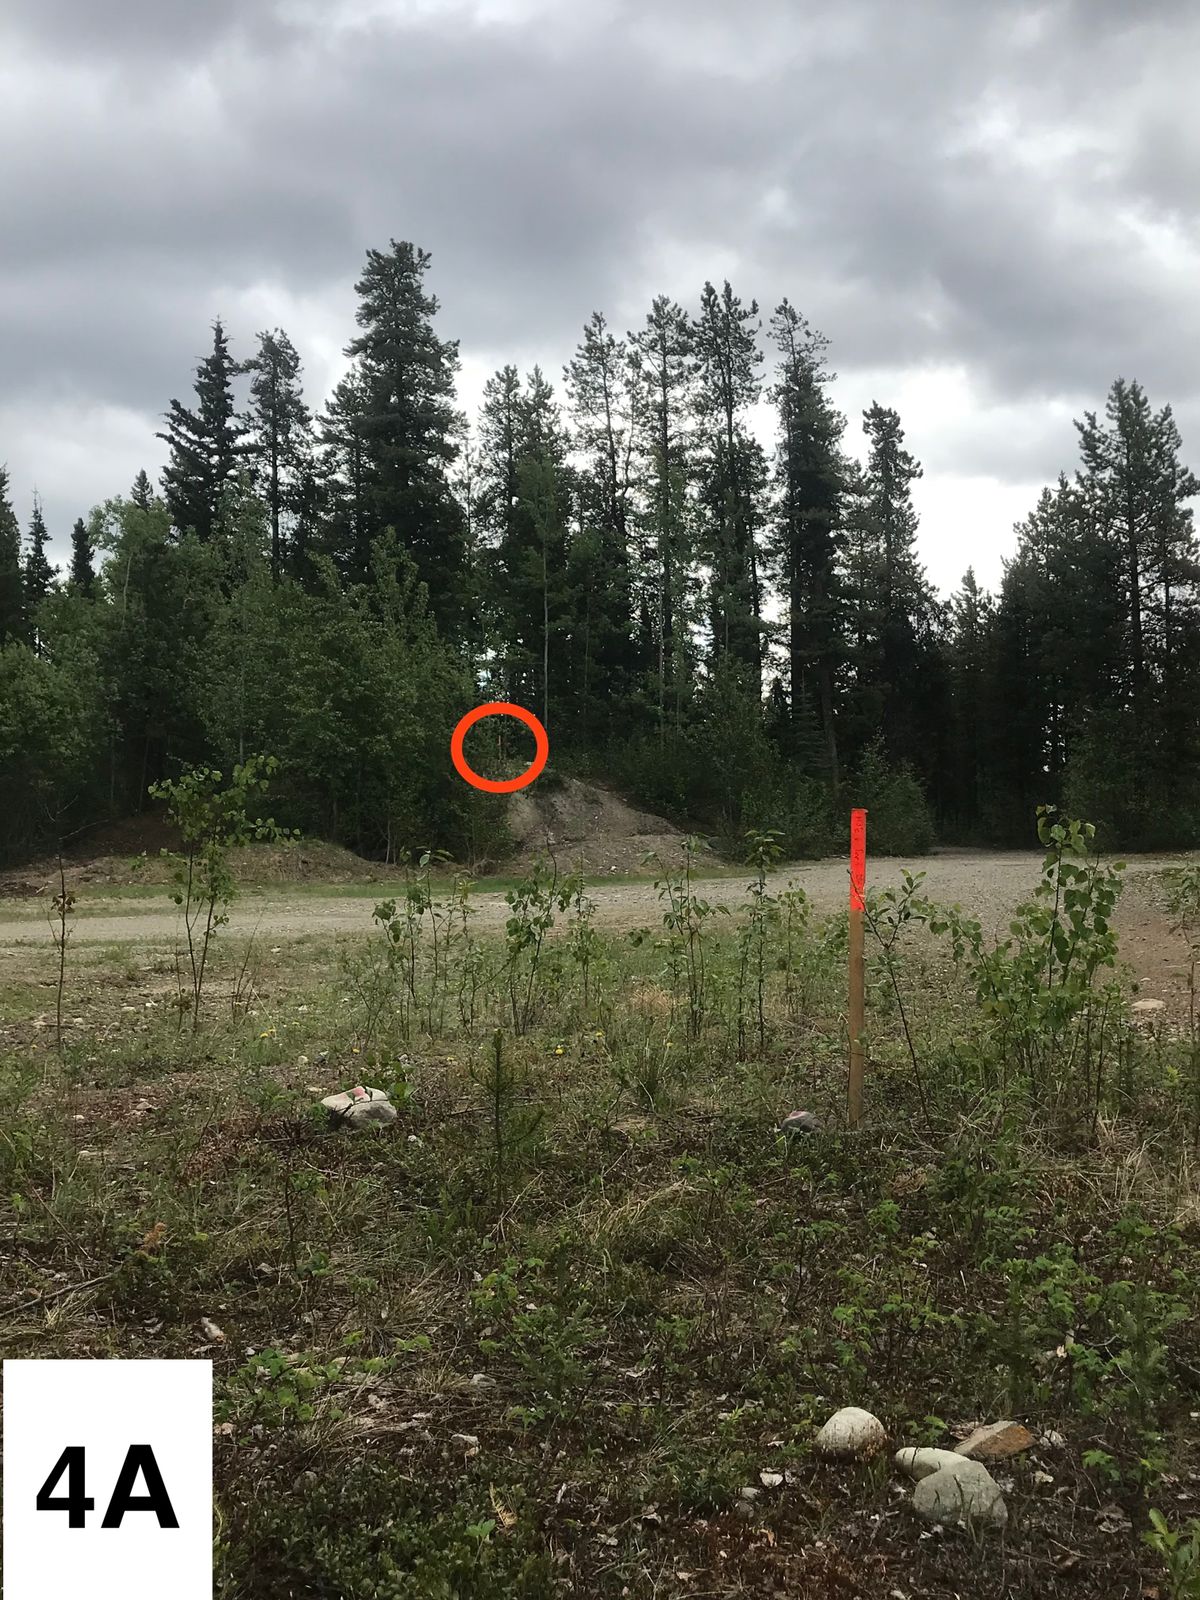
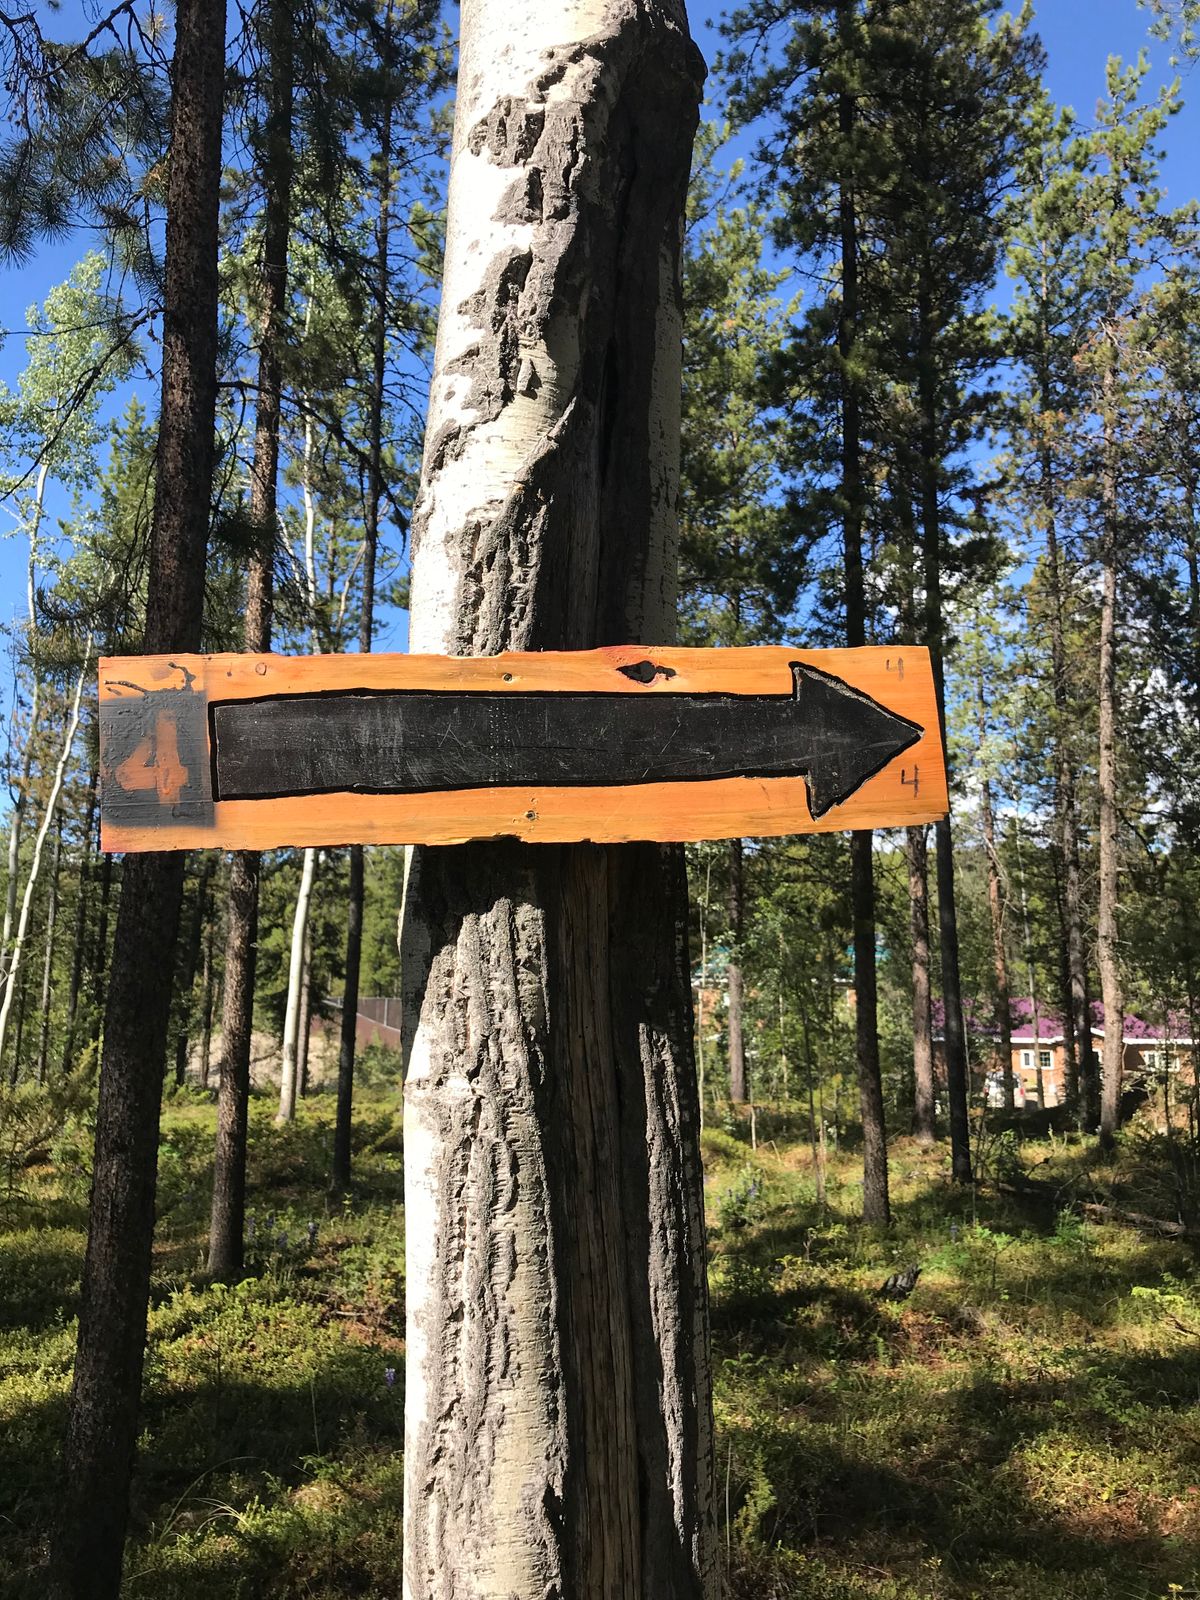
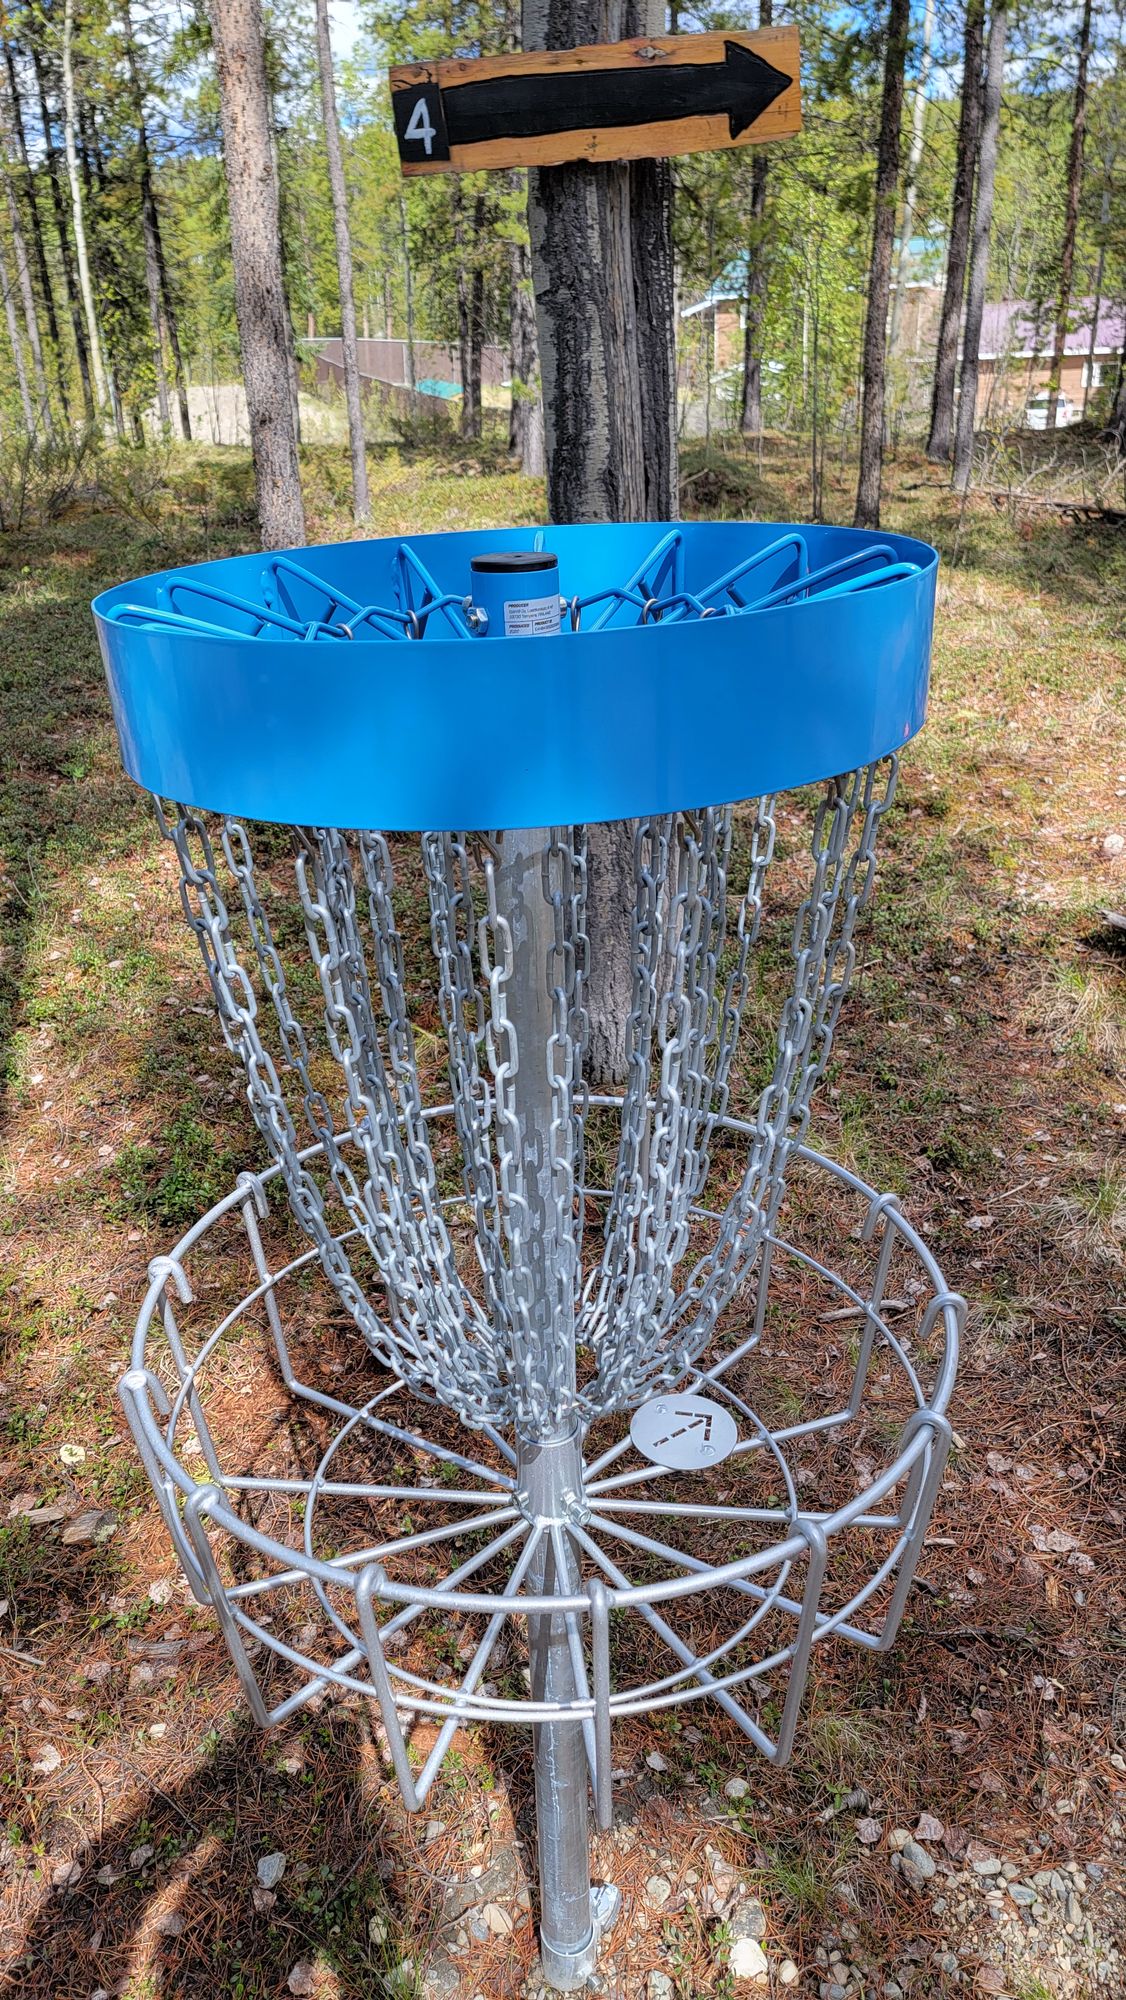
Hole 4
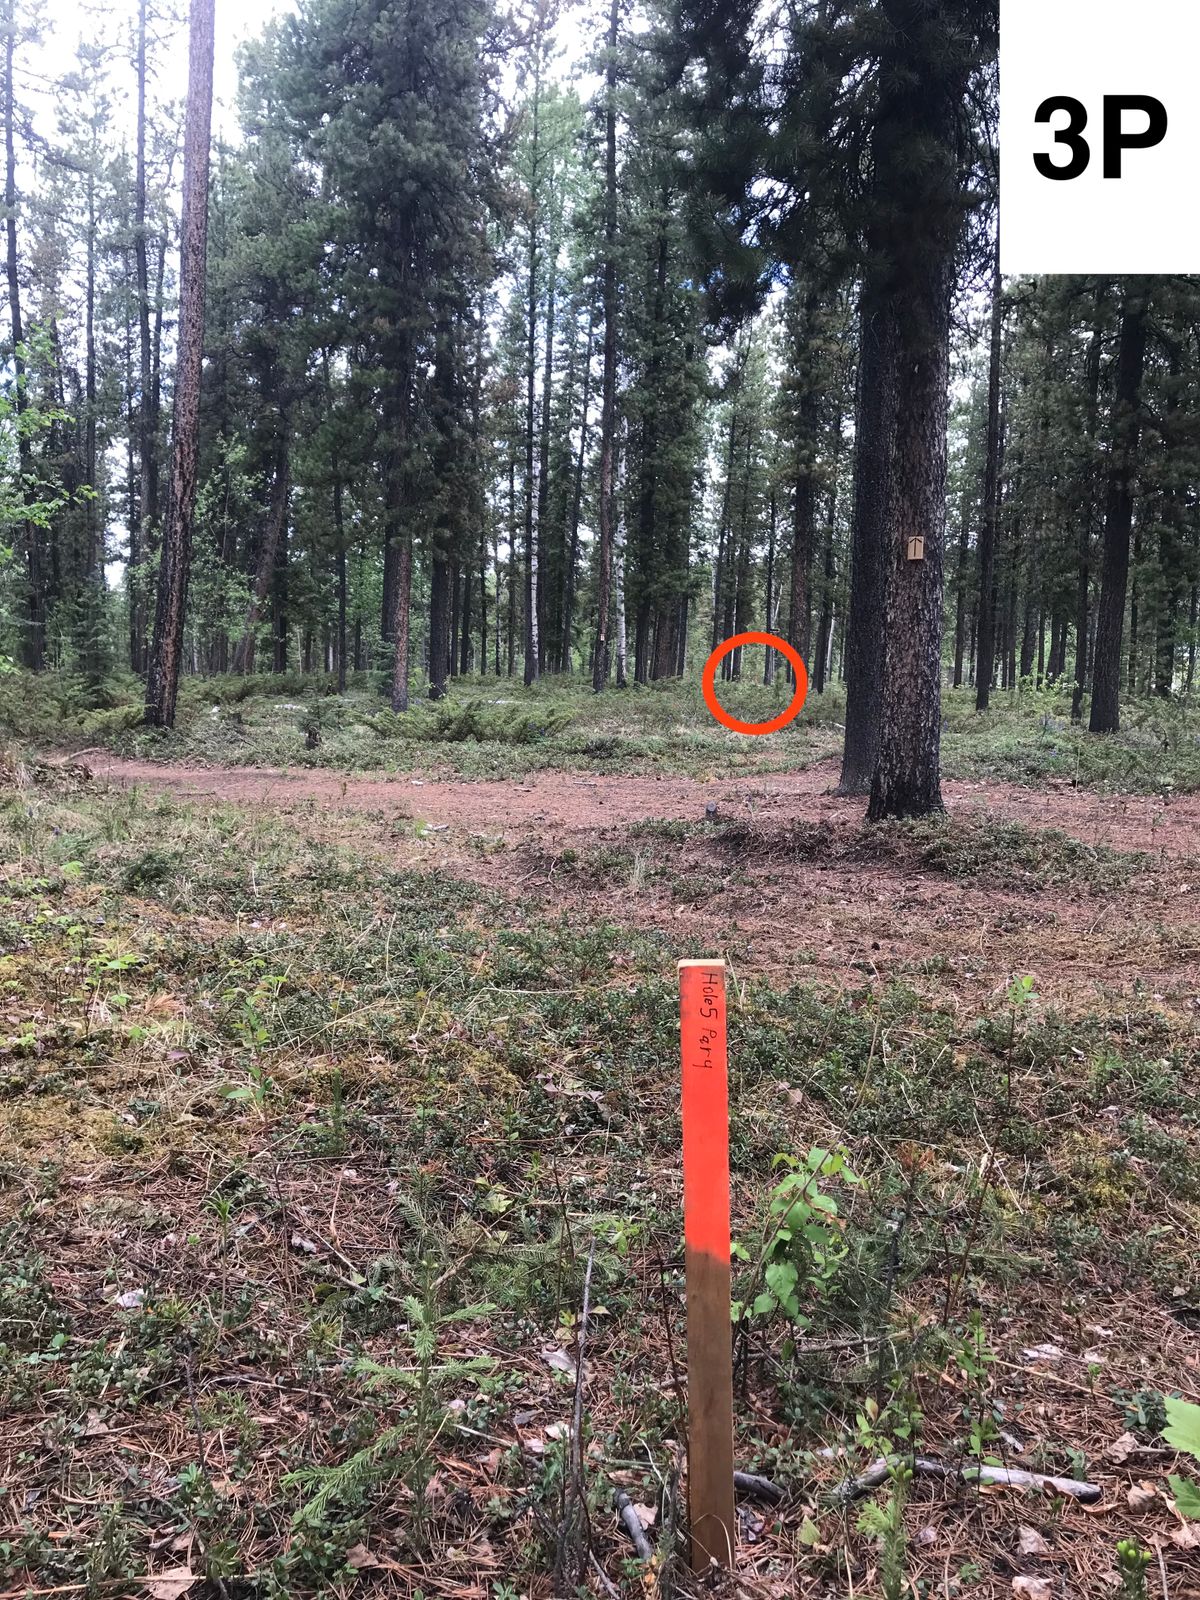
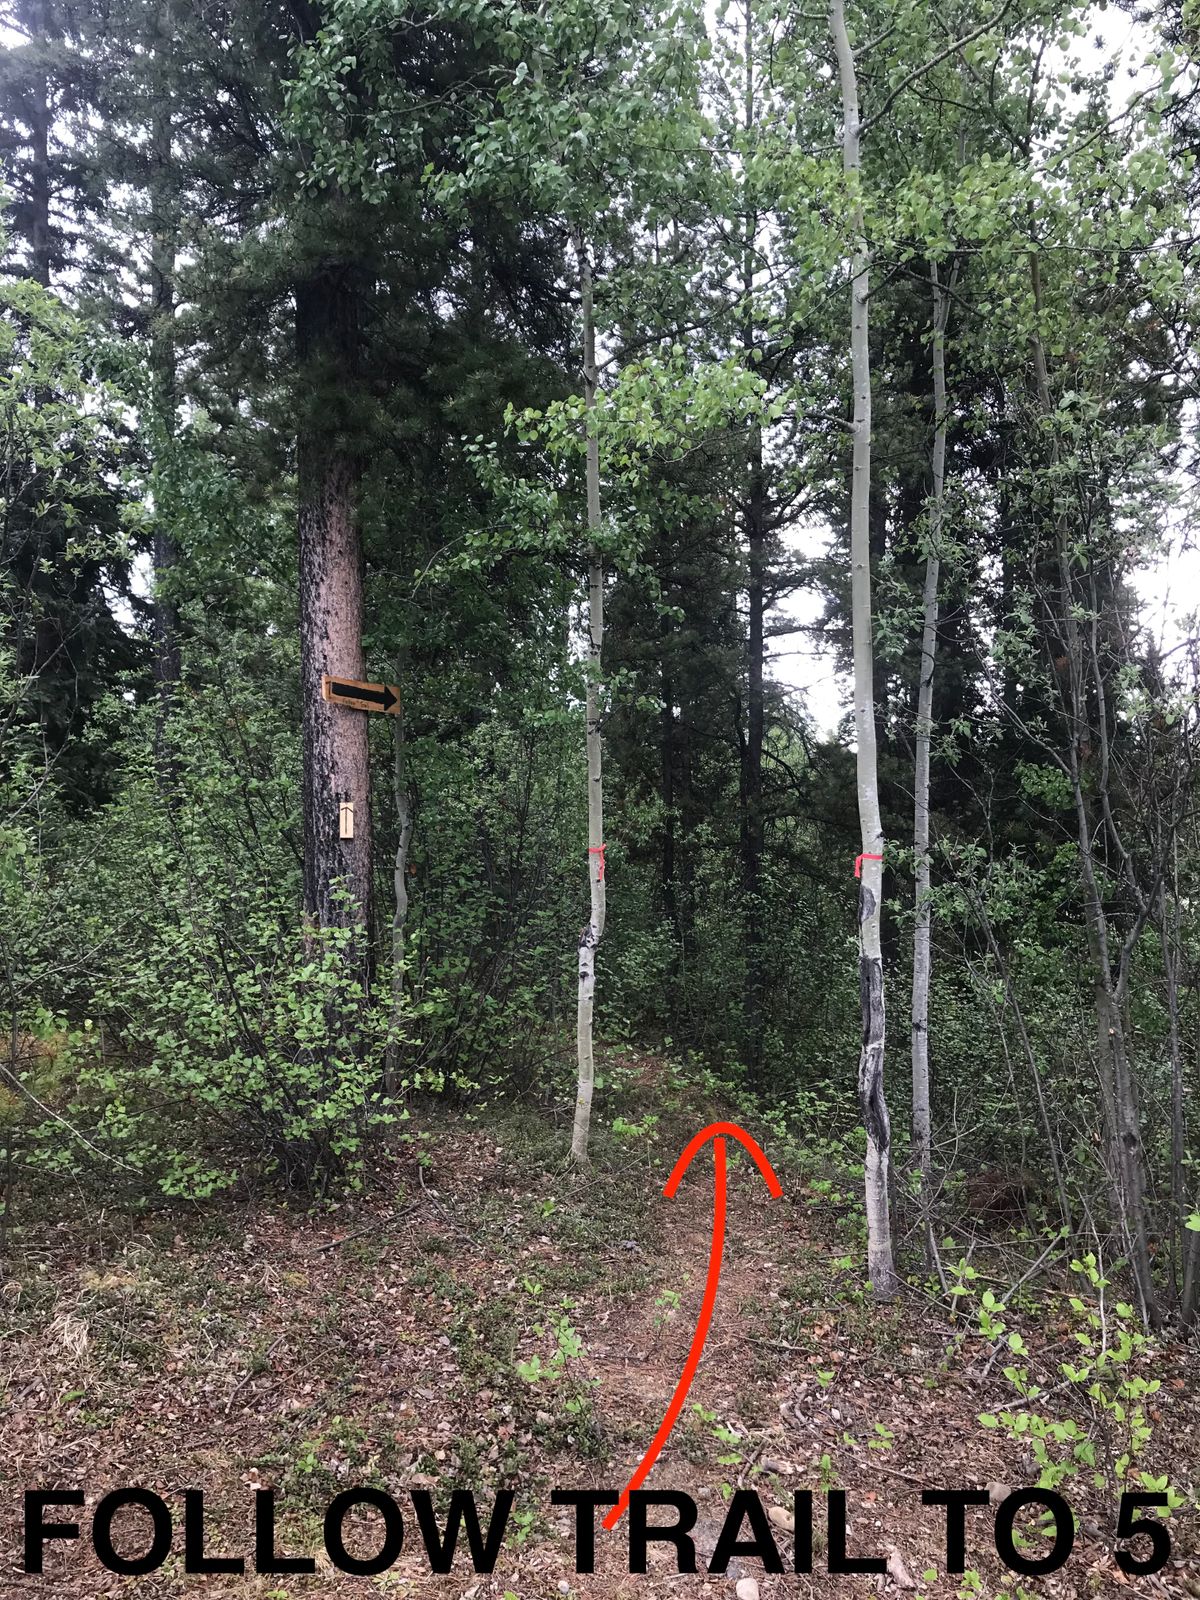
Hole 5
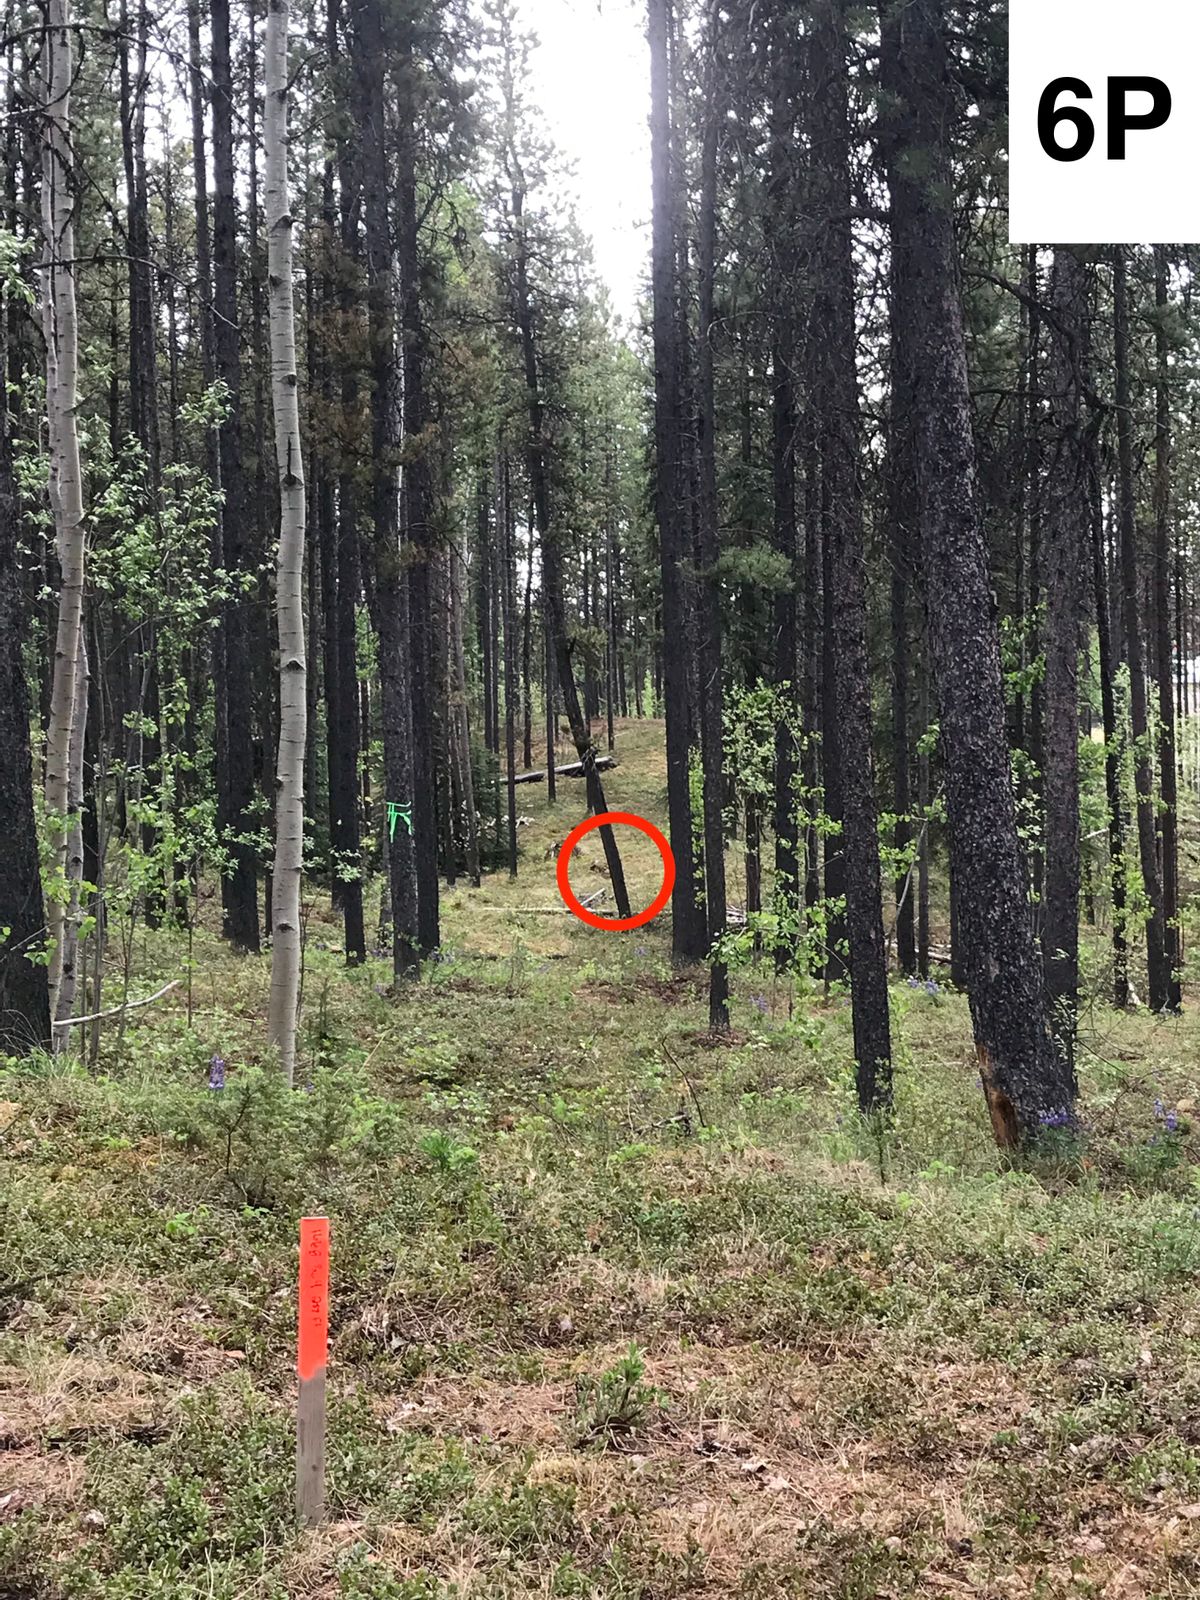
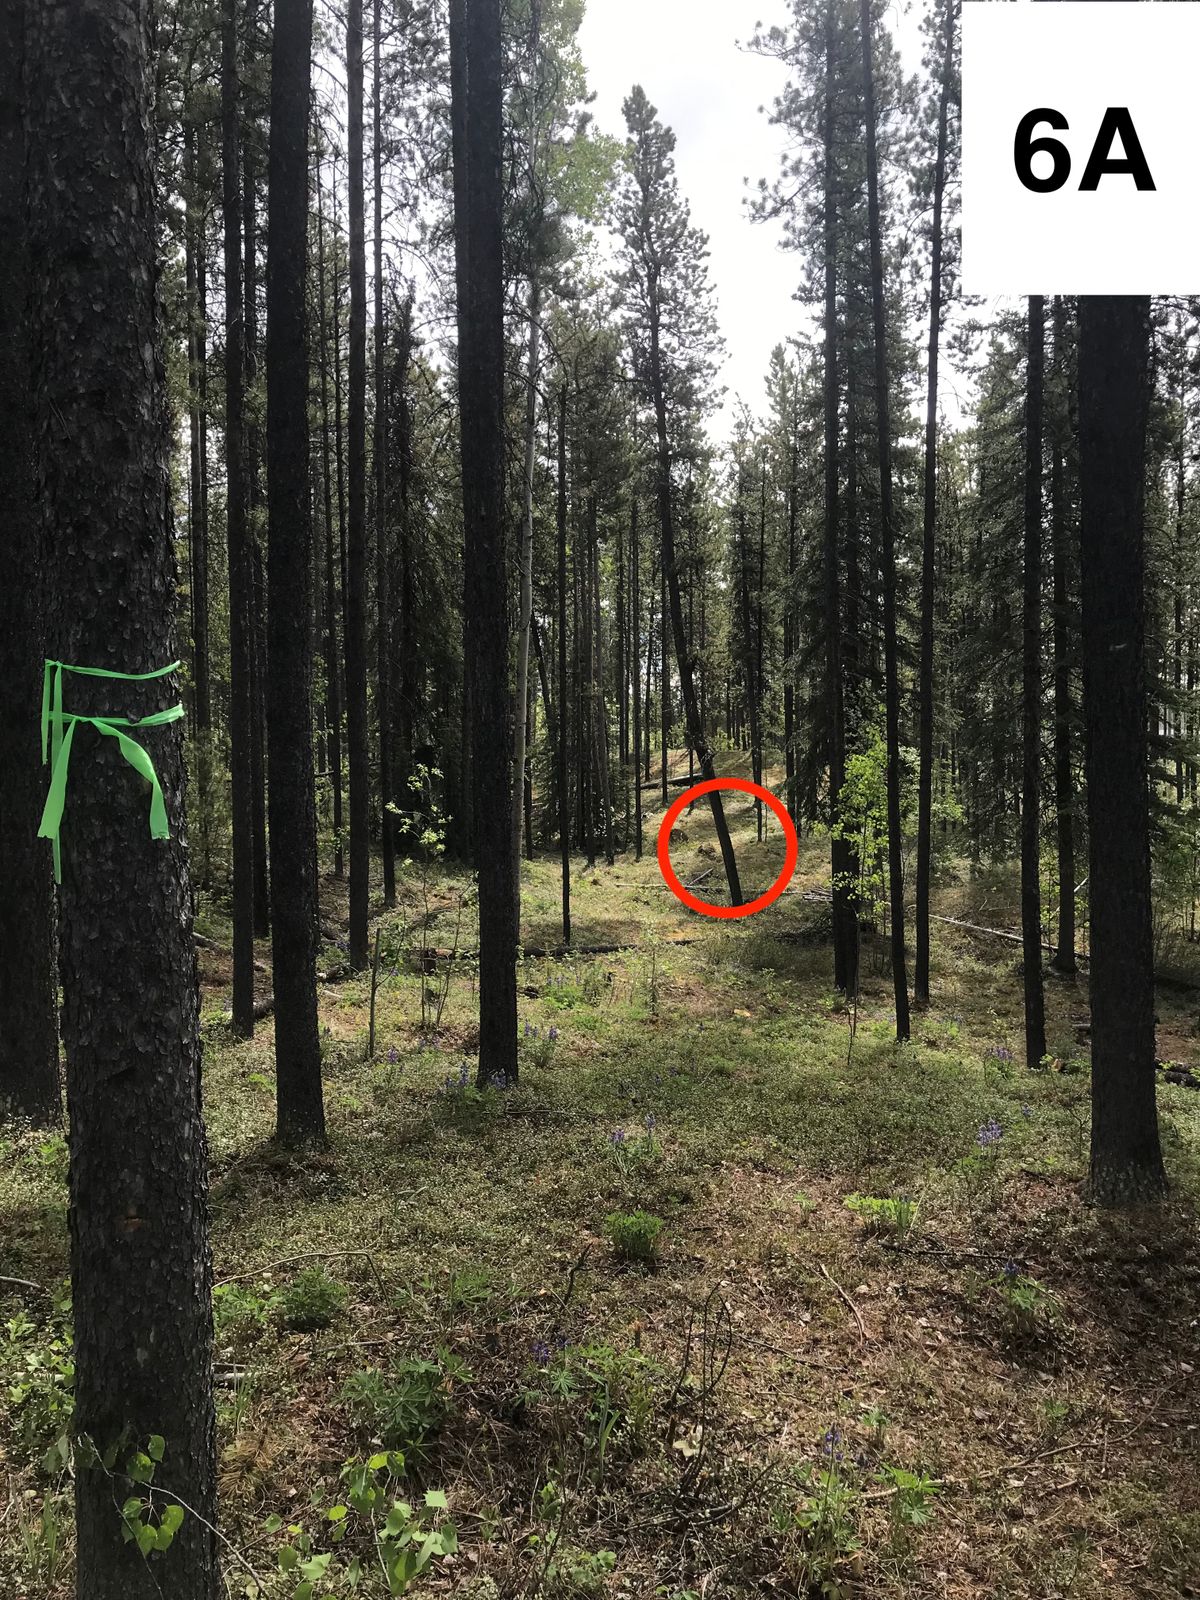
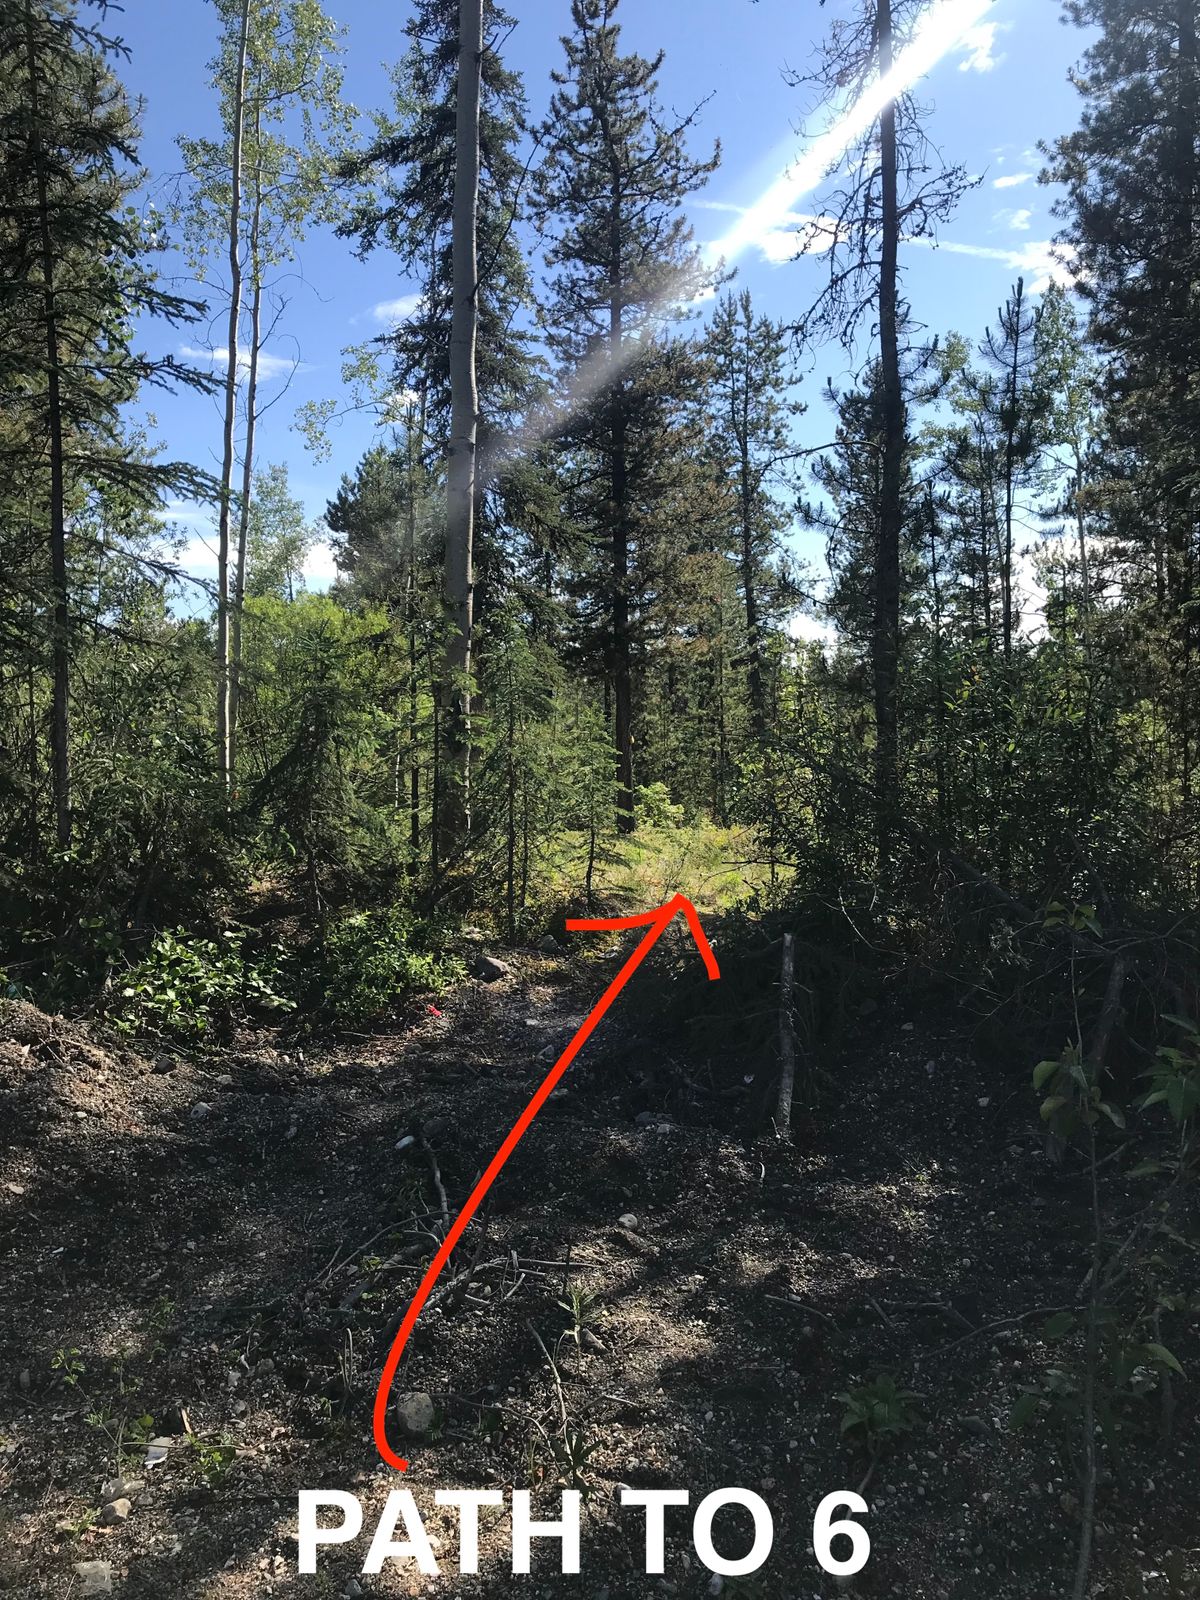
Hole 6
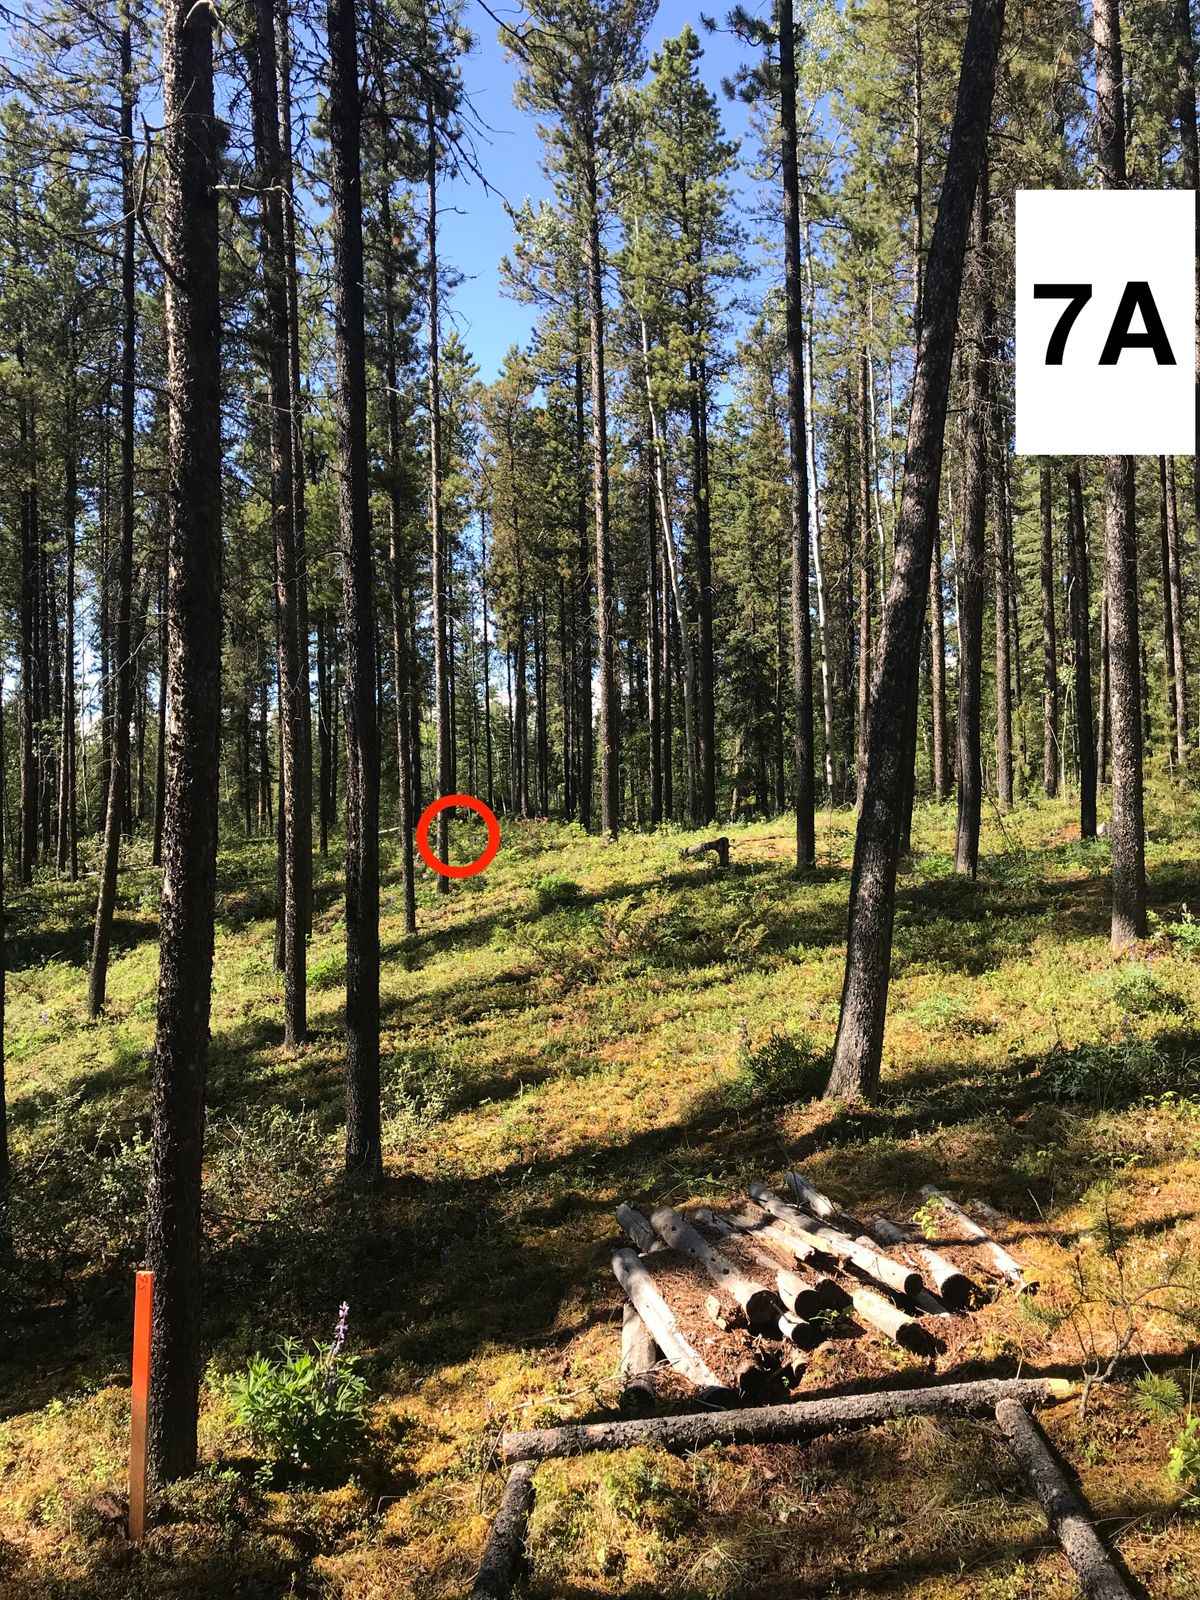
Hole 7
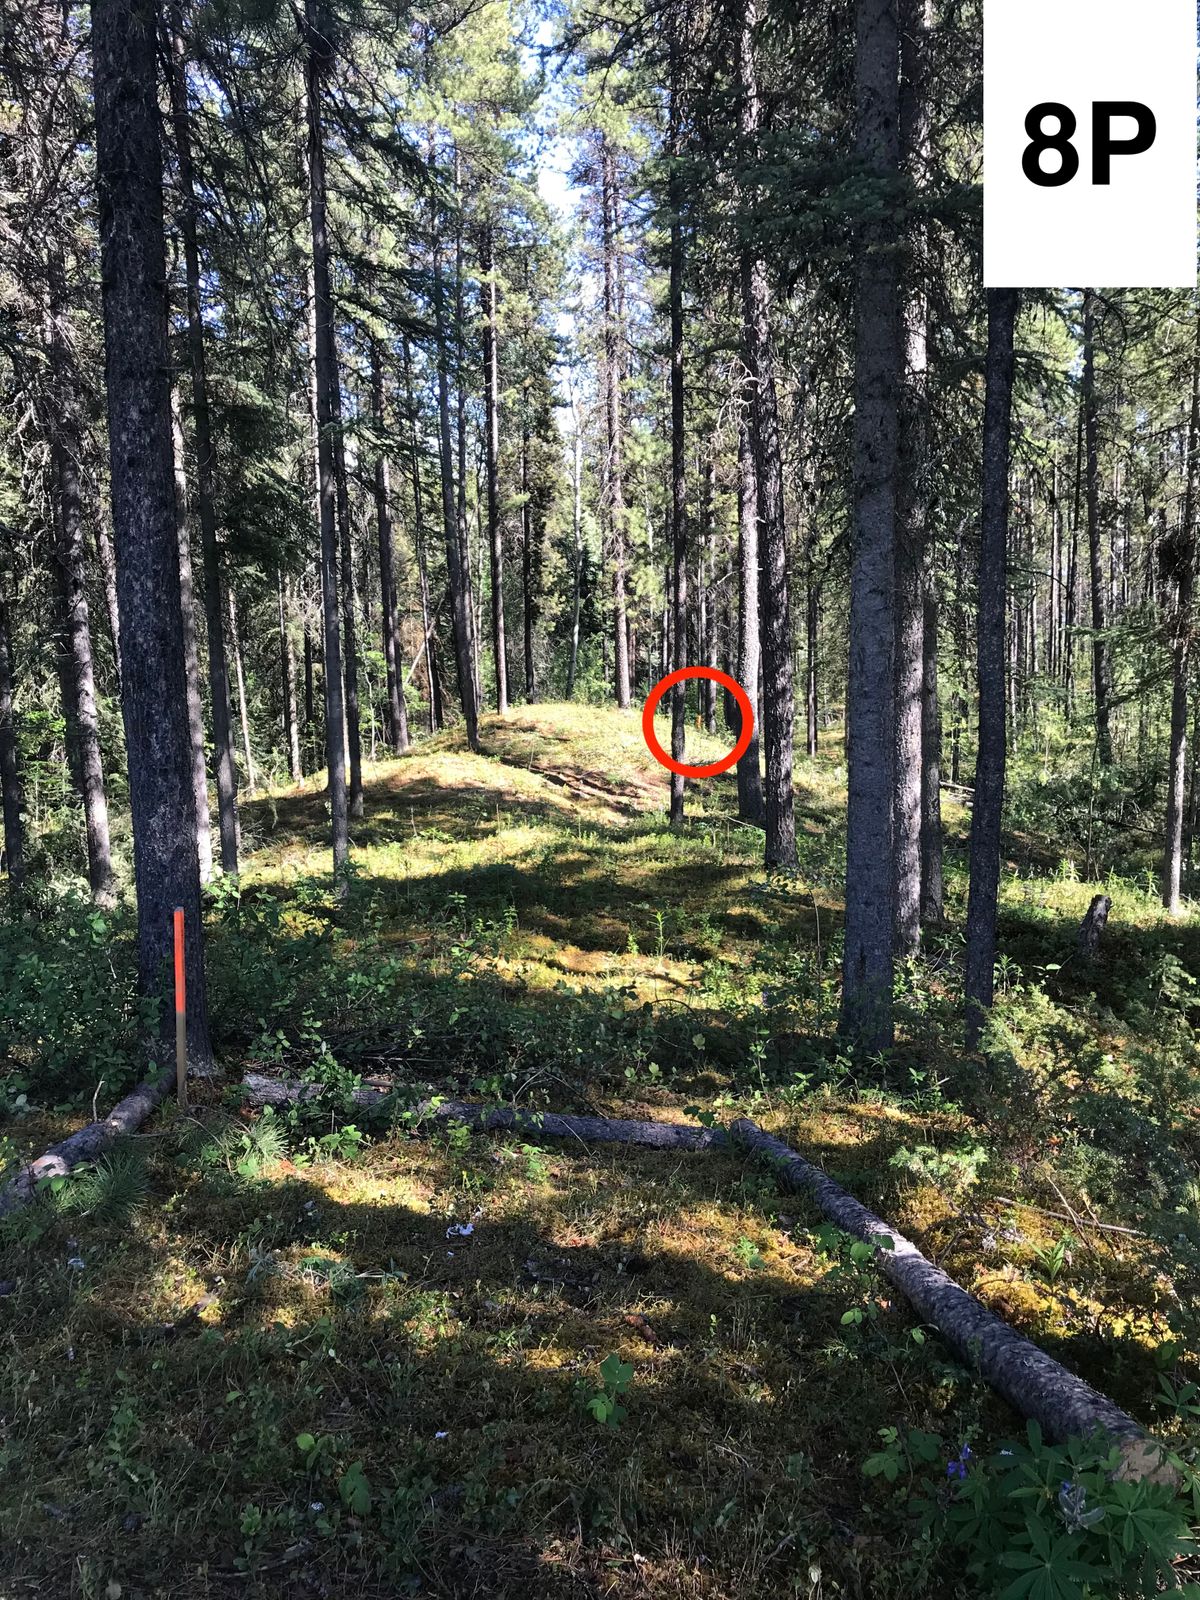
Hole 8
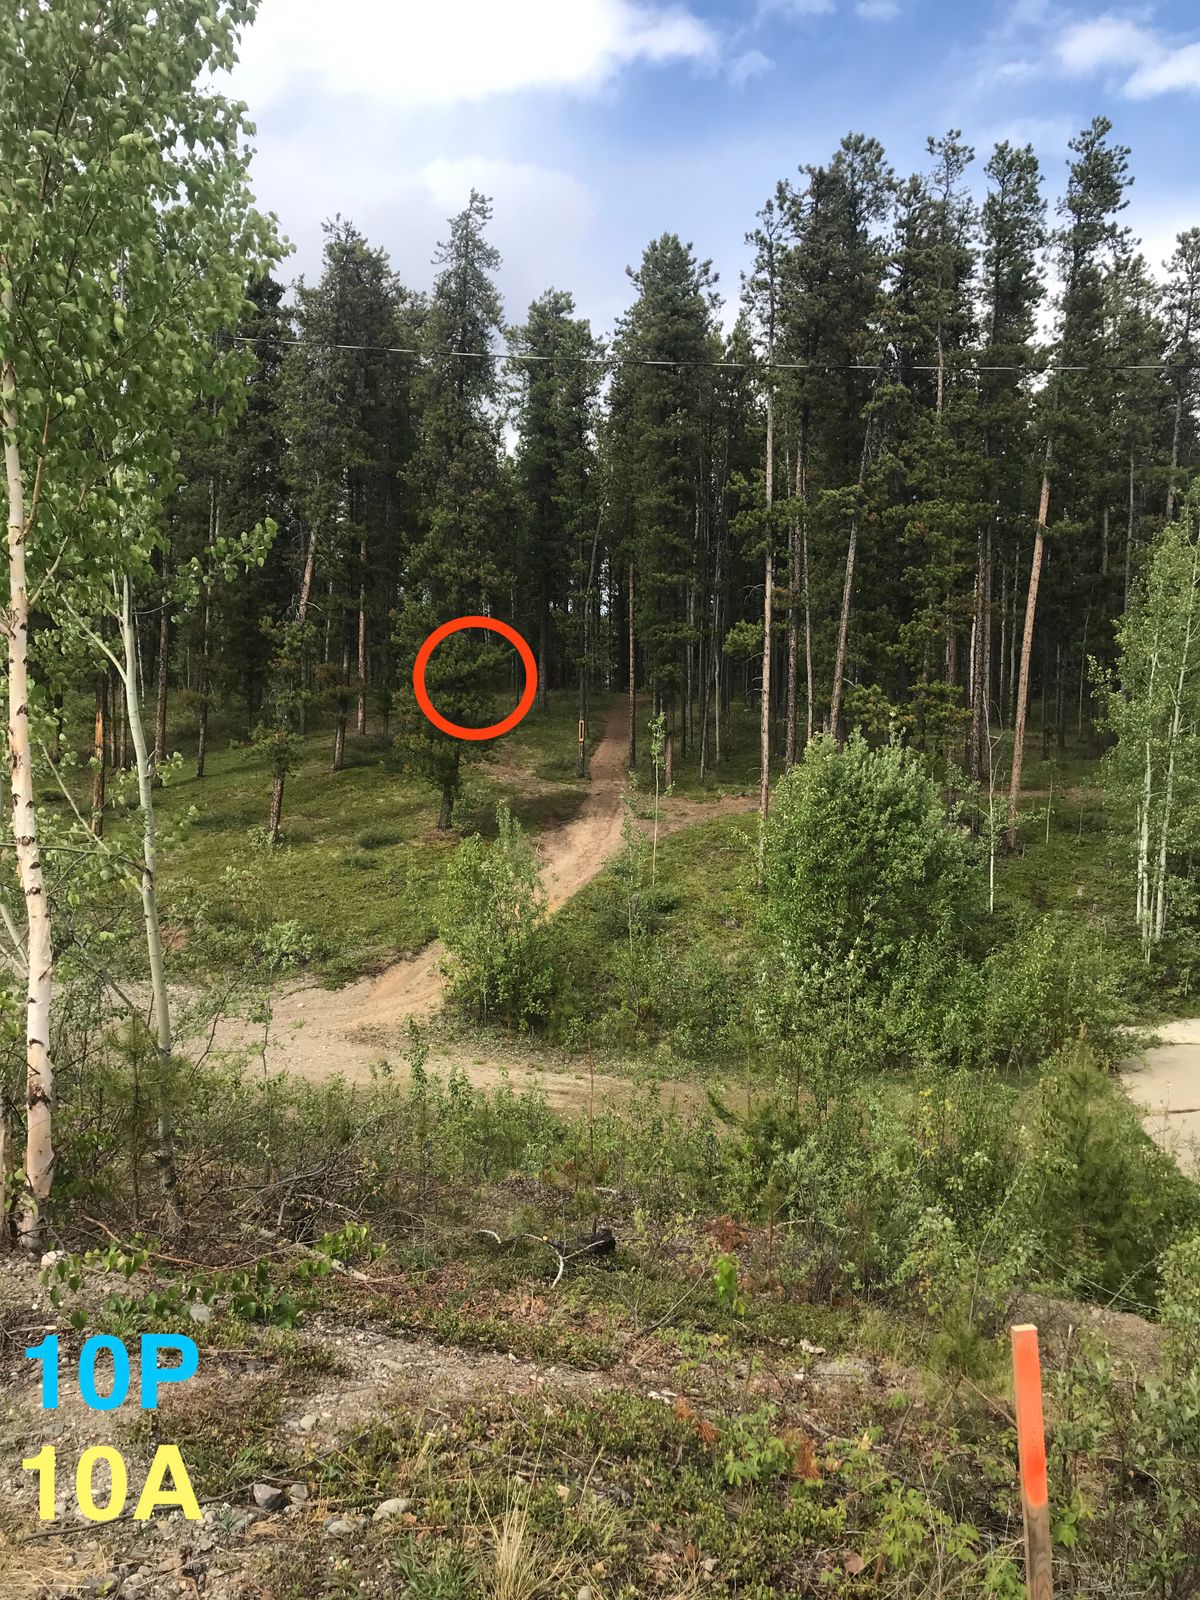
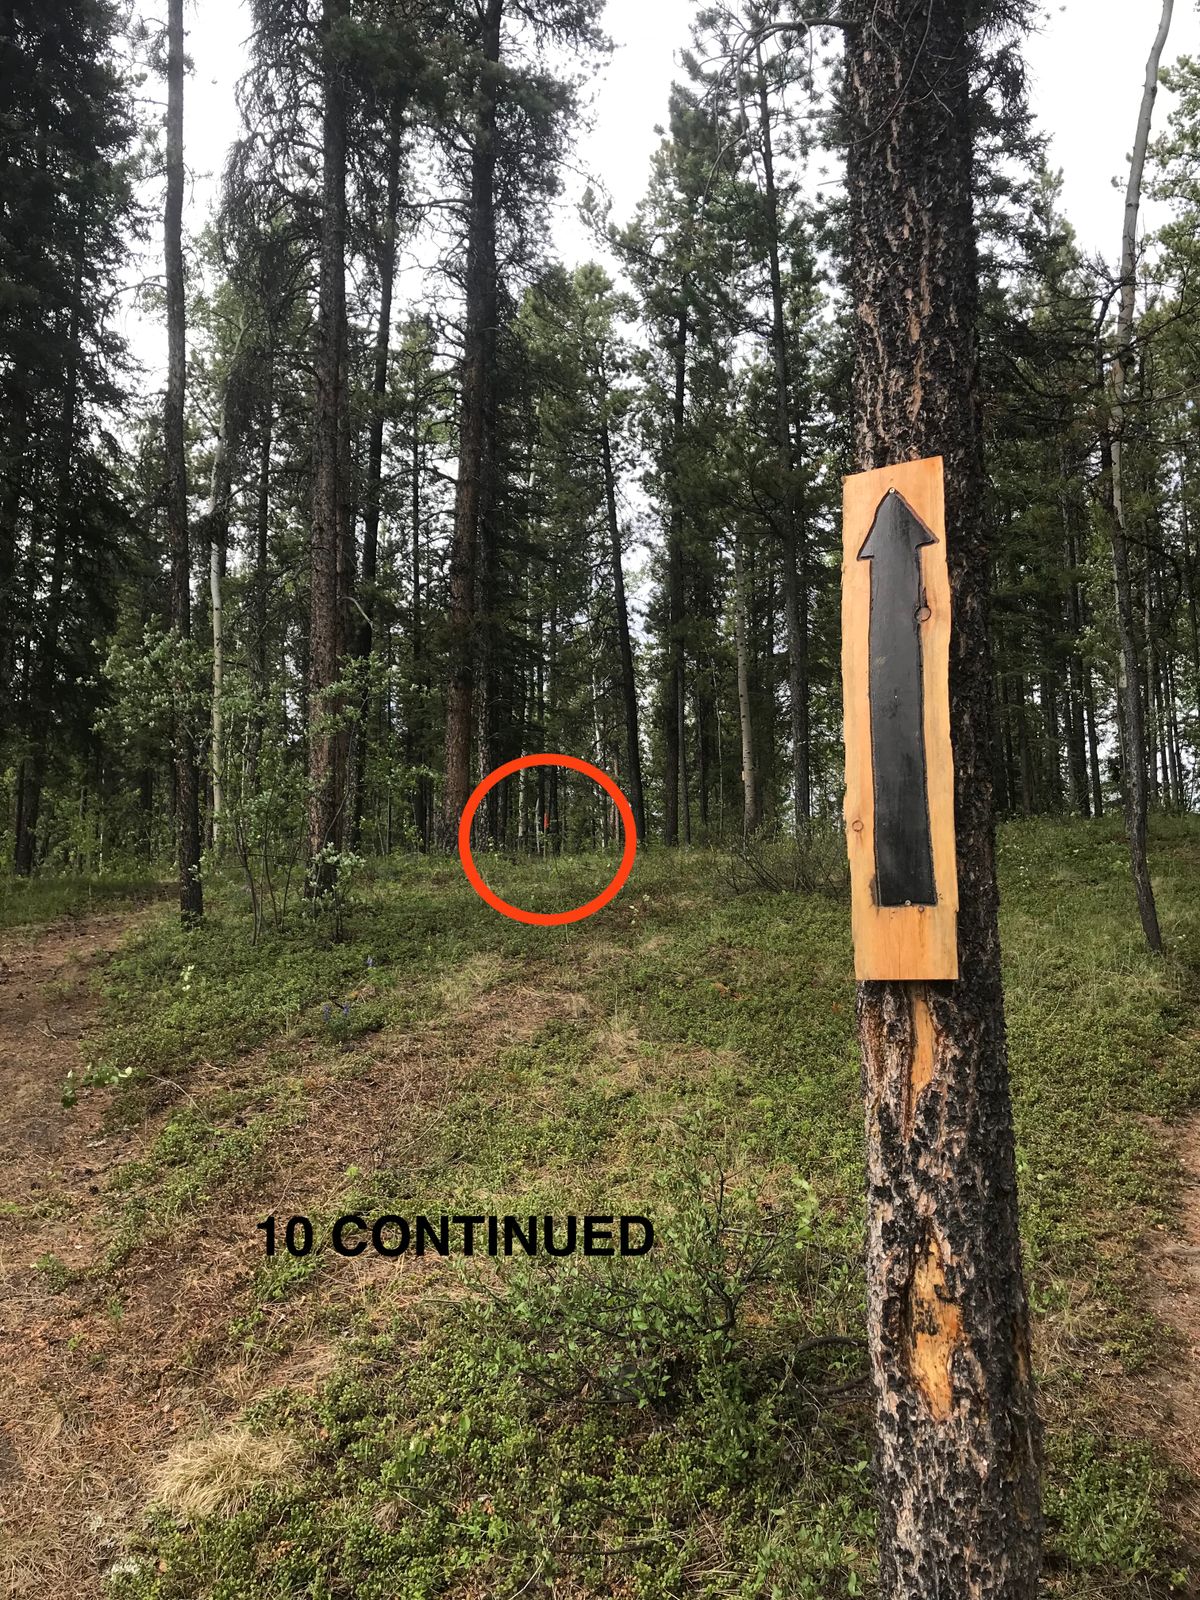
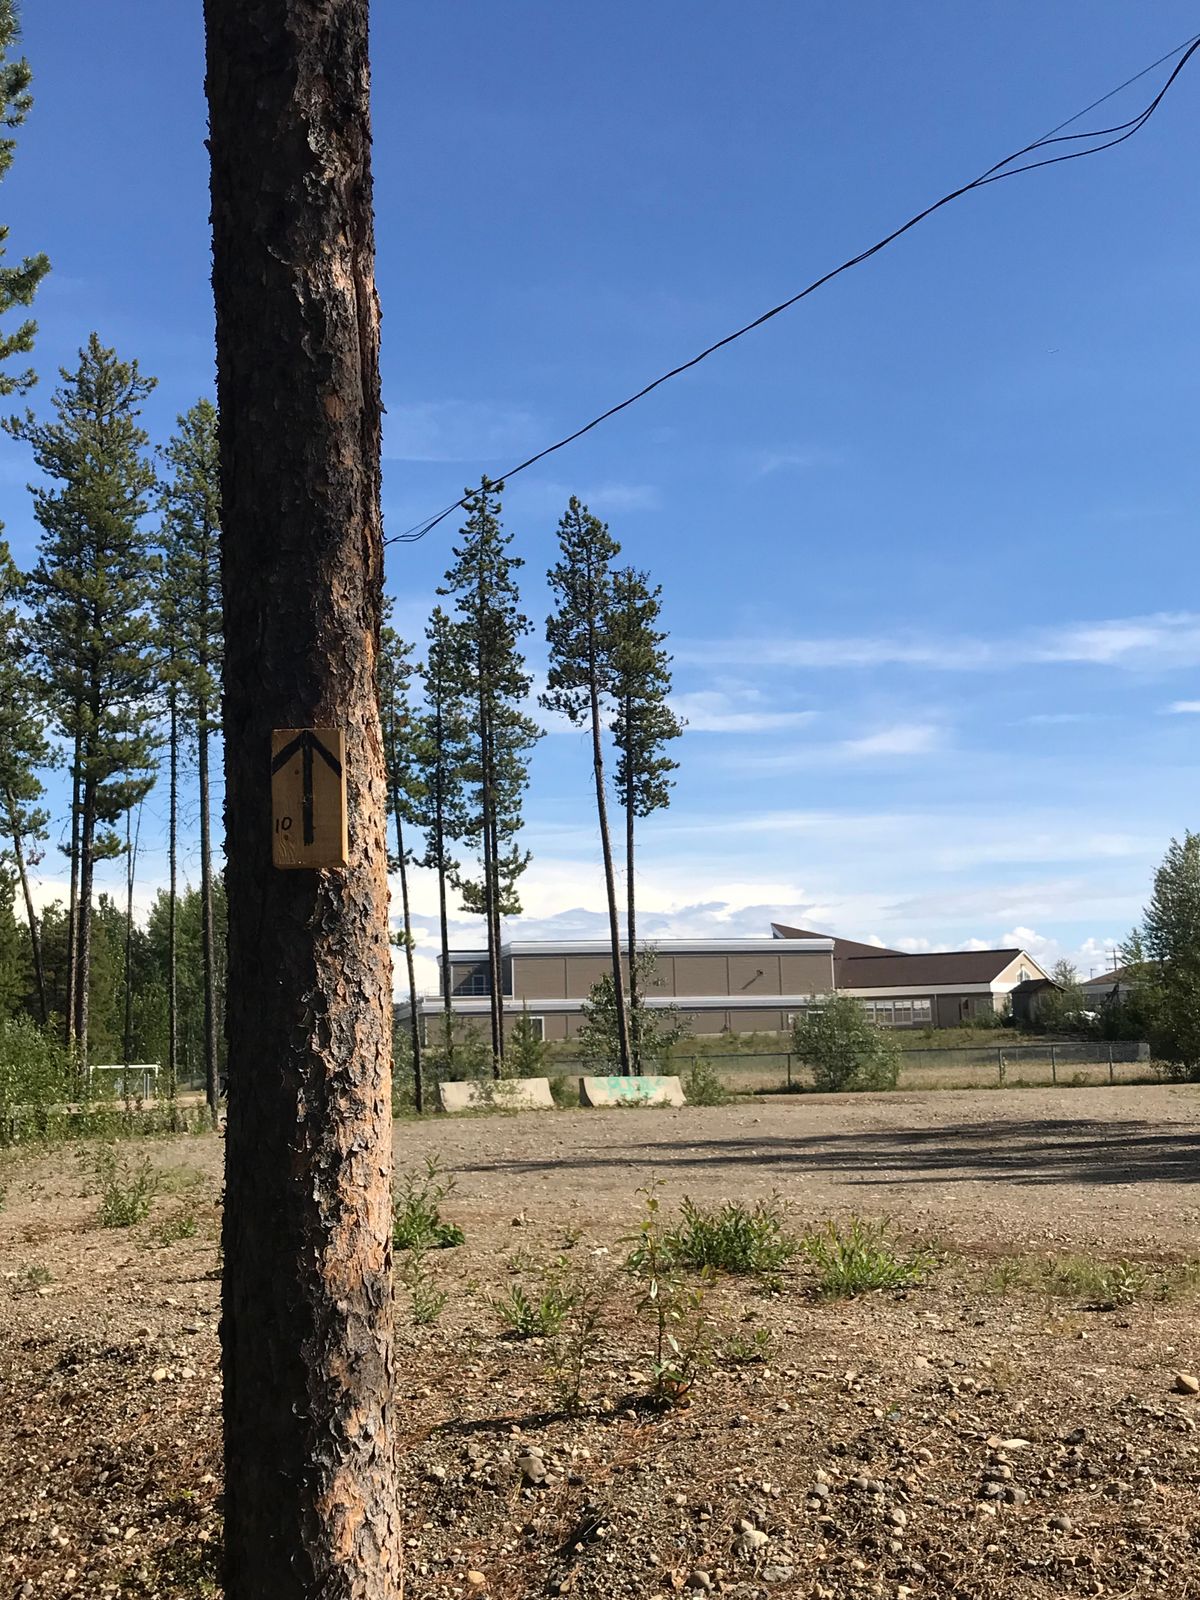
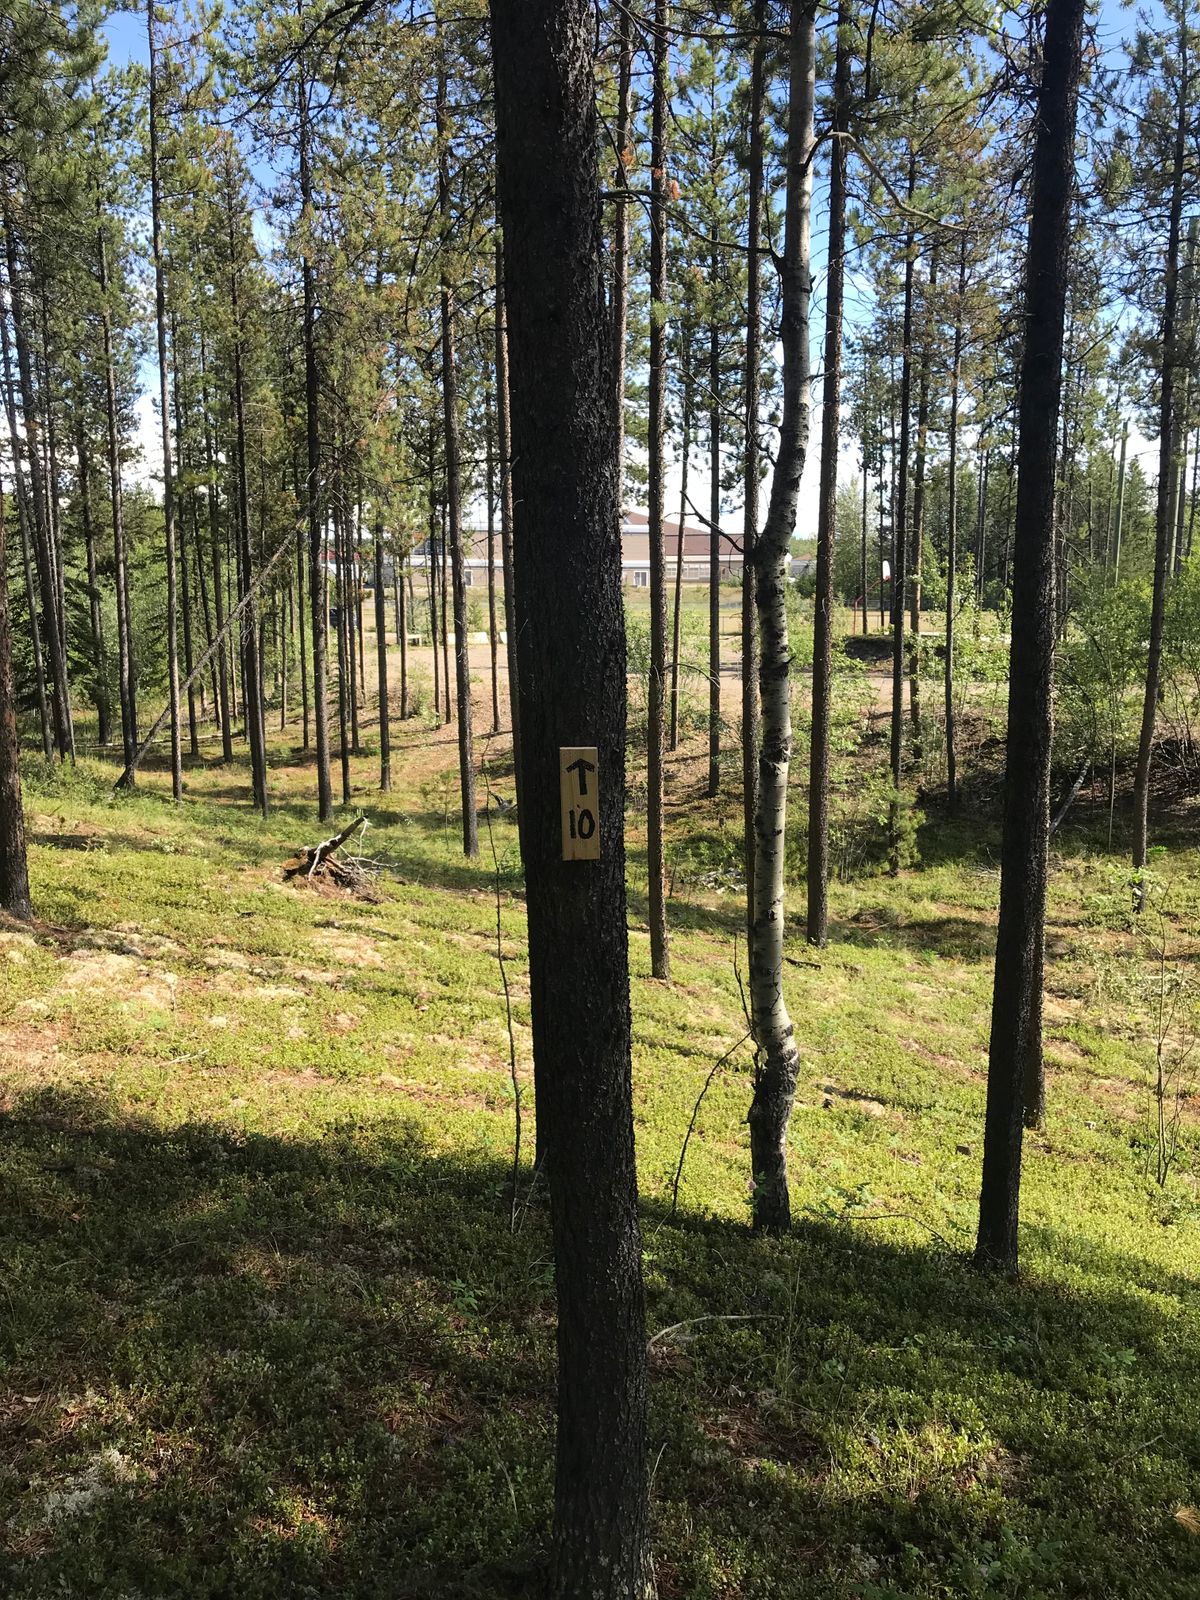
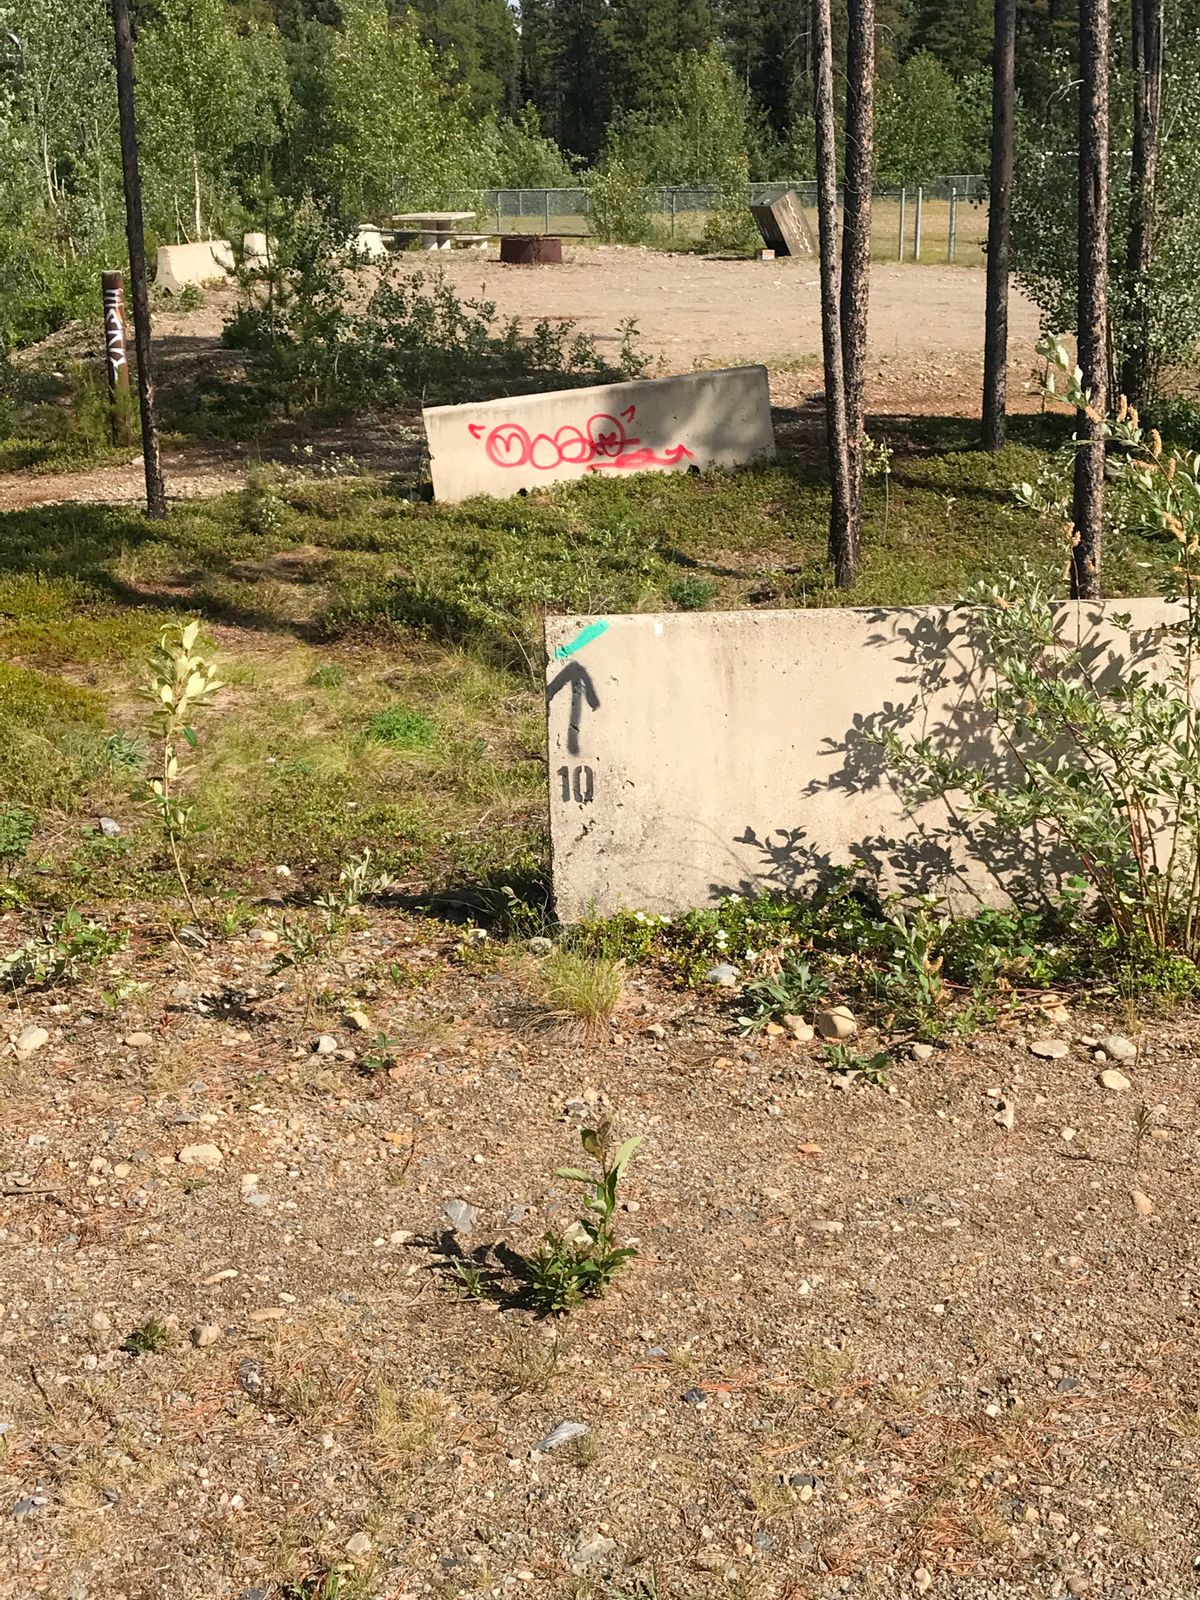
Hole 10
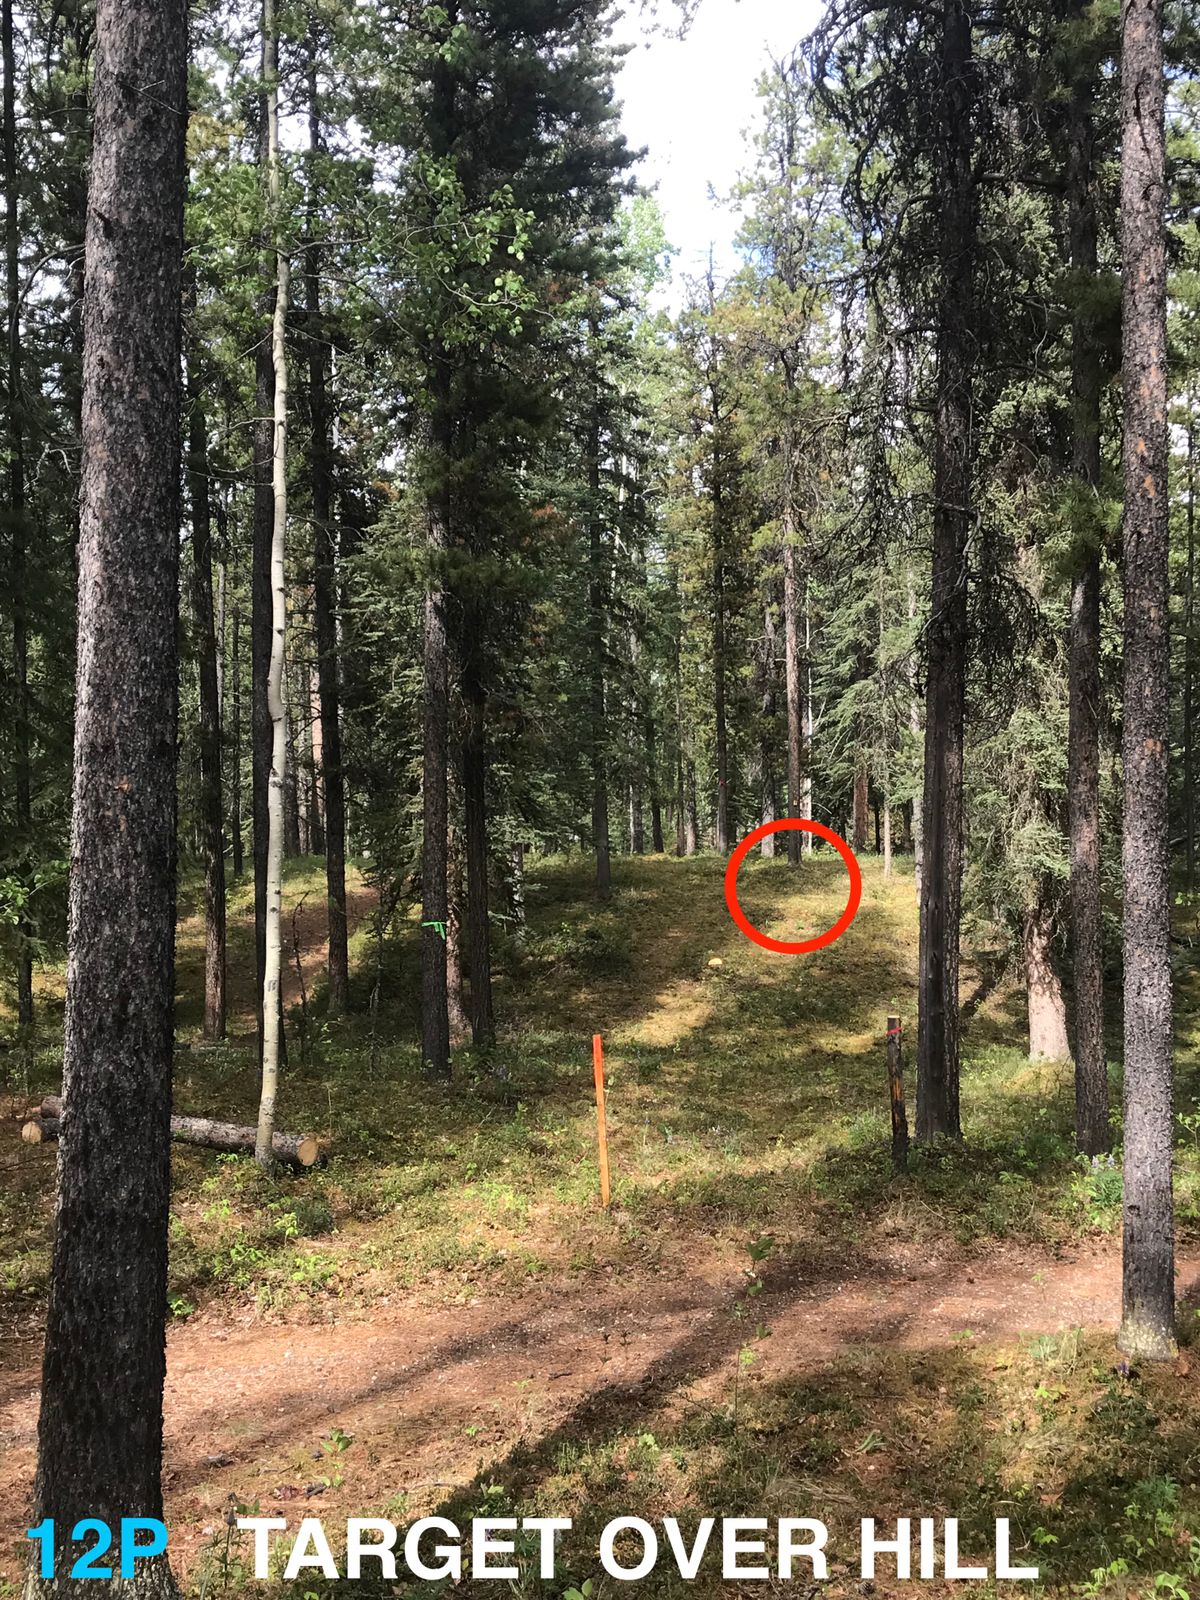
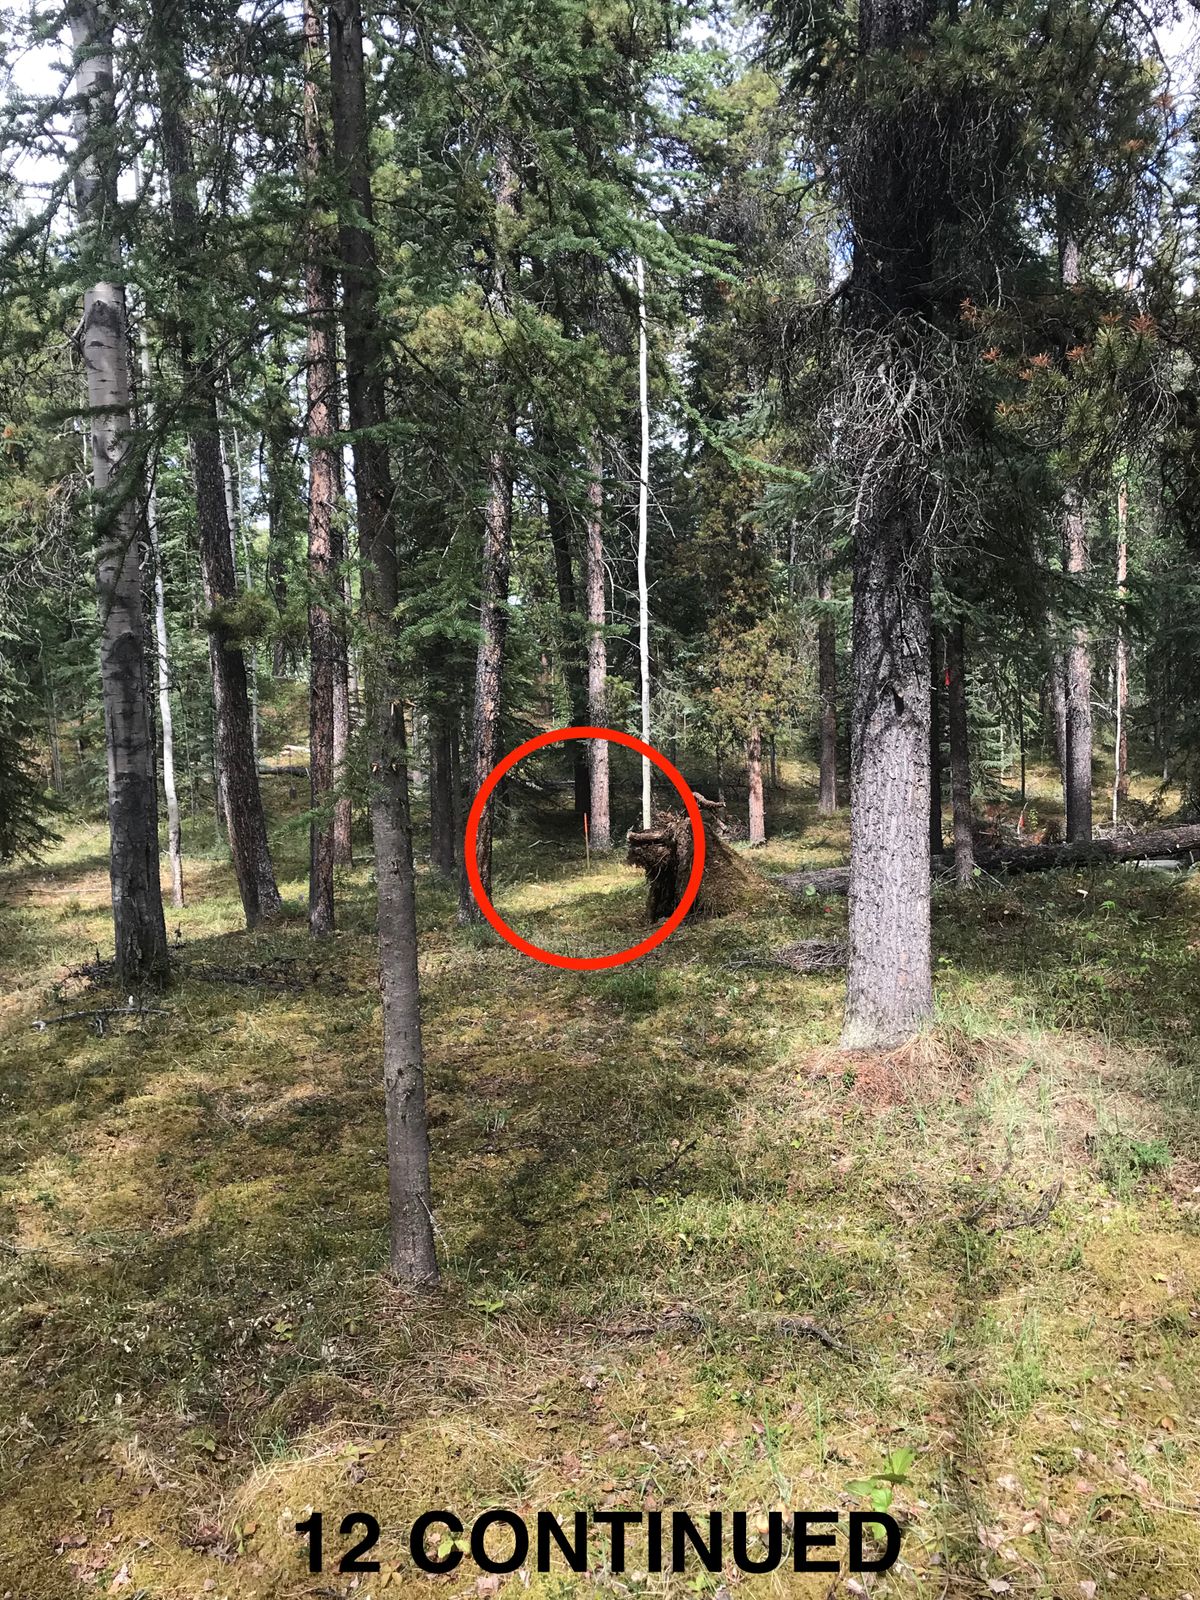
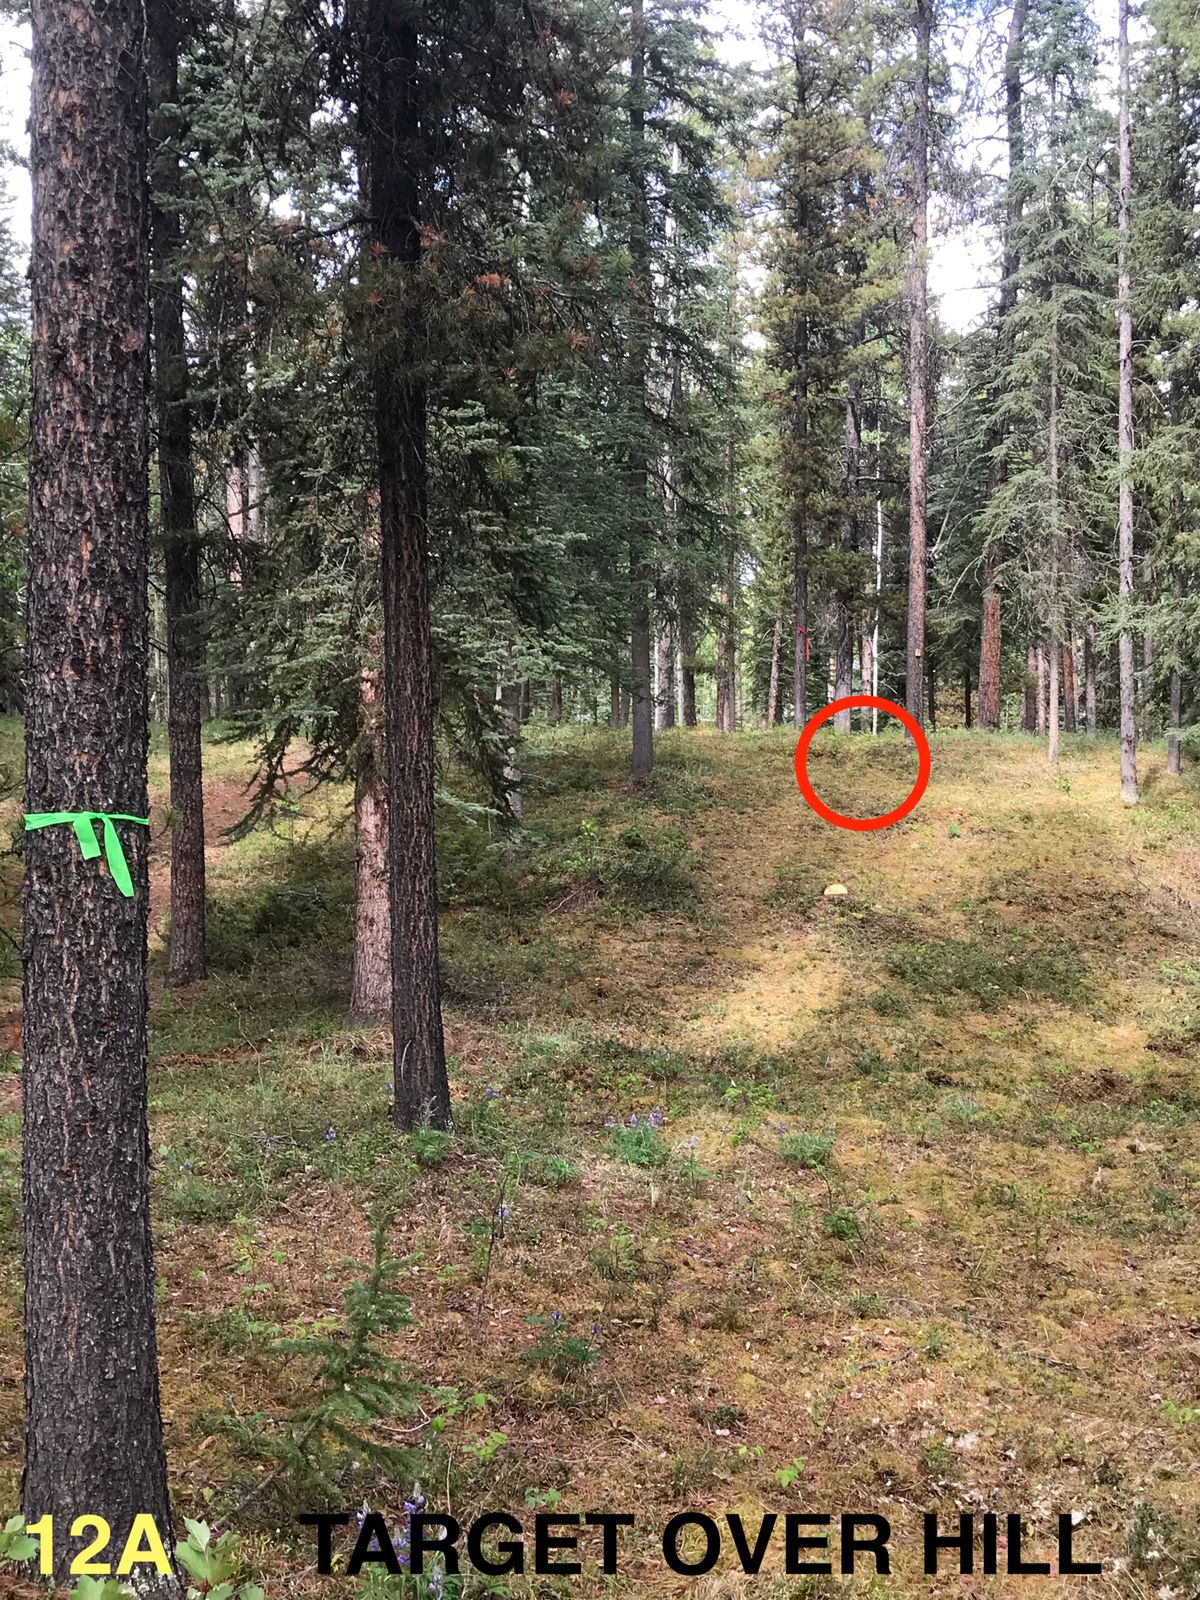
Hole 12
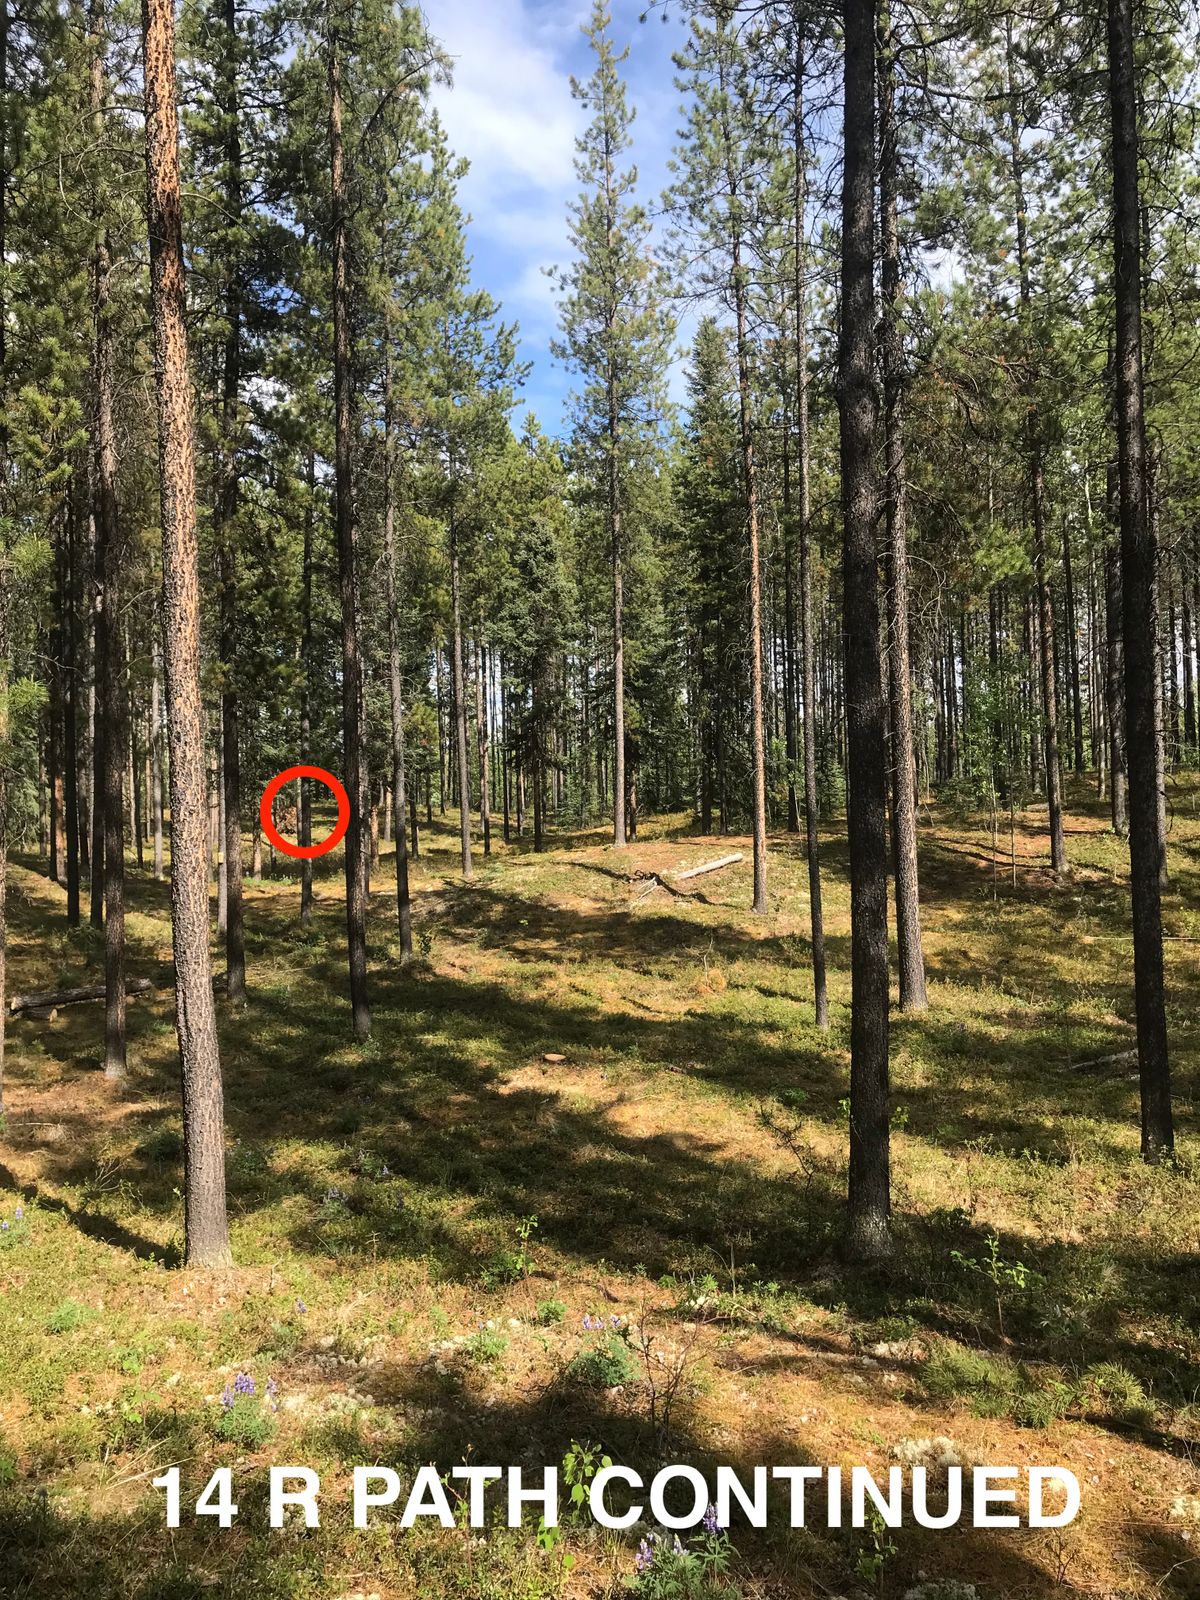
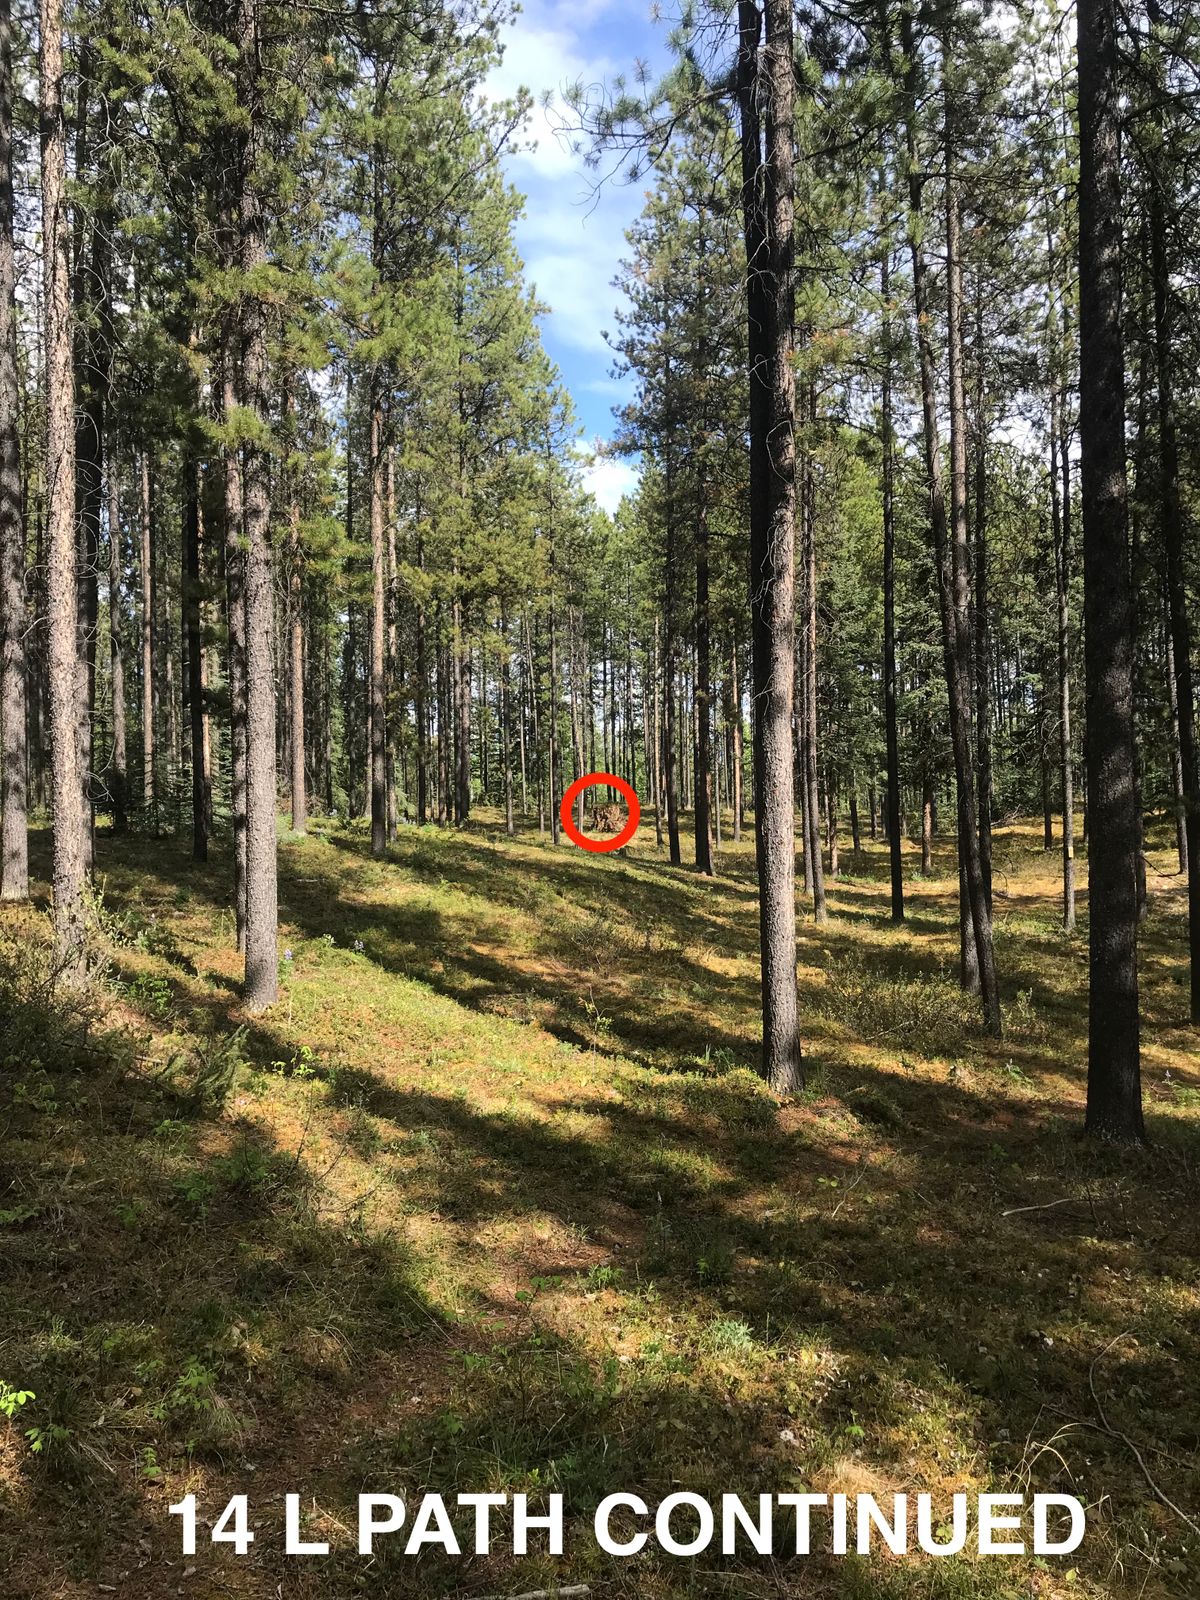
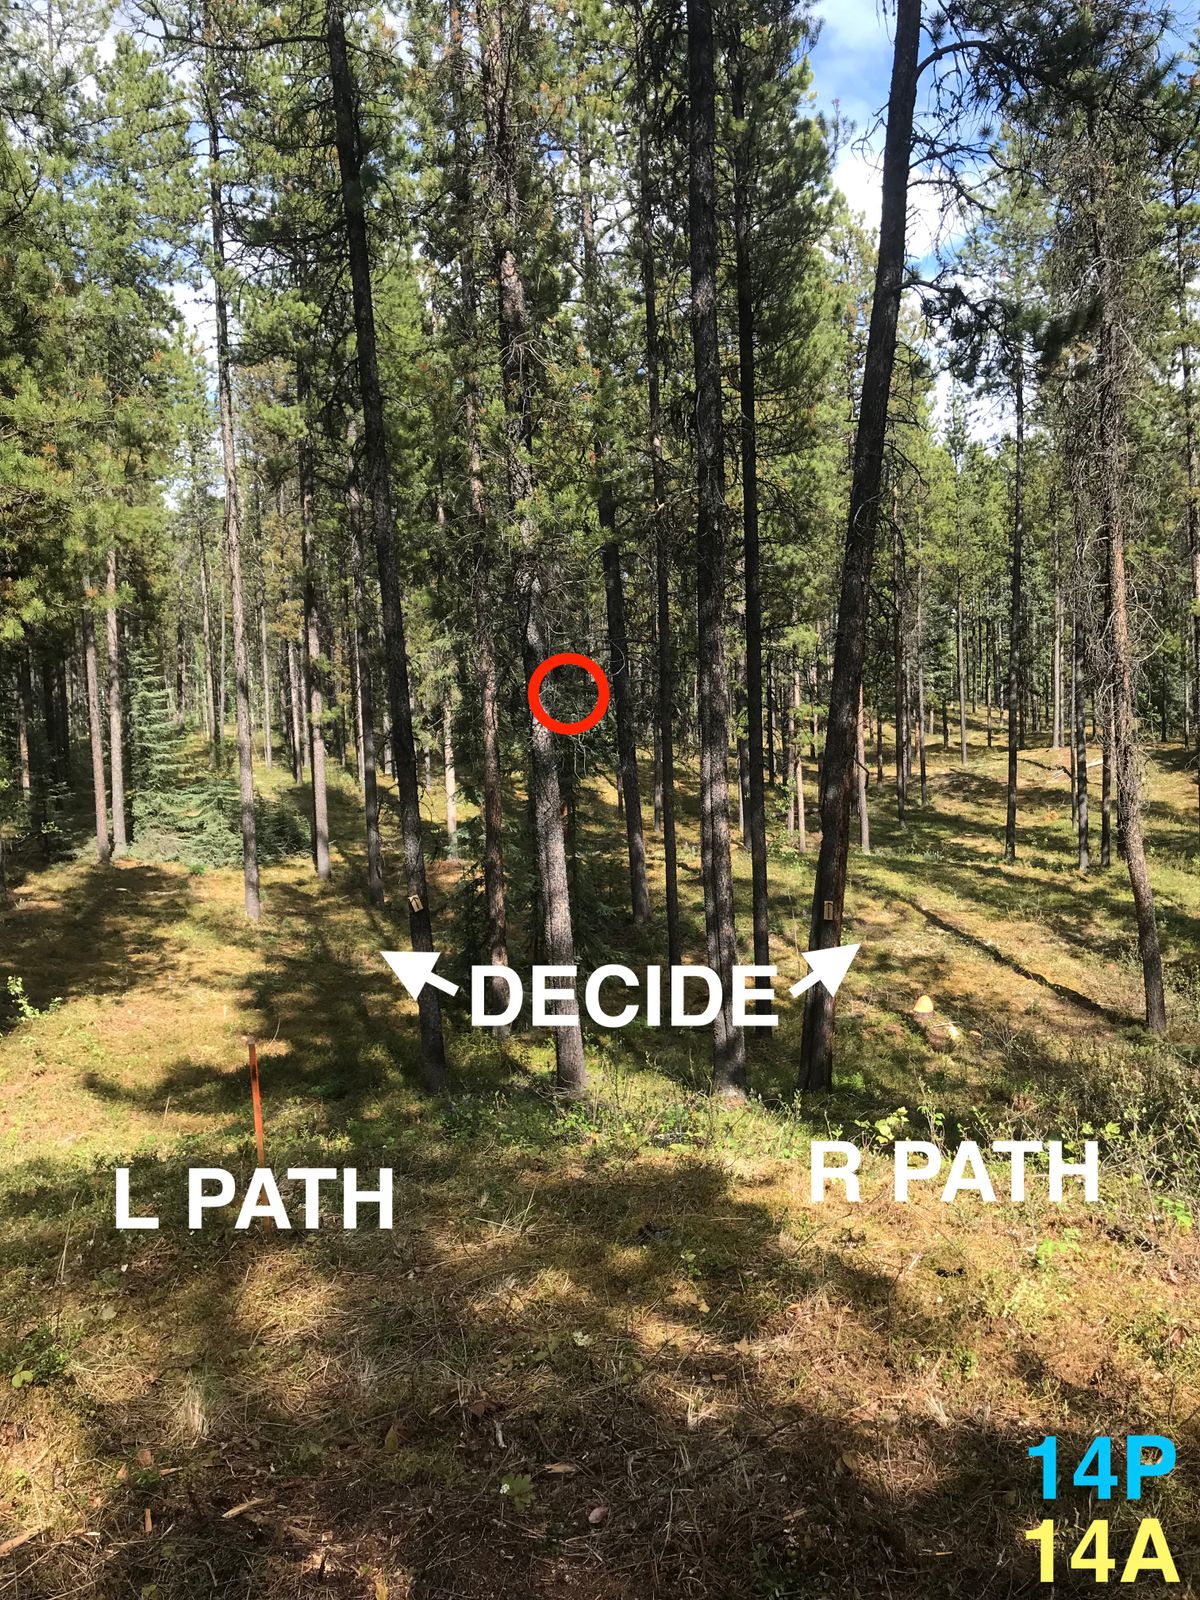
Hole 14
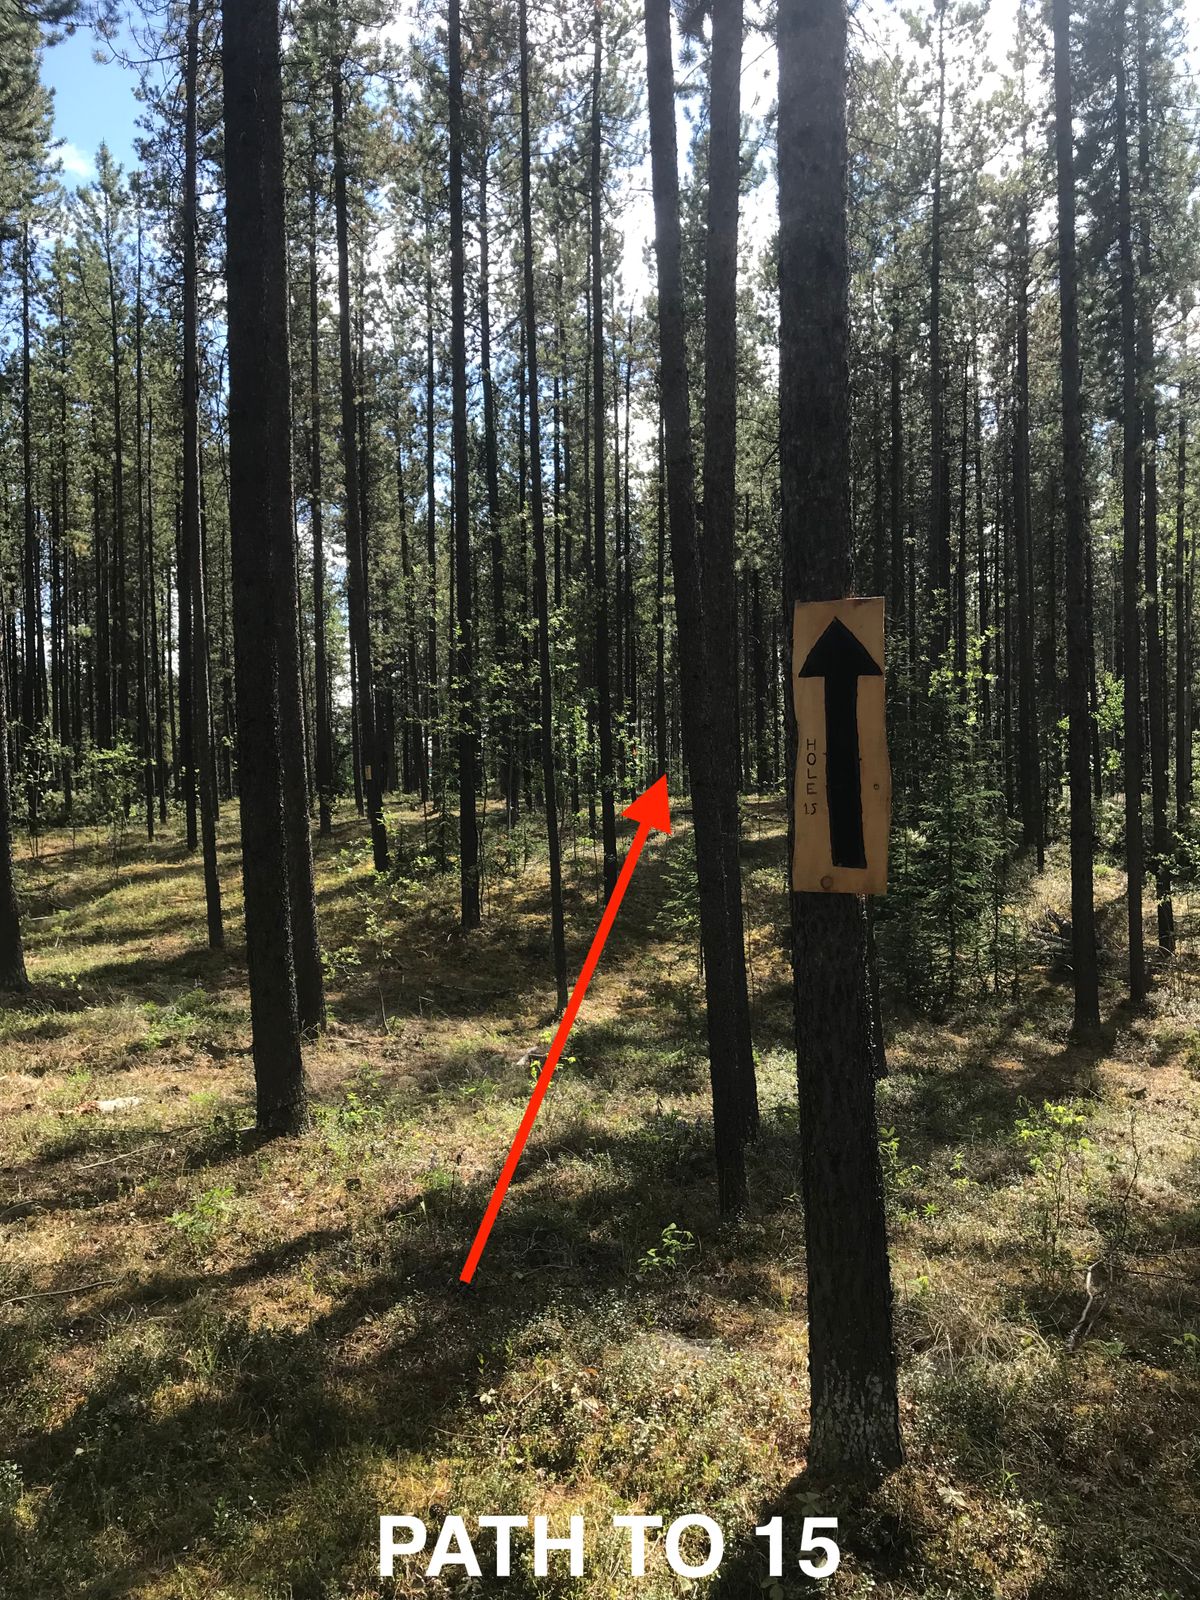
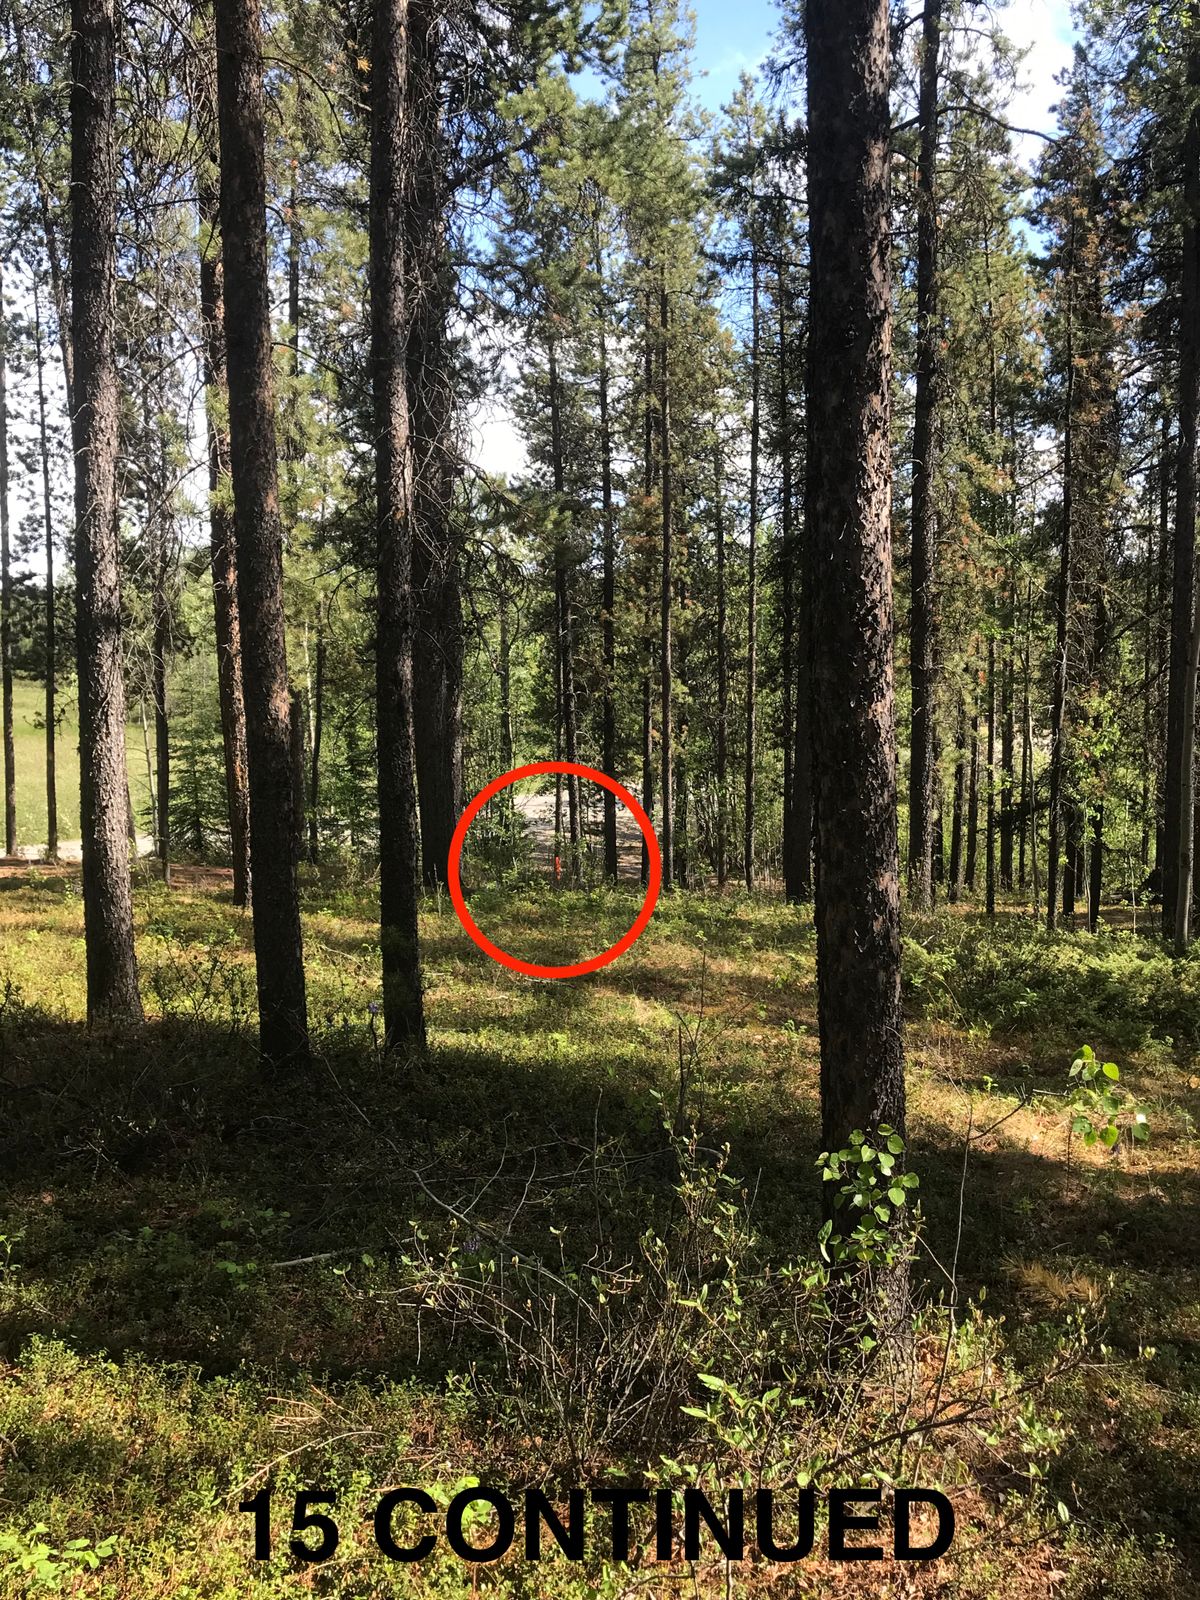
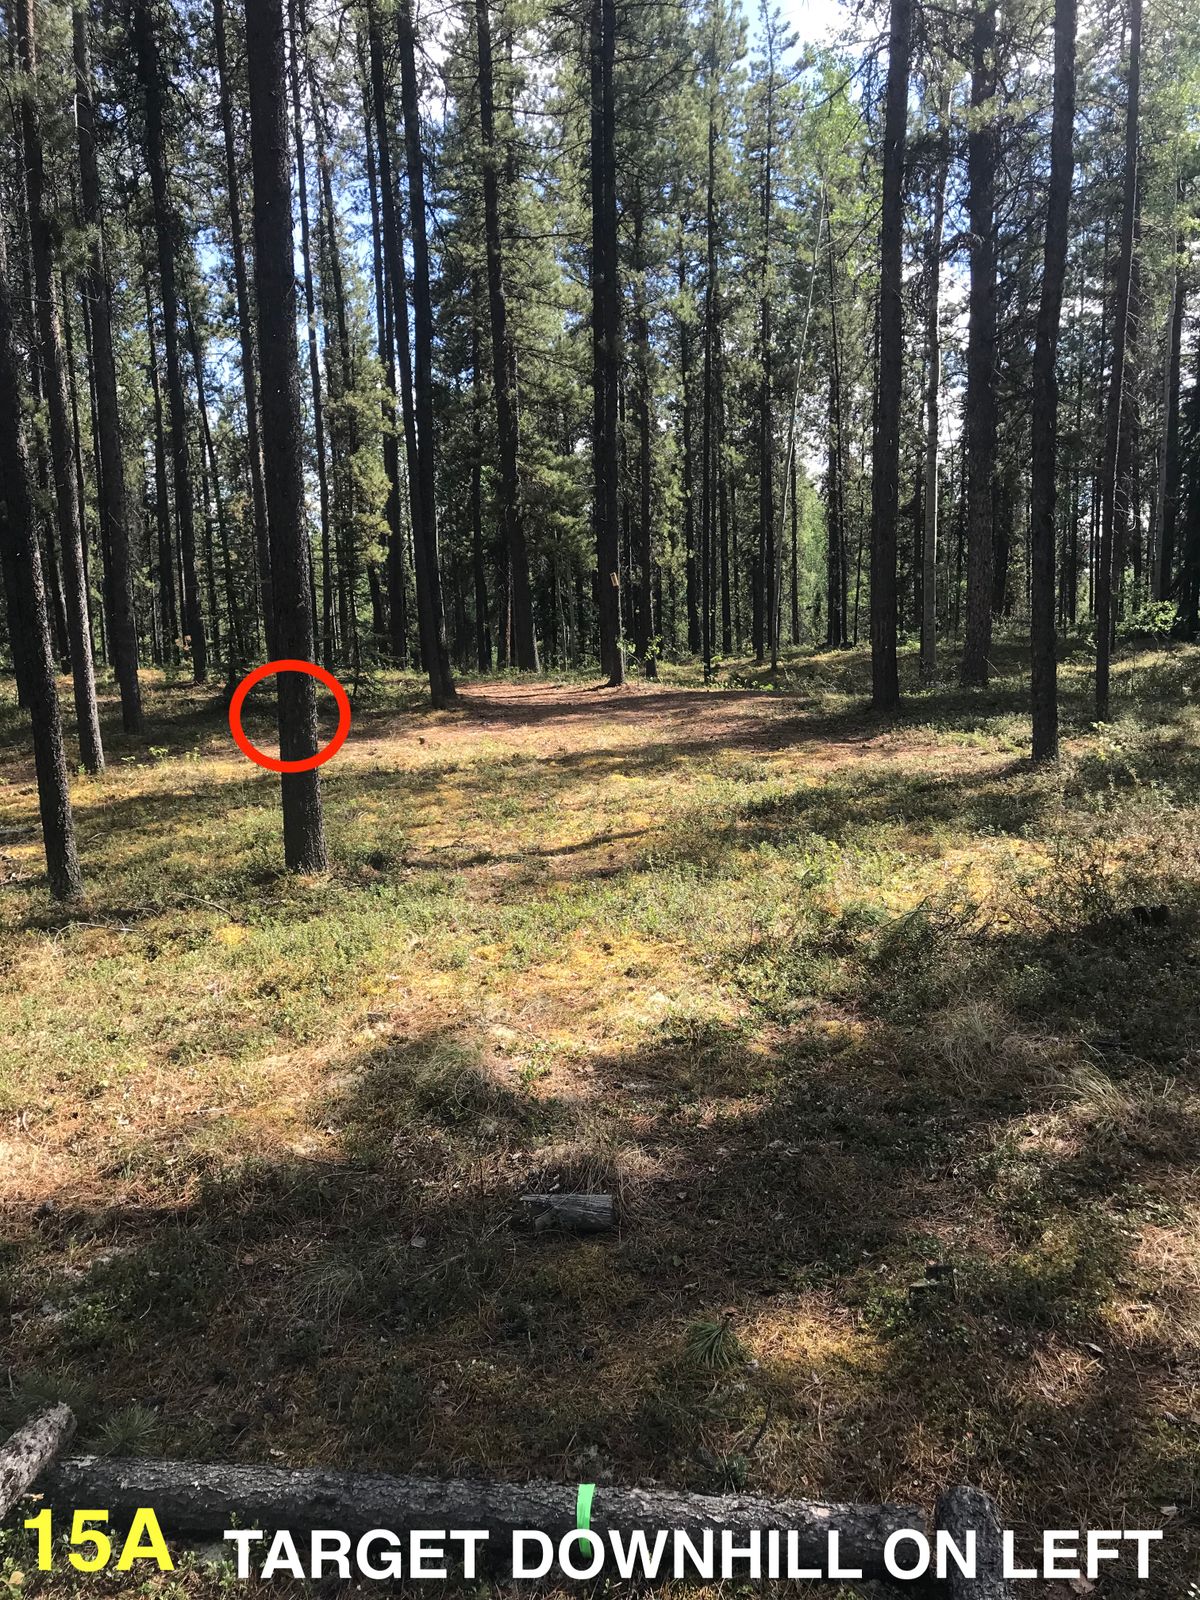
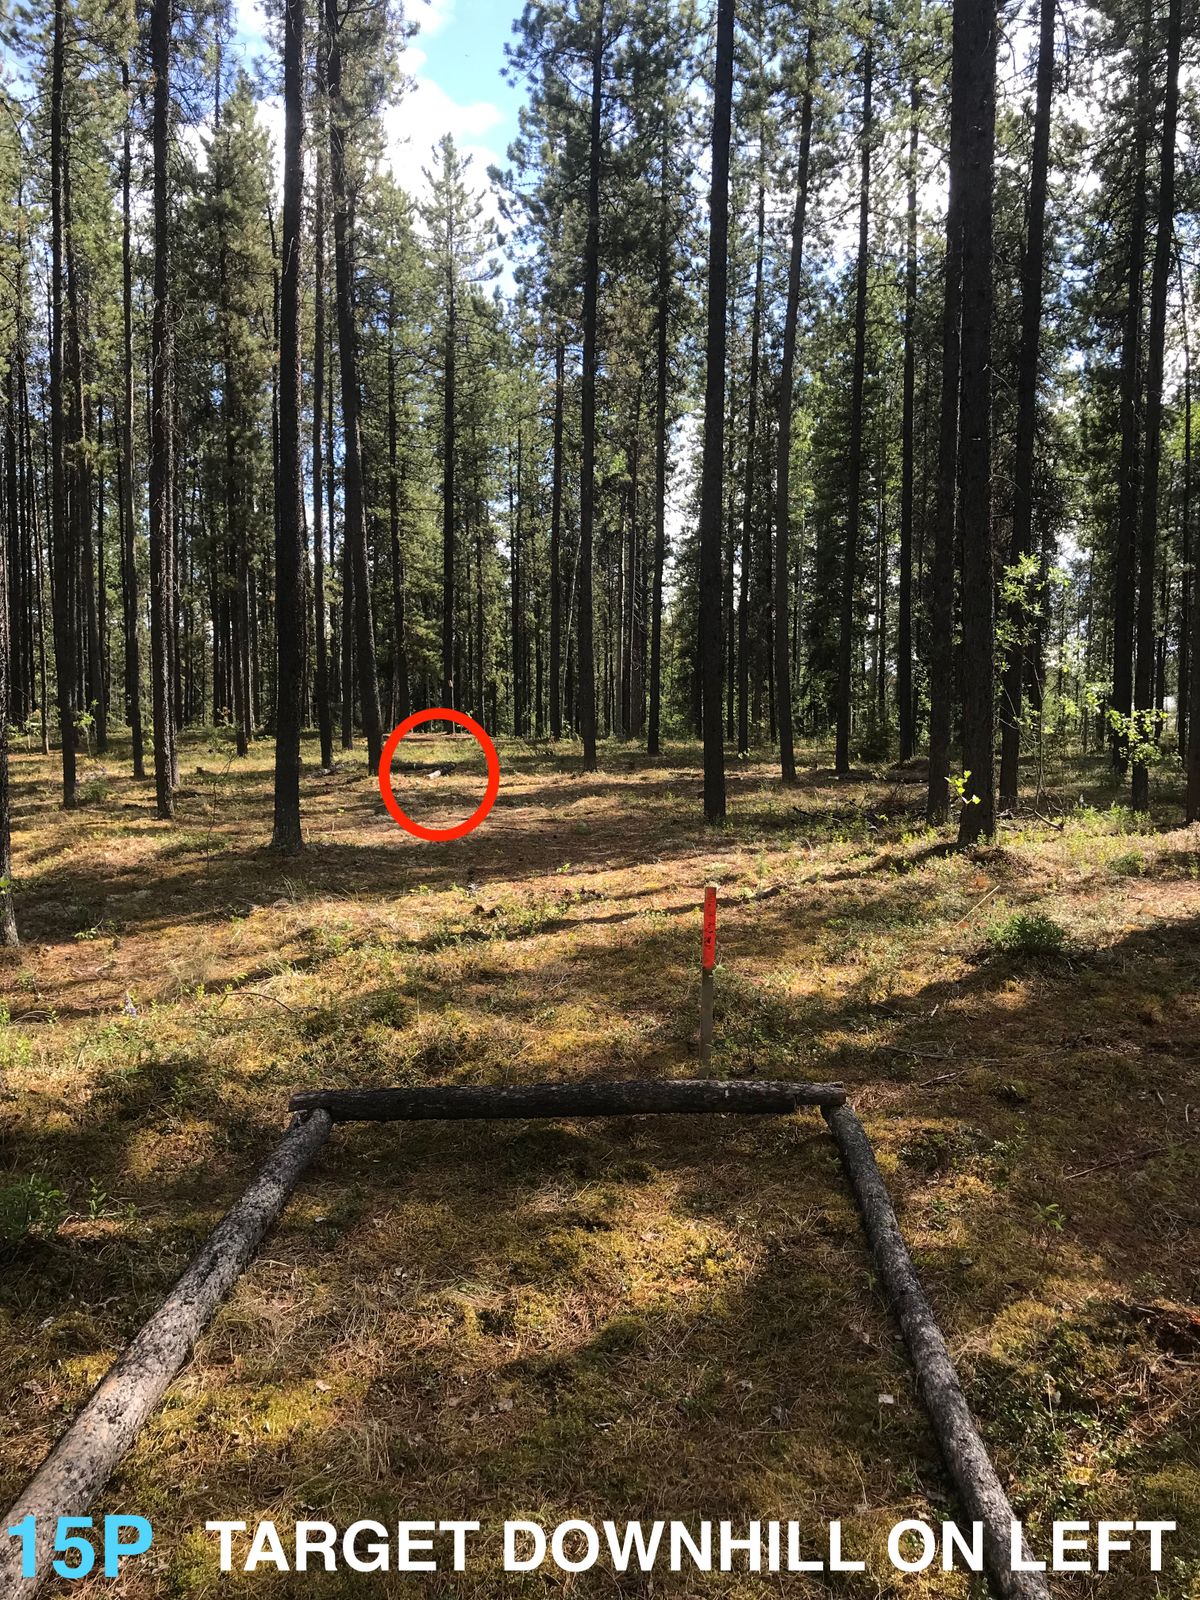
Hole 15
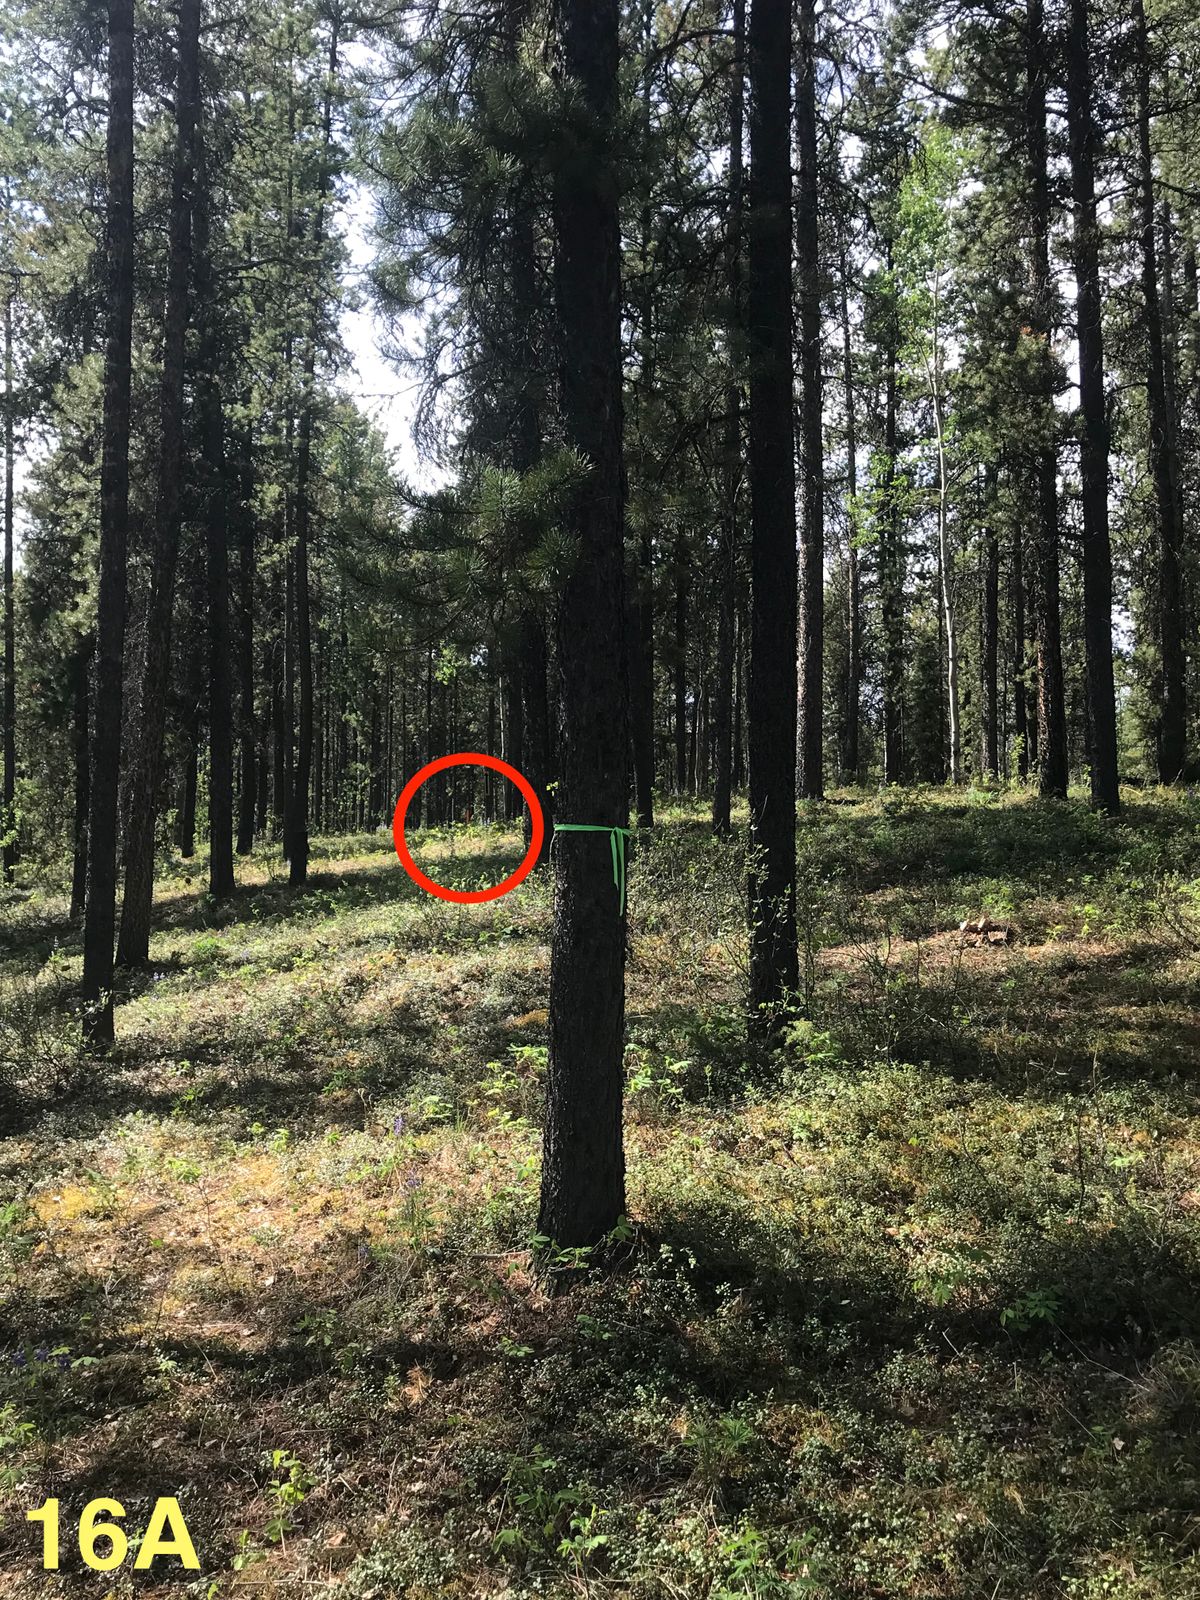
Hole 16
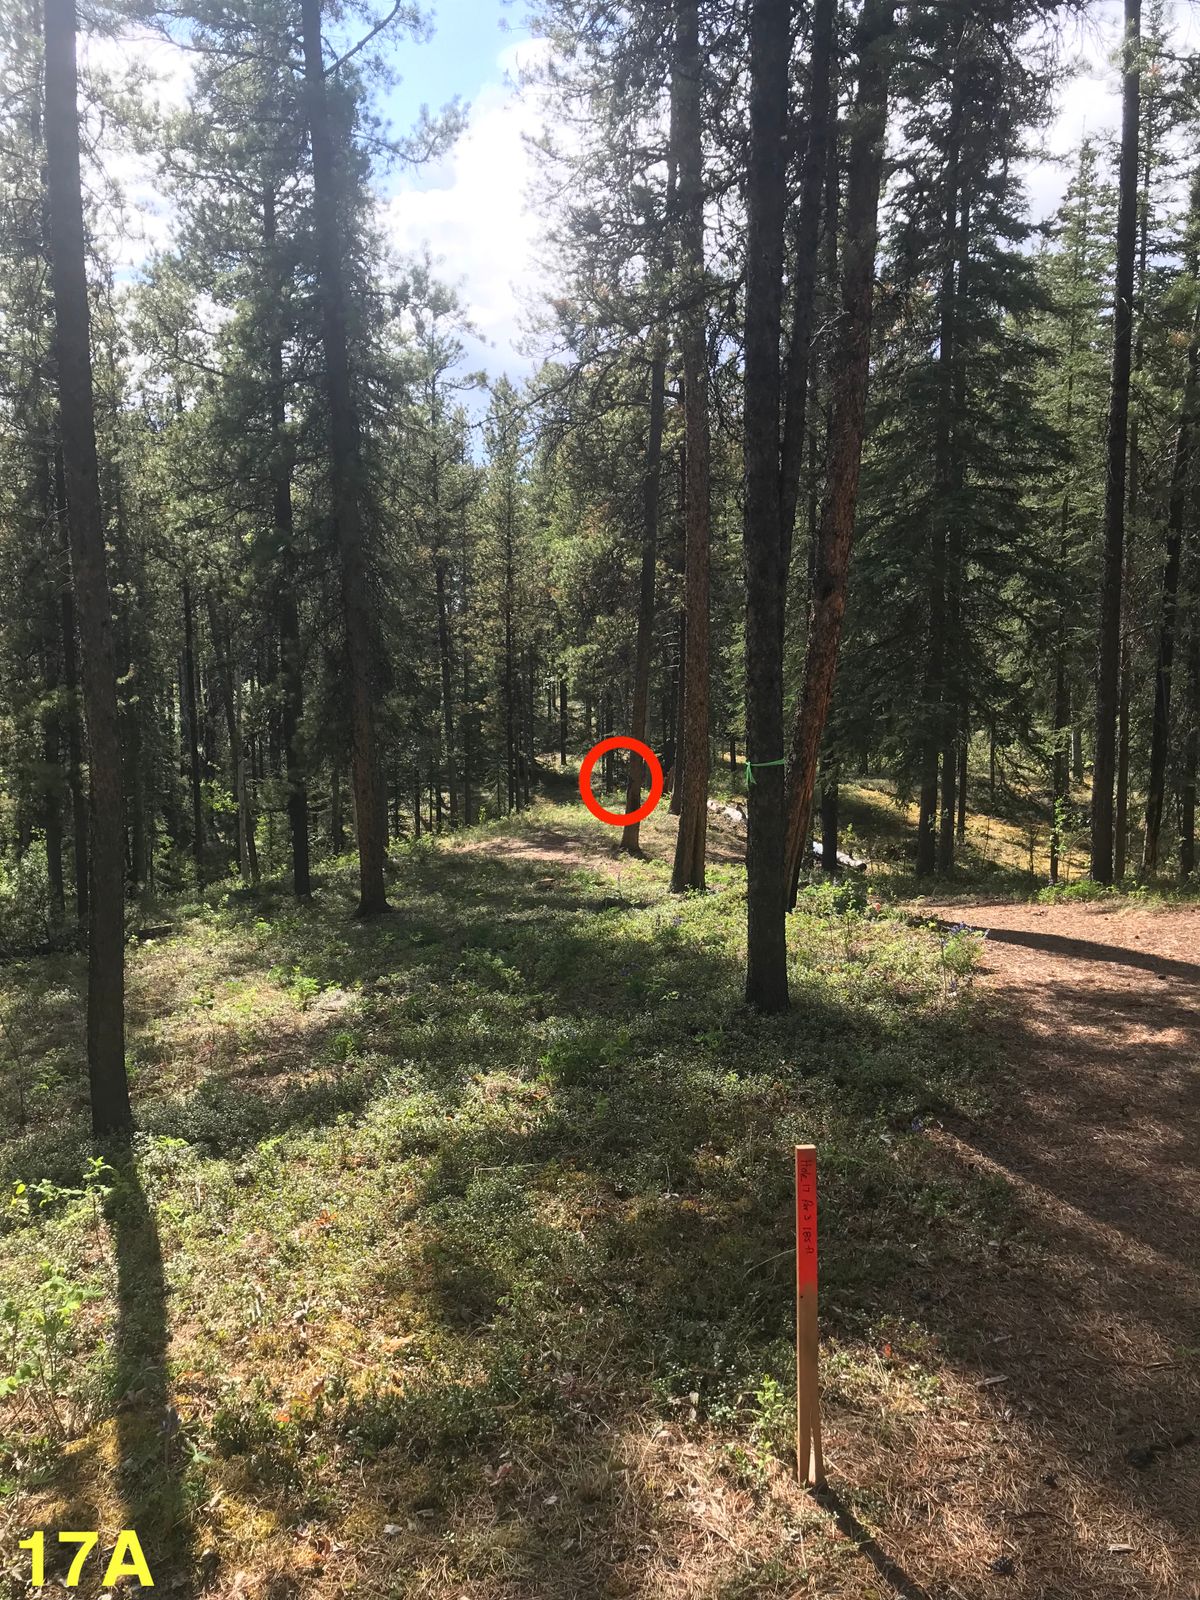
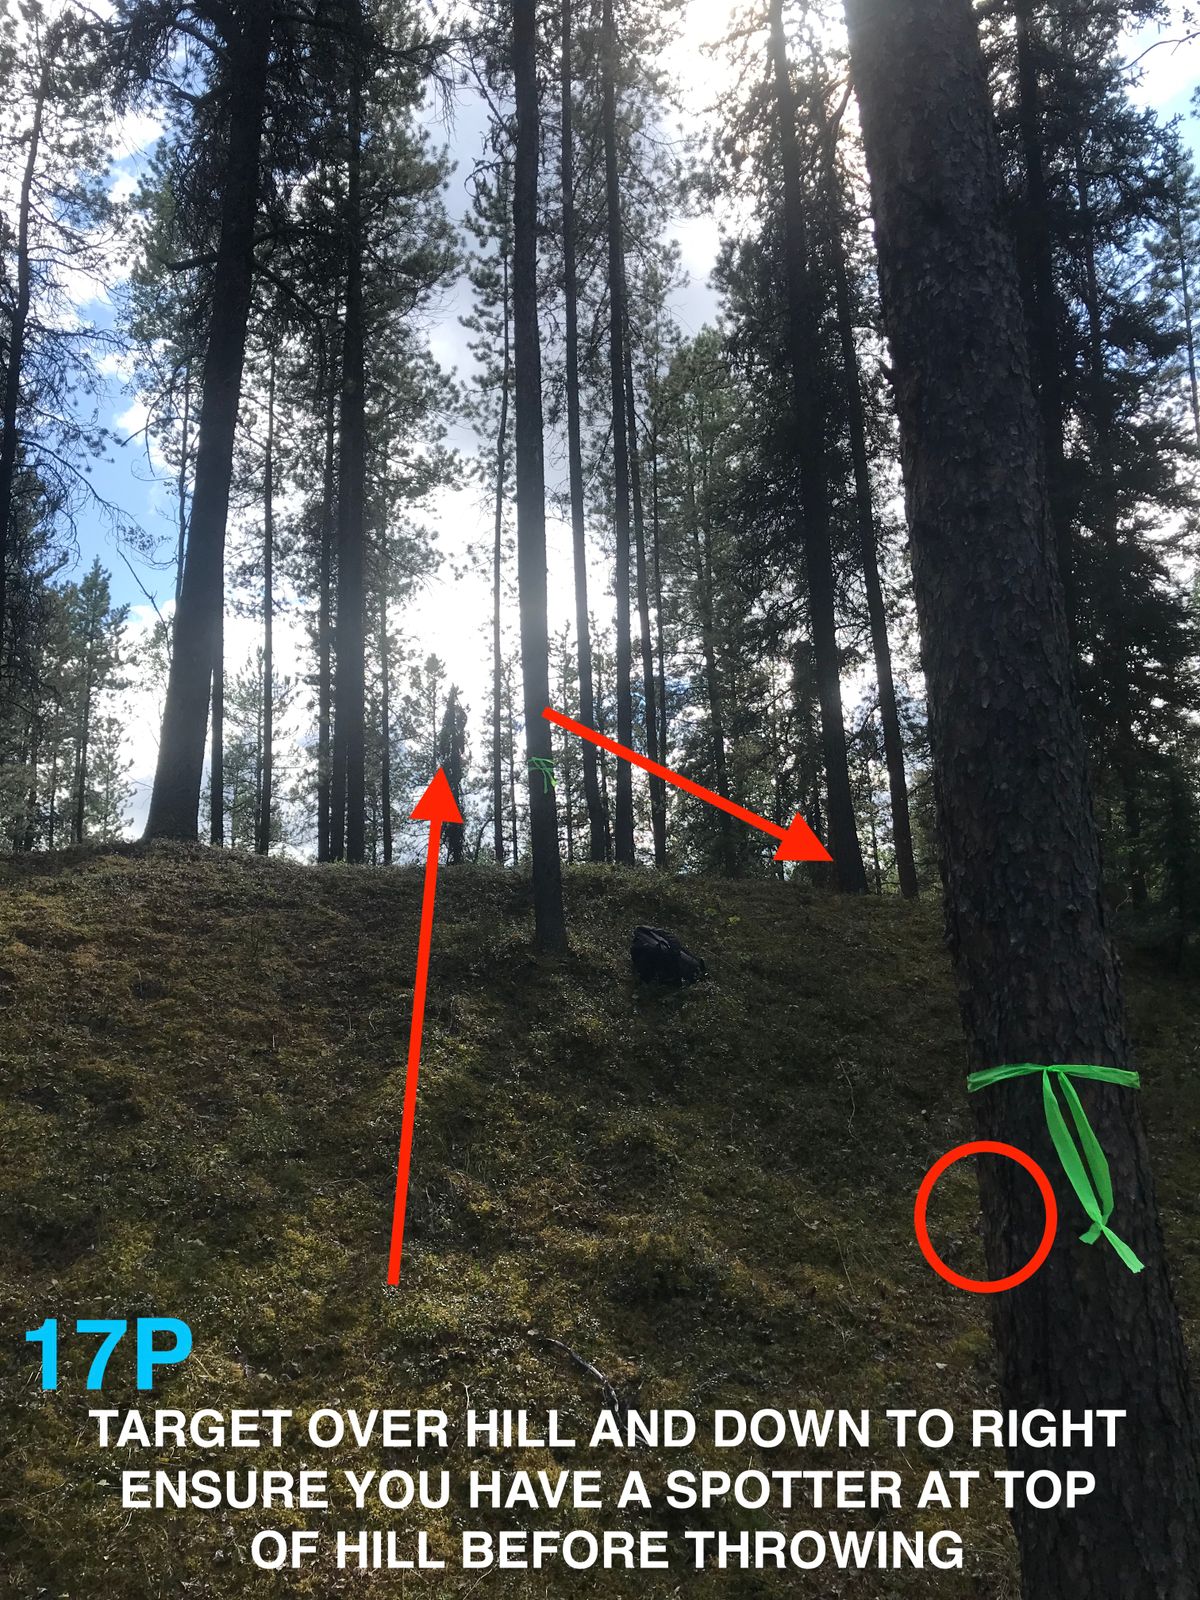
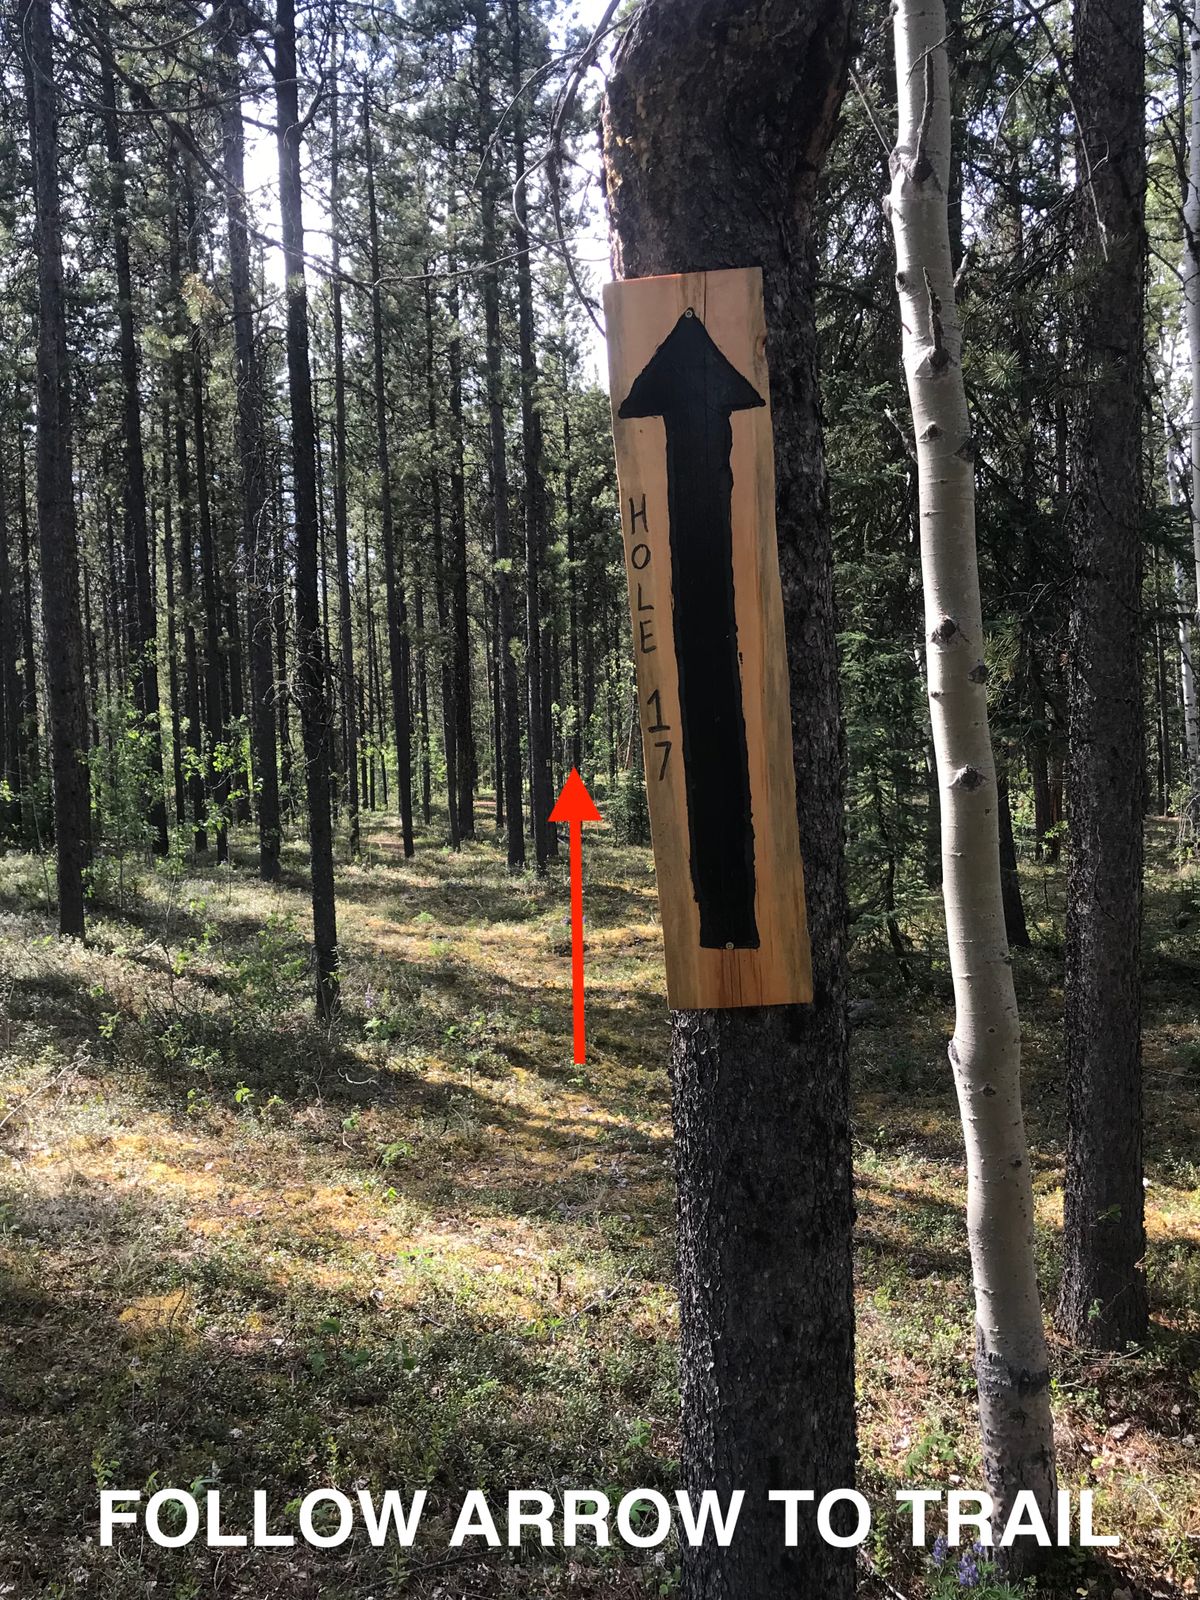
Hole 17
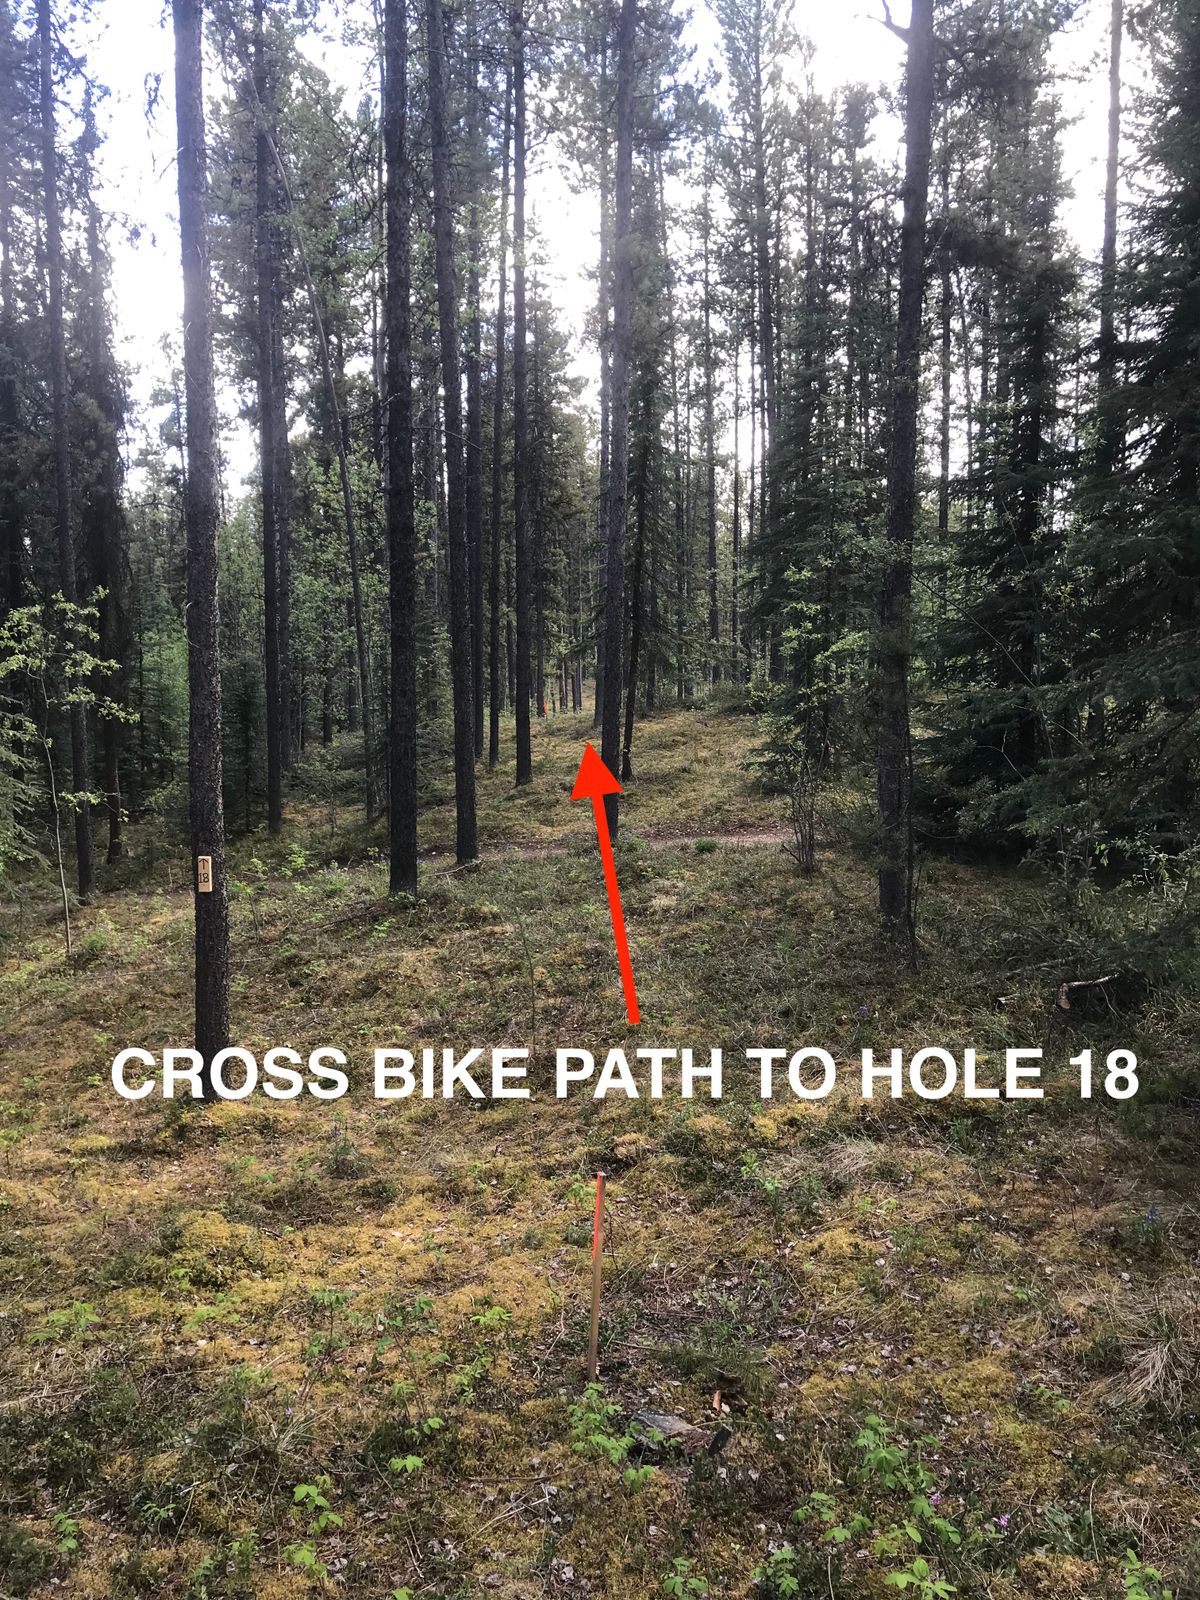
Hole 18
Other
Find out what else is near
Whitehorse, Canada
Disc golf courses
Beginner-friendly
Accessible
Award-winning
Dog-friendly
Family-friendly
Popular
Scenic
Find disc golf discs
Stores open now
Top rated stores
Disc golf stores
Sporting goods
Department stores
Convenience
General stores
Nearby disc golf destinations
Whitehorse, Canada
Juneau, Alaska
Grande Prairie, Canada
Prince George, Canada
Skagway, Alaska
Fort St. John, Canada
Haines, Alaska